For more, see best time to visit.
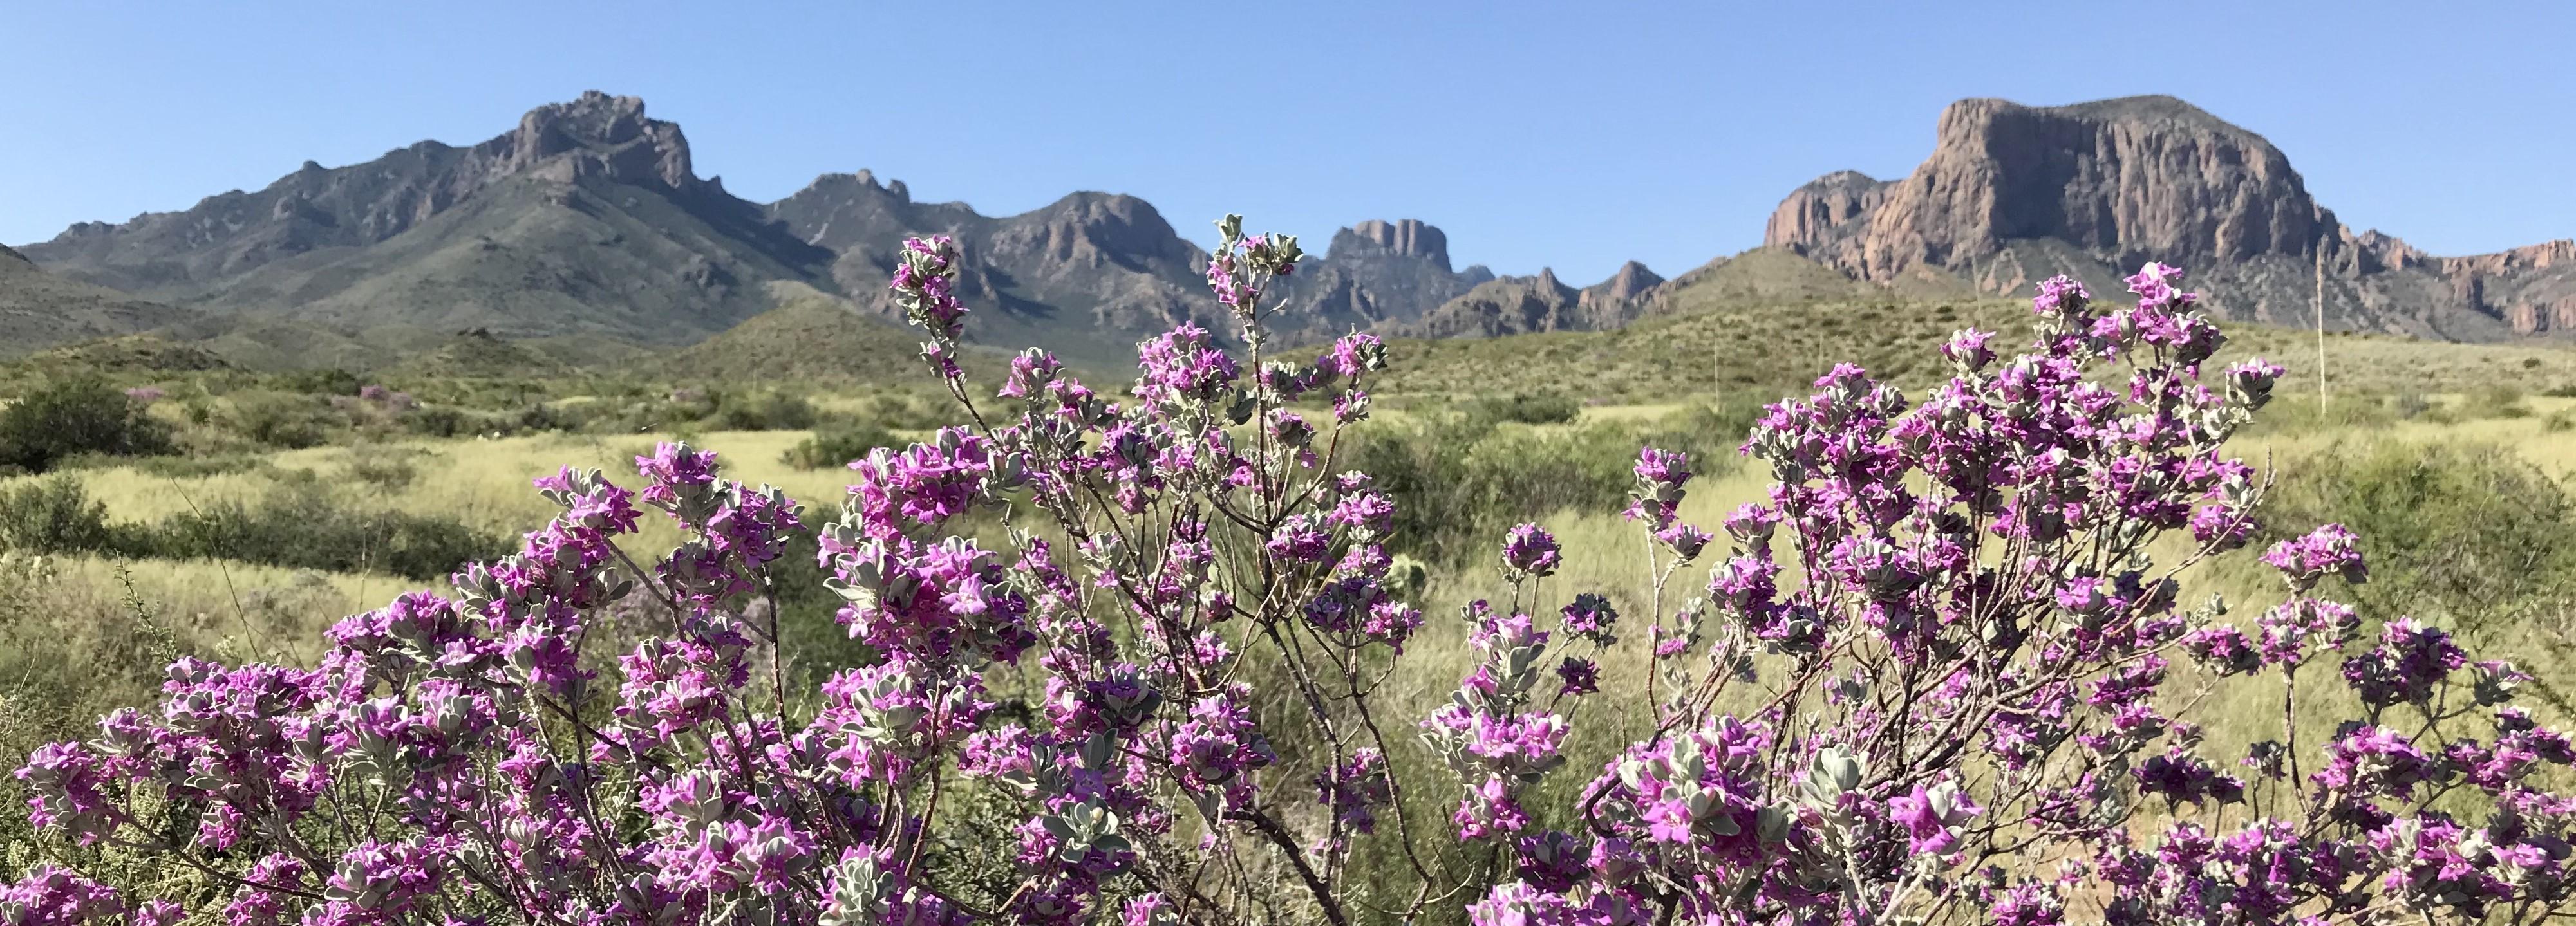
NPS via NPS.gov (Public Domain)
Hiking Big Bend National Park
11 min read
Hiking Guide
Choose your climate: the Chisos Mountains or desert floor. Learn why pre-dawn starts are essential for hiking Big Bend National Park in 2026.
This article contains affiliate links — we may earn a small commission at no extra cost to you.
The gravel crunches under your boots, a sound that will define your days here. The air smells of creosote and dust, and the sun already has weight to it. Hiking Big Bend National Park means understanding one thing first: you are not choosing a trail, you are choosing a climate. The decision between the cool, pine-scented Chisos Mountains and the vast, exposed desert floor dictates everything - your gear, your water carry, your stamina. Most first-time visitors underestimate the distances between trailheads and the absolute necessity of a pre-dawn start for any desert hike from May through September. The trails here demand respect for elevation, exposure, and sheer remoteness. Cell service drops out at Panther Junction, and you are on your own.
What Hiking Here Actually Means
Big Bend's trails operate on two distinct systems: the high-elevation loops of the Chisos and the desert-floor routes along the river. The mistake I see most often—and it's nearly universal—is visitors attempting a mountain hike and a desert canyon trek in a single day. The transit alone consumes over an hour, and the physiological toll of shifting between those climates is punishing.
Prepare for sustained ascents and descents on broken rock. Switchbacks are unavoidable. Carry at least one liter more water than your initial calculation. In my years with the service, dehydration and heat-related incidents were our most frequent calls, even on nominal day hikes. While the altitude itself isn't severe, the interplay of thin air, aridity, and solar radiation depletes reserves quicker than most anticipate.
The Window Trail: The Chisos Basin Drain
This is the trail that defines the mountain experience. It's a downhill walk into a narrowing crack in the mountains, ending at a pour-off where all the basin's water theoretically exits. The hike back is all uphill.
Distance: 5.6 miles round-trip
Elevation Gain: 950 feet (on the return)
Trailhead & Parking: The trail begins at the Basin Campground. The main lot by the lodge is often full by mid-morning. Your best bet is to park in the campground's designated hiker parking or along the main road if space allows. Do not block sites or roads.
The Trail: The surface is packed dirt and gravel with long stretches of exposed bedrock. It's a gentle descent through oak and juniper for the first mile, then the trail narrows here as it enters the Oak Creek Canyon drainage. The last half-mile is through a boulder-strewn wash - watch your footing. The trail ends at the "Window," a narrow V-notch in the rock. There is no guardrail.
The Moment: Standing at the edge of the Window as the late afternoon light pours through, framing the desert floor 2,000 feet below like a living painting.
What Most Underestimate: The 950-foot climb back to the basin. It's relentless, entirely exposed, and feels much longer at the end of a hot day. Start early or aim for a late afternoon hike so the return climb is in cooler evening light.
Best Time: Early morning for wildlife and cool temps, or late afternoon to catch the sunset light through the Window. The trail is doable year-round, but ice can form on the rocks in the wash in winter.
Lost Mine Trail: The Panoramic Payoff
If you only have time for one mountain vista, this is it. The Lost Mine Trail climbs to the side of Lost Mine Peak, offering what many consider the most accessible, spectacular views in the park.
Distance: 4.8 miles round-trip
Elevation Gain: 1,100 feet
Trailhead & Parking: The dedicated trailhead parking lot on the Basin Road is small and fills by 8 AM, often earlier in spring. Overflow parking stretches along the roadside. Rangers will ticket you for parking outside designated areas, so if it's full, come back later.
The Trail: A well-maintained, steady climb on a rocky path with numerous switchbacks. The first half is through shaded woodlands; the second half opens up to sweeping views. The trail narrows here near the top with some exposure along the edge.
The Moment: Reaching the main overlook at the 2.4-mile mark, where the entire southern expanse of the park - Junípero Serra Peak, the Mesa de Anguila, the desert - unfolds beneath you.
What Most Underestimate: The altitude. Starting at nearly 5,700 feet, the climb leaves many flatlanders gasping. Take it slow, especially on the initial switchbacks.
Best Time: Sunrise. You'll have the trail mostly to yourself, the east-facing views are illuminated, and the parking is easy. Fall through spring is ideal; summer mornings are still pleasant if you start early enough.

Santa Elena Canyon Trail: The River Gateway
This is the postcard hike. The trail leads you between the 1,500-foot vertical walls of Santa Elena Canyon, carved by the Rio Grande. As of April 2026, check the official website for current conditions, as access roads have been affected by flooding.
Distance: 1.7 miles round-trip
Elevation Gain: 610 feet
Trailhead & Parking: At the very end of the Ross Maxwell Scenic Drive. The lot is large but can still overflow on weekends. The drive is 30+ miles from Panther Junction - factor that in.
The Trail: The hike begins by fording Terlingua Creek (which can be shin-deep or a full river crossing, depending on recent rain). Then, paved steps ascend the talus slope on the canyon's east side before dropping back to a short riverside path. The trail ends where the canyon walls close in and the water begins.
The Moment: The first glimpse of the canyon's sheer limestone walls from the riverside path, with the river's surface reflecting the narrow strip of sky above.
What Most Underestimate: The creek crossing. If there's water, you will get your feet wet. Wear sandals or shoes you can wade in, or be prepared to carry them. The park website doesn't mention the thick, sticky mud that can exist on the creek banks.
Best Time: Late afternoon. The sun drops behind the canyon rim, casting the entire scene in deep, cool shade and making photography much easier. Avoid midday summer heat trapped in the canyon.
Emory Peak Trail: The Summit Bid
The highest point in the park at 7,825 feet. This is a serious full-day hike for those in good shape.
Distance: 10.5 miles round-trip
Elevation Gain: 2,500 feet
Trailhead & Parking: Starts from the Chisos Basin Trailhead, sharing initial steps with the Pinnacles Trail. Use the Basin lot strategies mentioned earlier.
The Trail: The first 3.5 miles are a steady climb up the Pinnacles Trail to a junction. The final 0.75-mile spur to the summit is steep, rocky, and involves a 15-foot Class 3 scramble up a rock face using metal stakes for support. The scramble is exposed.
The Moment: Pulling yourself onto the tiny summit platform, a space about the size of a pickup truck bed, with 360-degree views that encompass the entire Chisos range and the desert seas beyond.
What Most Underestimate: The final scramble. It's not technical, but it's intimidating if you're not comfortable with exposure. Many people turn around at the base of it. Gloves are helpful for the metal stakes.
Best Time: A spring or fall start at first light. Summer ascents require a pre-dawn start to avoid afternoon thunderstorms. Winter can be windy and cold on the exposed summit.
Grapevine Hills Trail to Balanced Rock: The Desert Oddity
A drive and a short hike to one of the park's most famous geological features.
Distance: 2.2 miles round-trip
Elevation Gain: 240 feet
Trailhead & Parking: The trailhead is at the end of Grapevine Hills Road, a graded dirt road suitable for most passenger cars when dry. The small lot fills, but people tend to cycle through quickly.
The Trail: A flat, sandy walk through a wide desert wash for the first 0.8 miles, then a brief but fun boulder scramble up a narrow slot canyon to the Balanced Rock formation.
The Moment: Rounding the corner in the slot canyon to see the precariously perched Balanced Rock framed by the narrow walls.
What Most Underestimate: The boulder scramble. It's short but requires using your hands. Not suitable for very small children or those with significant mobility issues.
Best Time: Early morning or late afternoon for the best light on the rock formation. Midday light is harsh. The road can become impassable when wet.

Hot Springs Historic Trail: Soak and History
A flat walk to a historic hot springs on the Rio Grande, with the ruins of an old bathhouse and post office.
Distance: 1 mile round-trip
Elevation Gain: Minimal
Trailhead & Parking: At the end of Hot Springs Road. The road is unpaved but generally passable for cars. Parking is limited.
The Trail: A level path along the riverbank leads to the 105-degree Fahrenheit spring. You can soak in the concrete-lined pool where the river water mixes with the hot spring flow.
The Moment: Sitting in the warm water, looking across the Rio Grande to the cliffs of Mexico, with pictographs on the canyon wall beside you.
What Most Underestimate: The popularity. It's a small pool. If more than a few people are there, it feels crowded. Practice good hot spring etiquette.
Best Time: Sunrise for solitude, or a cool winter day. The soak is less appealing when the desert air is already 100 degrees.
South Rim Loop: The Ultimate Day Hike
This is the crown jewel of Big Bend hiking trails. A massive, demanding loop that traverses the heart of the Chisos to the park's most iconic viewpoint.
Distance: 12-14 miles depending on route (Laguna Meadow or Pinnacles ascent)
Elevation Gain: 2,000 - 2,500 feet
Trailhead & Parking: Chisos Basin Trailhead. This is an all-day commitment. Your car will be there for 6-10 hours.
The Trail: You have two primary options: ascend via the steeper Pinnacles Trail or the longer, gentler Laguna Meadow Trail to form a loop. Both routes converge near Boot Canyon before the final push to the South Rim. The trail is rocky, exposed in long sections, and passes through diverse ecosystems.
The Moment: Emerging from the pines at the South Rim edge. The ground falls away in a sheer cliff for over 2,000 feet to the desert below, a view of layered mountain ranges stretching into Mexico that defines the scale of Big Bend.
What Most Underestimate: Everything. The distance, the elevation, the exposure, the water carry (a minimum of 4 liters per person), and the time. This is not a casual hike. Start before dawn. Check the complete visitor guide for backcountry tips if considering this as an overnight.
Best Time: October through April. Never attempt this in summer. Even in spring, afternoon thunderstorms on the exposed rim are a real and dangerous hazard.
Seasonal Trail Conditions
December-February: The best time for low-elevation desert hikes like Santa Elena and Grapevine Hills. Days are mild (50s-70s F), nights freeze. The South Rim can be icy and windy; microspikes are not a bad idea. Chisos trails are busy.
March-May: The park's busiest season. Desert temperatures climb into the 90s by May. Mountain trails are ideal, with wildflowers (like the bluebonnets in the basin) peaking in April. This is the last comfortable window for low-elevation hikes.
June-September: Hiking is restricted to the Chisos Mountains and only with pre-dawn starts. Desert trails are dangerously hot by 9 AM. Afternoon thunderstorms are frequent in the mountains, bringing lightning risk to exposed ridges like the South Rim.
October-November: A second prime season. Desert heat breaks, mountain temps are perfect. Fall colors (yellow oak and maple) hit the high Chisos in late October. Crowds are thinner than spring.

Trailhead Logistics
Parking strategy is half the battle. For Chisos Basin trails (Lost Mine, Window, Emory Peak, South Rim), lots fill by 8-9 AM. On weekends in spring, they can be full by sunrise. Plan to arrive early or have a flexible backup plan. Overflow parking is limited and rangers enforce rules strictly.
For Santa Elena Canyon, the long drive acts as a natural limiter, but the lot can still fill. Grapevine Hills and Hot Springs have small lots that turn over regularly.
There is no park shuttle system. You are driving your own vehicle everywhere. Distances are vast: from Panther Junction to the Basin is 6 miles, to Santa Elena is 30+ miles, to Rio Grande Village is 20+ miles. Fuel up outside the park.
Cell service drops out at Panther Junction and is nonexistent at trailheads. Download maps and trail info ahead of time. The only reliable water sources are at the Chisos Basin Lodge, Rio Grande Village, and Panther Junction. Do not rely on natural water sources on trails - they are unreliable or non-existent.
What to Carry
Forget the generic list. For hiking Big Bend National Park, your pack must address three things: sun, thirst, and terrain.
Footwear: Sturdy hiking boots with ankle support are non-negotiable. The trails are rocky, uneven, and ankle-twisting terrain is constant. Trail runners are insufficient for most people on these trails.
Sun Protection: A wide-brimmed hat, not a baseball cap. Sunglasses. SPF 50+ sunscreen. A sun hoodie is a smart choice for full-day exposure.
Water Carry: This is the most critical item. For short desert hikes (under 3 miles), carry a minimum of 2 liters per person. For mountain hikes like the South Rim, 4 liters is the baseline. Use insulated reservoirs or bottles - water in a Nalgene left in the sun becomes undrinkably hot.
Navigation: A physical map and compass, and the knowledge to use them. GPS devices are good, but have backups. The Big Bend National Park Hiking page has printable maps.
Extras: Electrolyte tablets or powder are a force multiplier. A headlamp for every hiker, even on day hikes - if you twist an ankle, your pace slows dramatically. A lightweight emergency bivvy sack.
Practical Takeaways
- Climate is everything. Decide each day: mountains or desert. Don't try to mix them.
- Your day starts in the dark. For any hike, aim to be at the trailhead at first light, especially from May to September.
- Water calculations are bare minimums. Add an extra liter to whatever you think you need.
- Footwear is your foundation. Blisters or a twisted ankle here are a major problem.
- The parking lot is part of the hike. If it's full, have a Plan B trail ready.
- Check road conditions daily. Flash floods close roads like Ross Maxwell Scenic Drive regularly.
- Your physical limits are about 20% lower here due to altitude and dry heat. Plan shorter distances than you would at home.
- Afternoon thunderstorms in the mountains (June-Sept) are predictable and dangerous. Be below tree line by noon.
- The gift shop sells water for $4 a bottle. Bring your own.
- The view is always better after you've earned it. The climb is worth it.
Related: trails in big bend guide
Recommended Gear
What experienced visitors bring to Hiking Big Bend National Park
Links may earn us a commission at no extra cost to you. We only recommend gear we believe in.
Hiking Essentials
Hydration Pack (3L)
Hands-free water for long trail days
Trekking Poles (Pair)
Save your knees on steep descents
Hiking Boots (Ankle Support)
Sturdy footwear for rocky, uneven trails
Sun & Heat Protection
Wide-Brim Sun Hat
Full coverage UPF 50+ protection at altitude
Insulated Water Bottle (32oz)
Keeps water cold in desert heat all day
Electrolyte Mix Packets
Replace what water alone cannot during intense heat
Winter Gear
Microspikes / Traction Devices
Essential for icy rim trails in winter months
Packable Down Jacket
Lightweight warmth that stuffs into a pocket
Sources
- Official source: National Park Service nps.gov/bibe/planyourvisit/hiking.htm
- Official source: NPS — Big Bend National Park nps.gov/bibe/index.htm
Photo Gallery
More to Explore
Park Guide
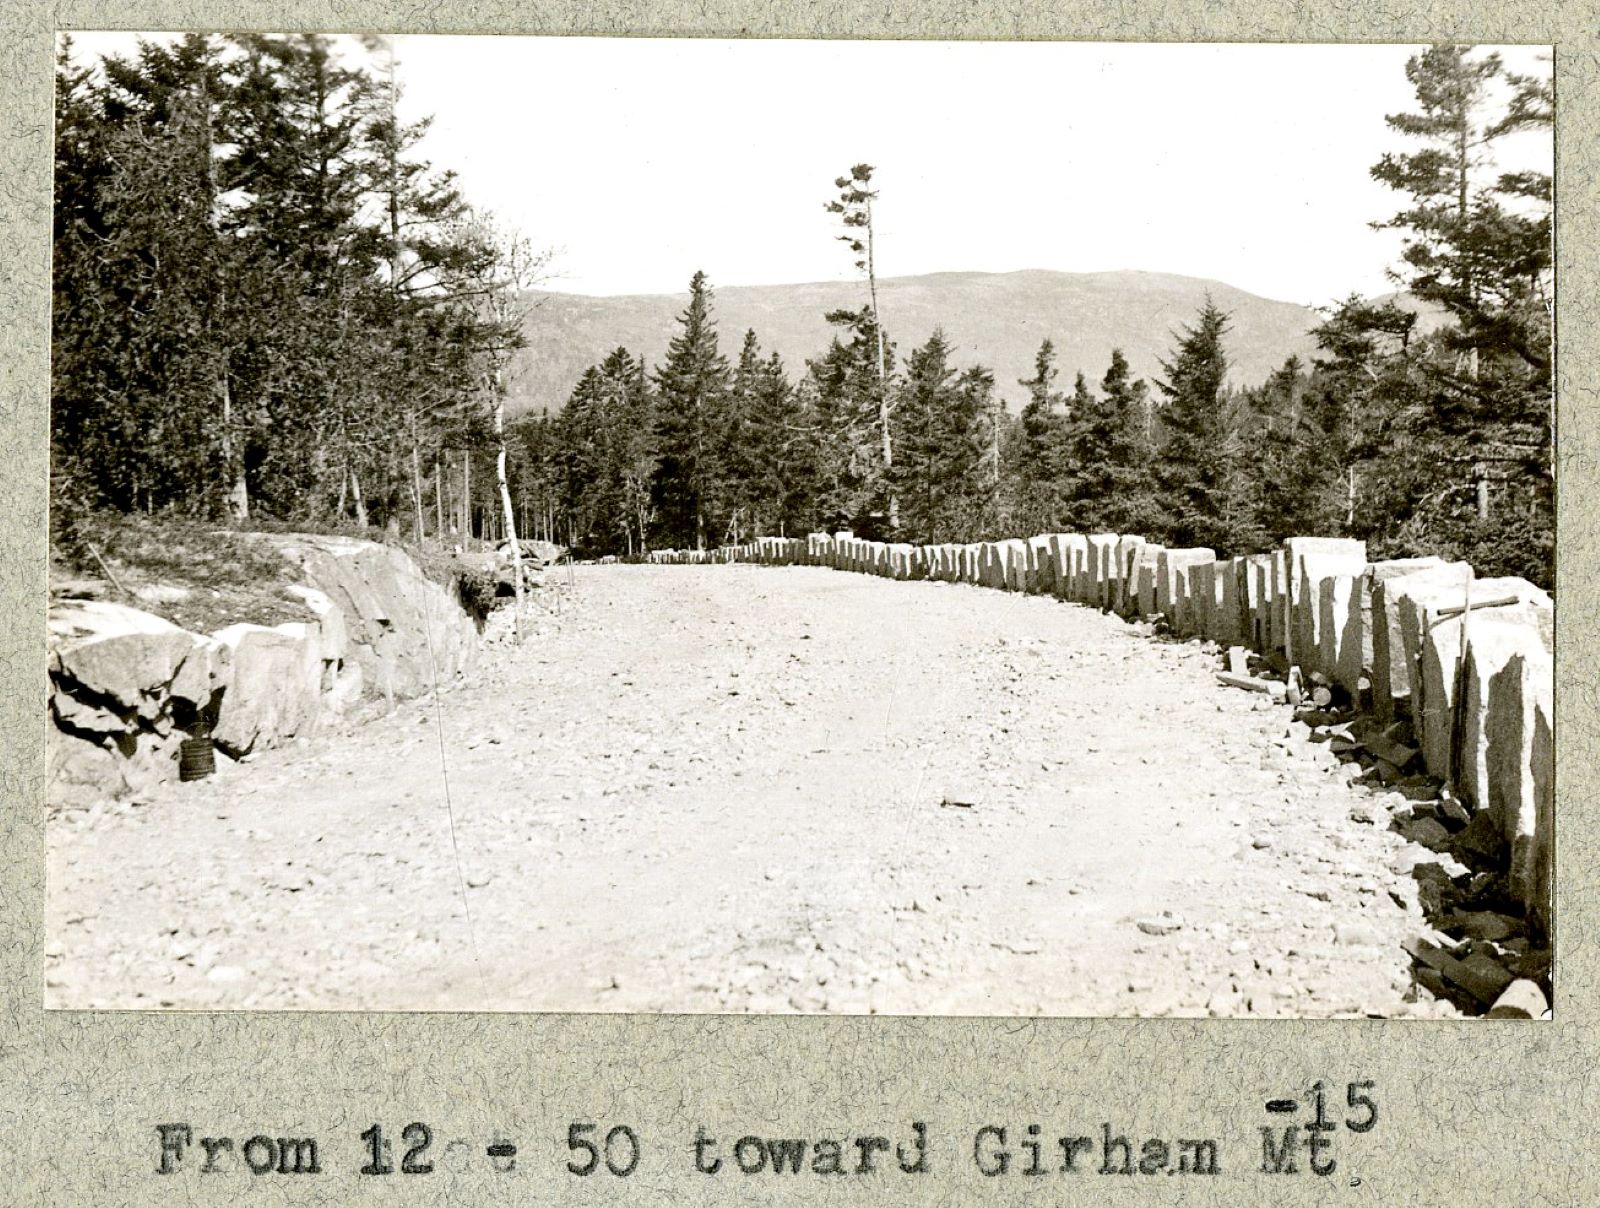
Acadia National Park: Carriage Roads, Cadillac Mountain & 2026 Guide
Discover carriage roads, Cadillac Mountain, and rugged Maine coast. Complete 2026 guide to Acadia National Park — trails, fees, lodging, permits, and what rangers recommend.
Hiking Guide
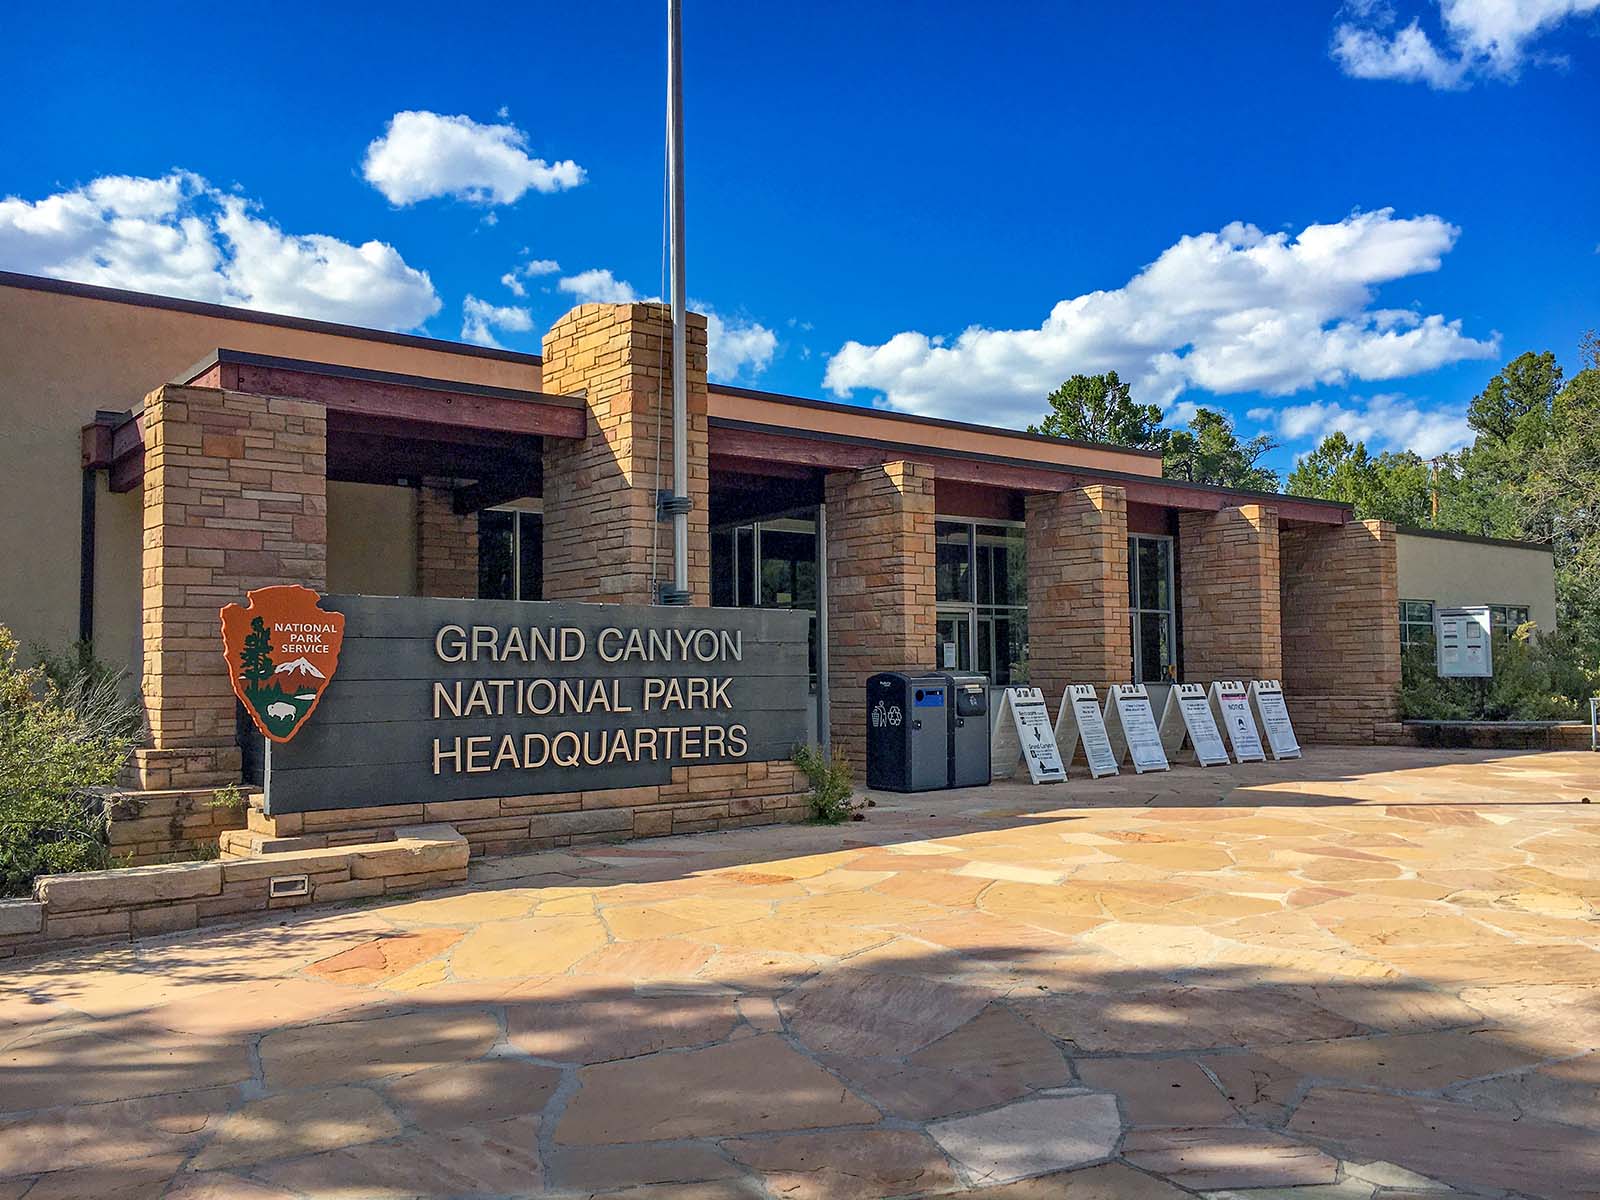
Grand Canyon Hiking Trails: Day Hikes, Water Sources & Rim to Rim
Compare Grand Canyon hiking trails: Bright Angel, South Kaibab, Hermit, Grandview, and rim to rim, with distances, elevation, water stops, and trailhead access for each.
Best Of
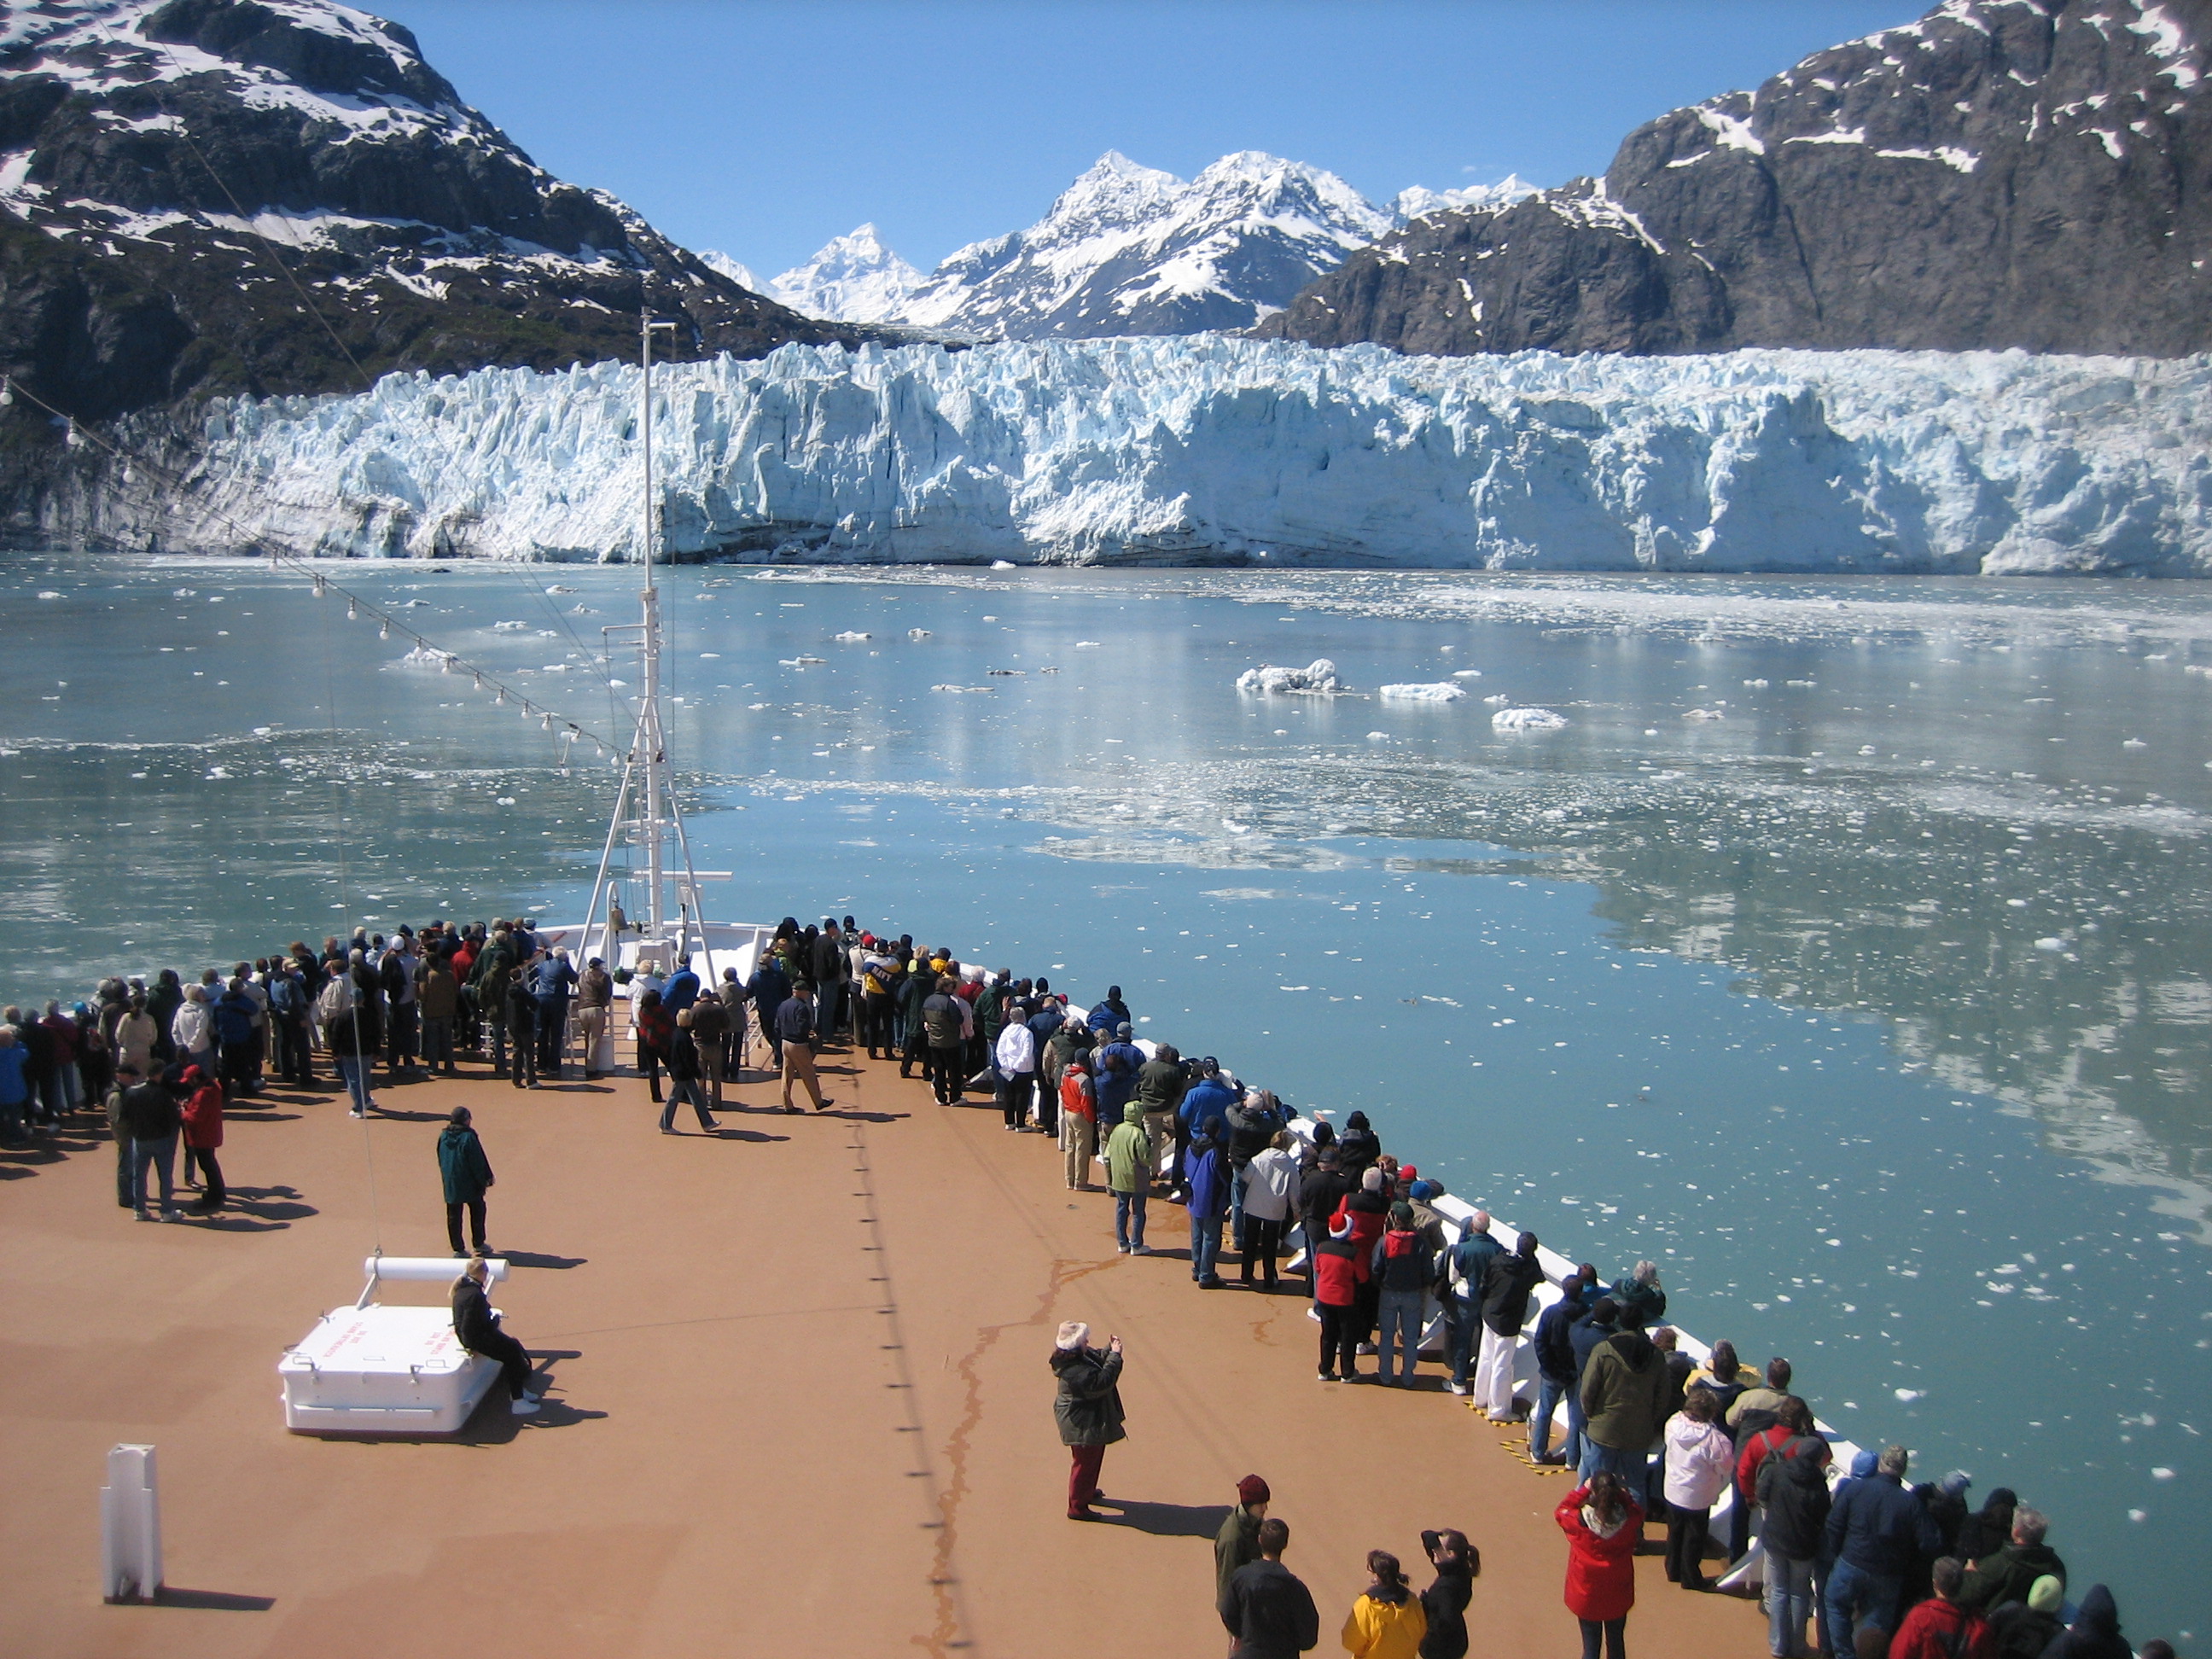
Best of Glacier Bay National Park
The best of Glacier Bay is reached by boat: ranger-led day tours up the bay to the tidewater glaciers. What's worth it, how to book, and when to go (2026).
Campsite Guide
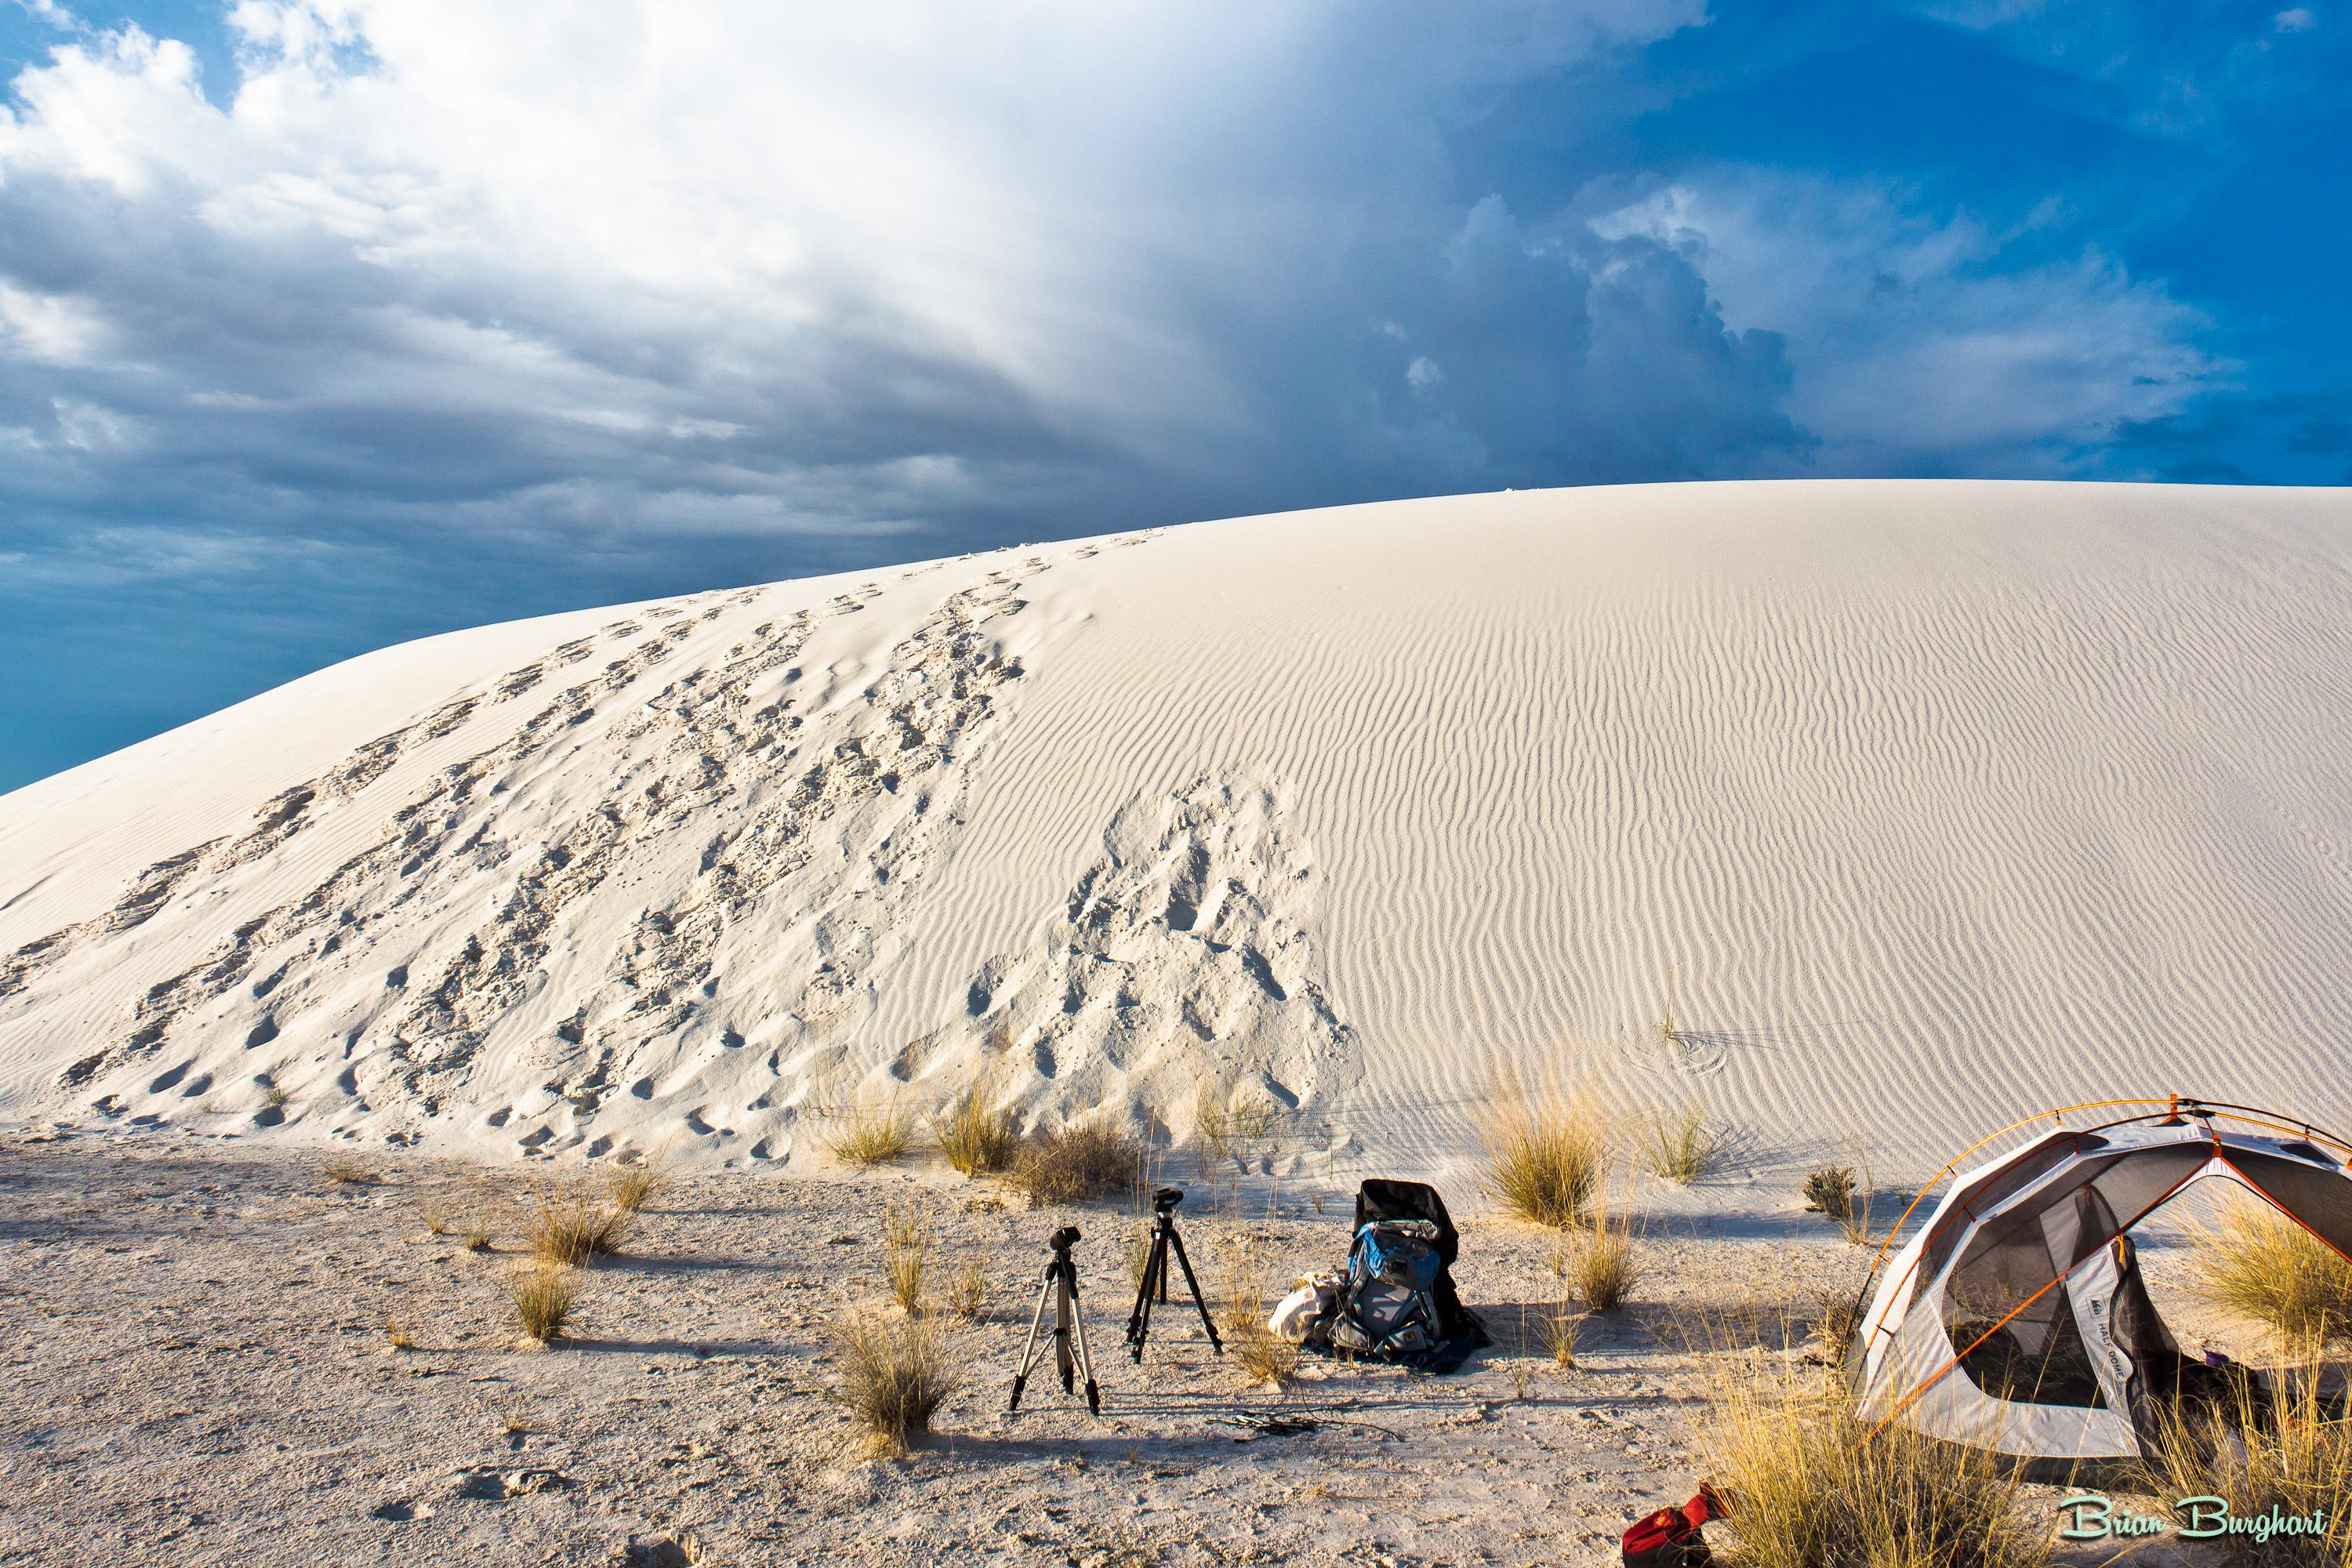
White Sands Backcountry Camping: Closed for 2026 — What to Know
As of 2026, backcountry camping at White Sands National Park is closed for site rehabilitation. What that means, and where to camp nearby instead.
Weather Guide
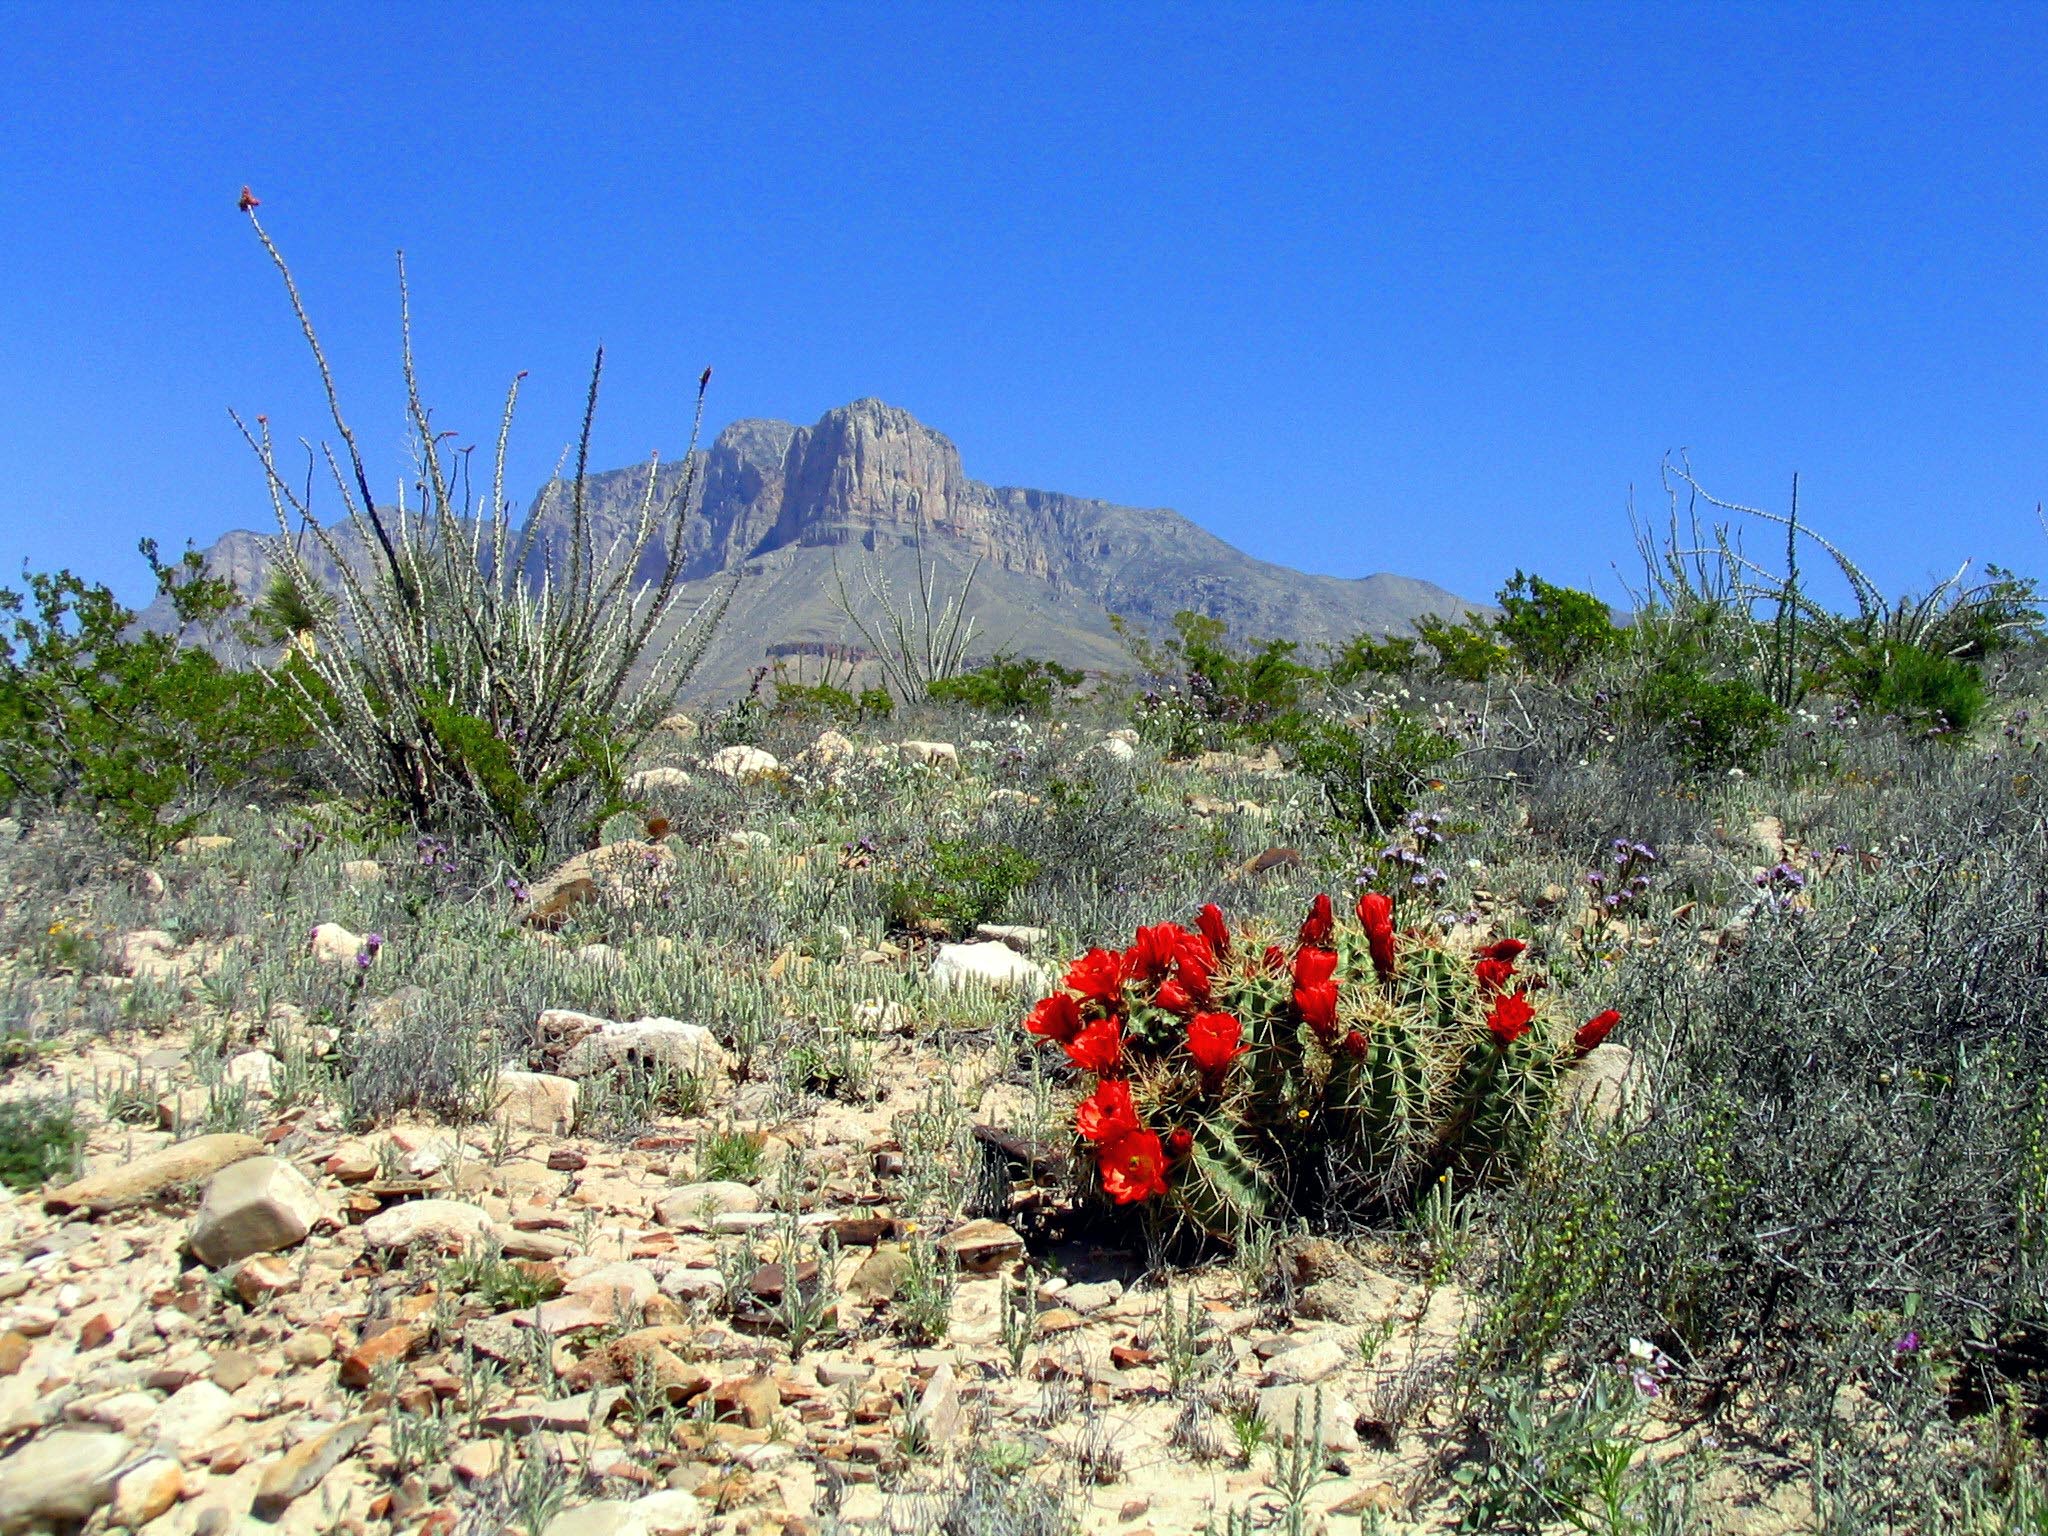
Guadalupe Mountains National Park Weather: Weather
Guadalupe Mountains National Park: weather guide guide updated 2026. Practical visitor information, reservations, and seasonal tips worth bookmarking before
Best Of
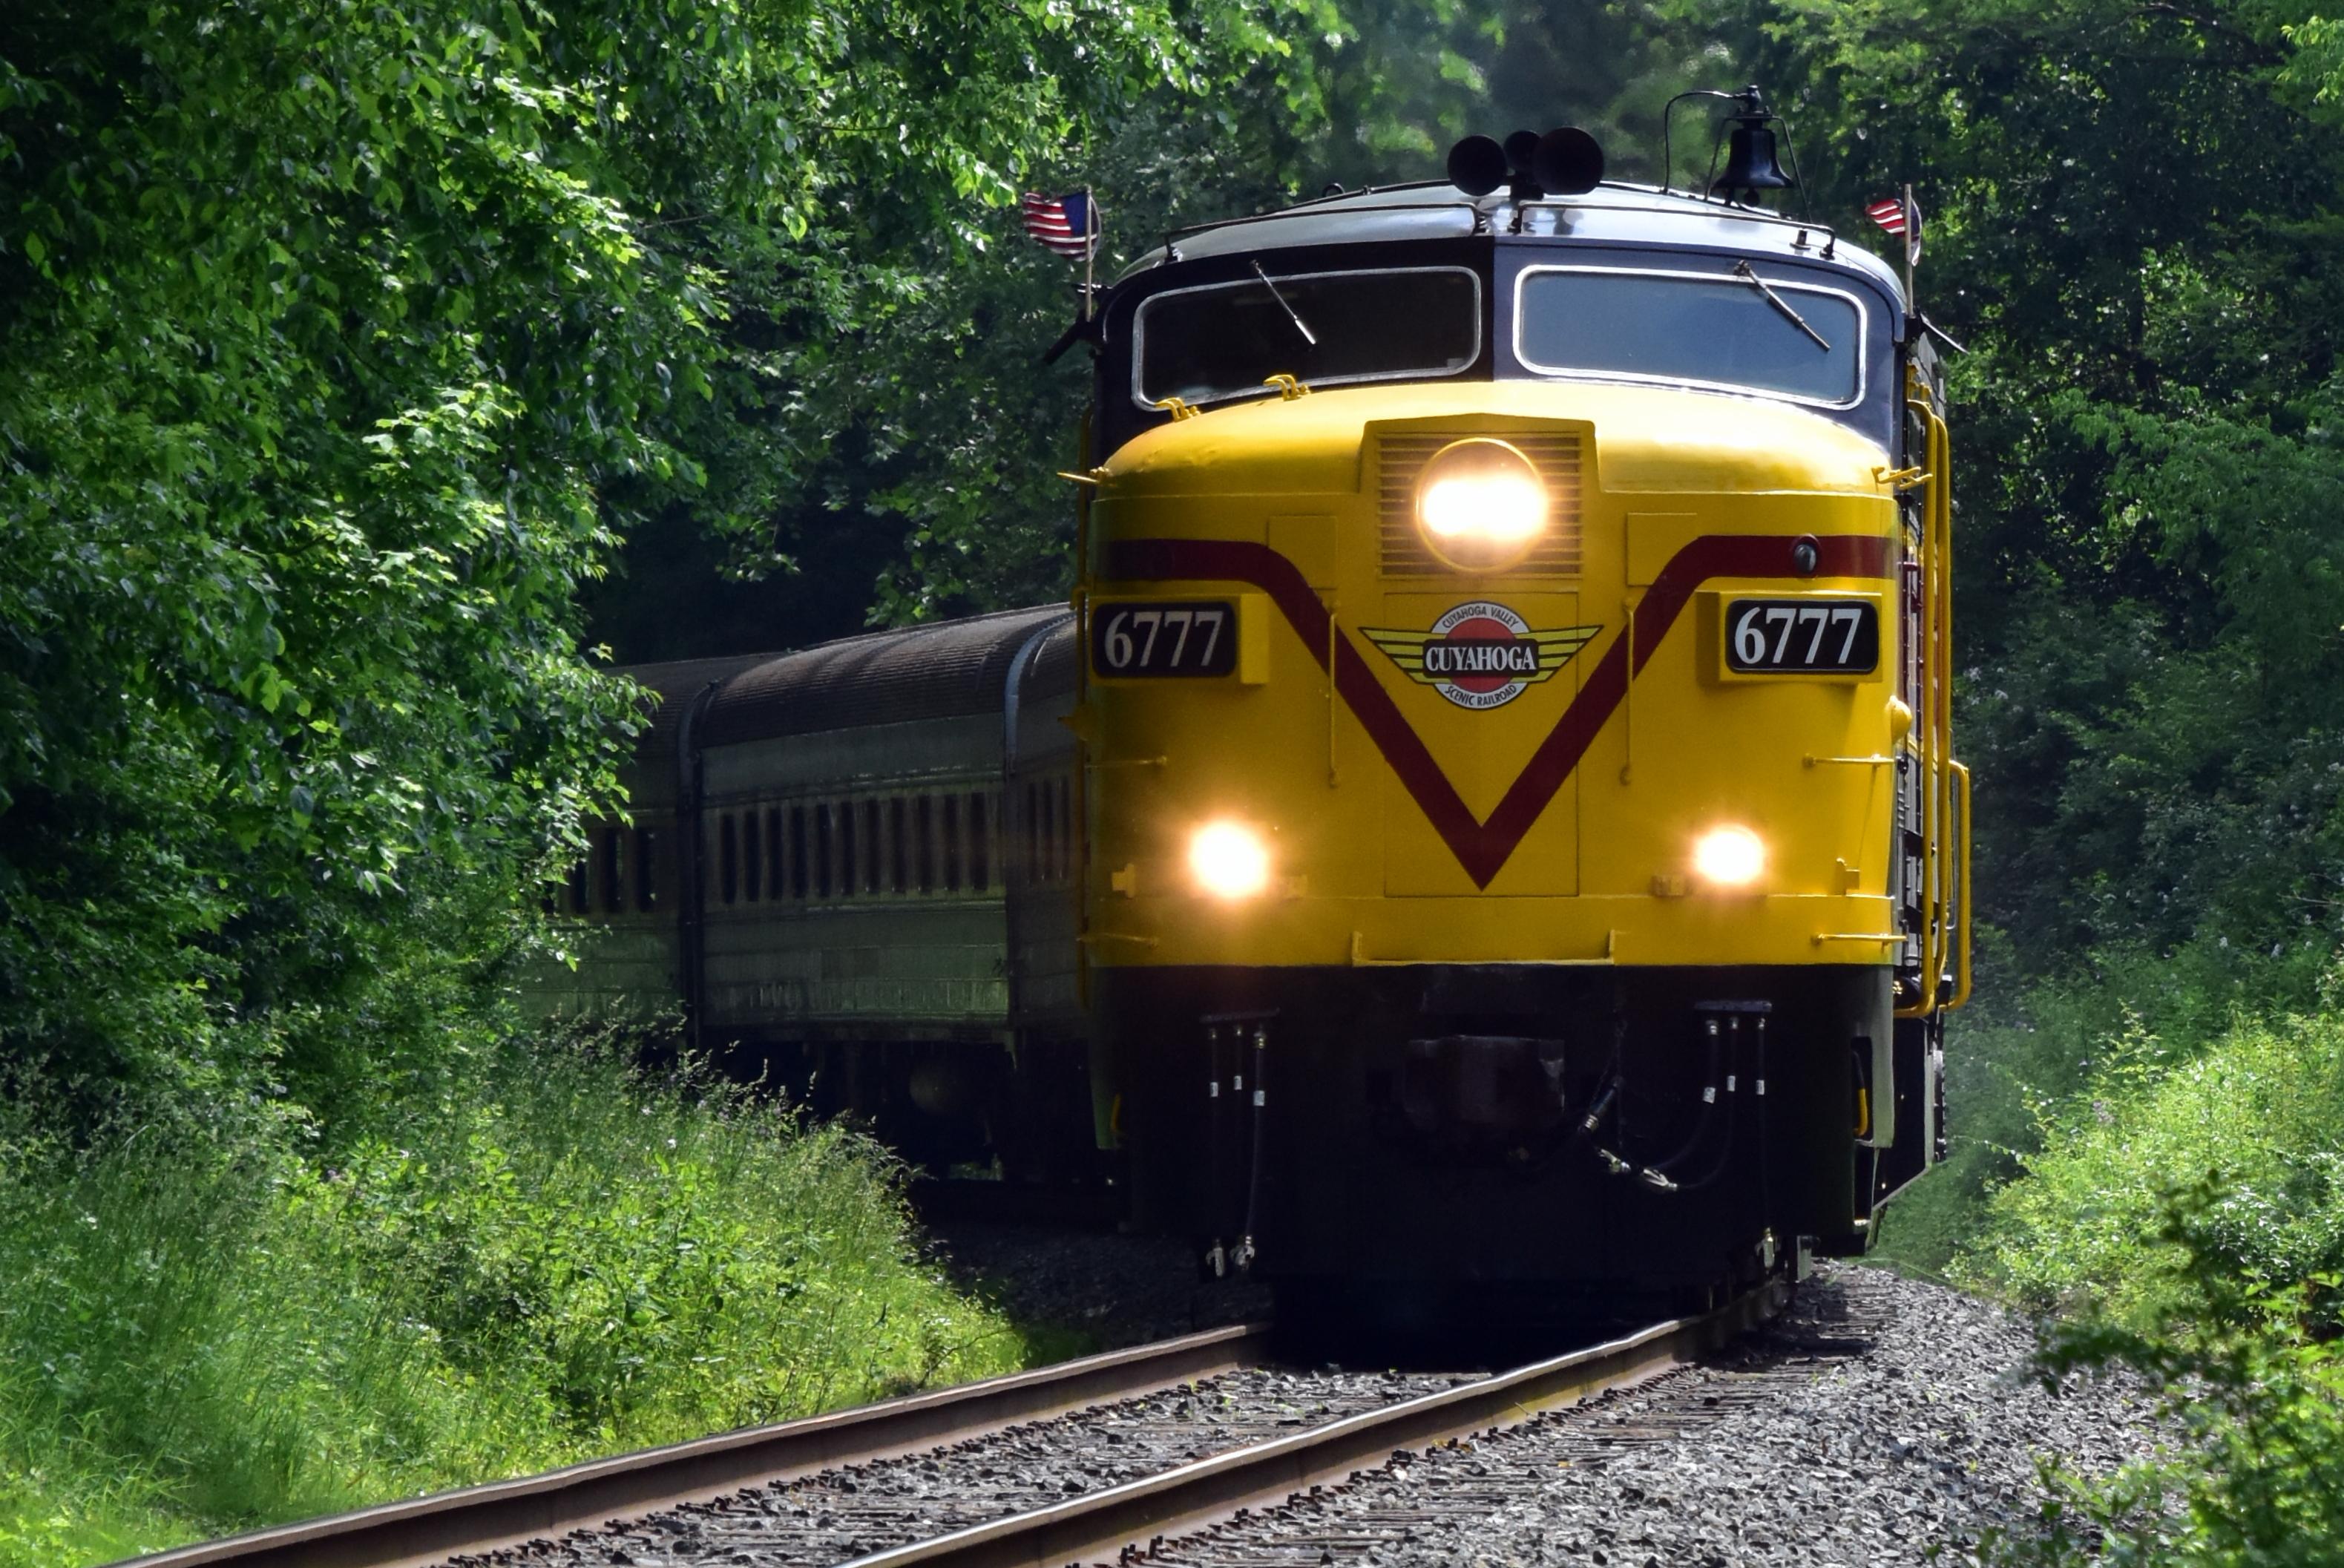
Best of Cuyahoga Valley National Park: Best Things to Do
Seeing a Cleveland Orchestra concert with the woods as your backdrop is a uniquely Cuyahoga Valley experience.
Sign in to join the conversation.
Sources & Attribution
Location data courtesy of the National Park Service (U.S. Department of the Interior). NPS data is public domain. Official NPS page.
Images: NPS; NPS; NPS; NPS; NPS.
Map data © OpenStreetMap contributors.
Park operations alerts: NPS.gov · Weather and weather hazards: National Weather Service · Live conditions.
Information may change. Always verify fees, hours, and conditions directly with the official source before visiting.
Did this guide help? Share it with a friend.