Canyonlands National Park Hiking: Island in the Sky, Needles & Maze Trails (2026 Guide)
NPS via NPS.gov (Public Domain)
Hiking Canyonlands National Park
12 min read
Hiking Guide
Complete 2026 hiking guide for Canyonlands National Park. Trails, difficulty ratings, seasonal conditions, and practical tips for every skill level.
This article contains affiliate links — we may earn a small commission at no extra cost to you.
What Hiking Here Actually Means
Hiking Canyonlands demands respect for distance, exposure, and self-reliance. This park's character lies not in one canyon, but in a fractured, layered landscape where trails drop from mesa tops into stone labyrinths. Most newcomers underestimate the scale and deceptive terrain. What appears as a brief stroll from a parking area often marks the beginning of a serious descent. The universal error is miscalculating the return. Descent is a choice; ascent is compulsory, with the desert sun exacting a toll on every step.
The experience varies dramatically by district. Island in the Sky offers shorter, vertigo-inducing rim trails with staggering views straight down. The Needles is a network of trails that weave through a colorful, complex maze of sandstone spires. The Maze is true wilderness navigation, where the trail is often just a suggestion in a wash. Rangers will tell you that successful hiking here depends less on fitness and more on preparation: carrying far more water than you think you need, understanding that shade is a rumor, and knowing that cell service is a memory long before you reach most trailheads.
Island in the Sky District Trails
Island in the Sky serves as the primary entry point for day visitors. Trails here emphasize dramatic elevation shifts over distance. Expect to spend your time descending from or regaining the mesa rim, with relentless views into the abyss below.
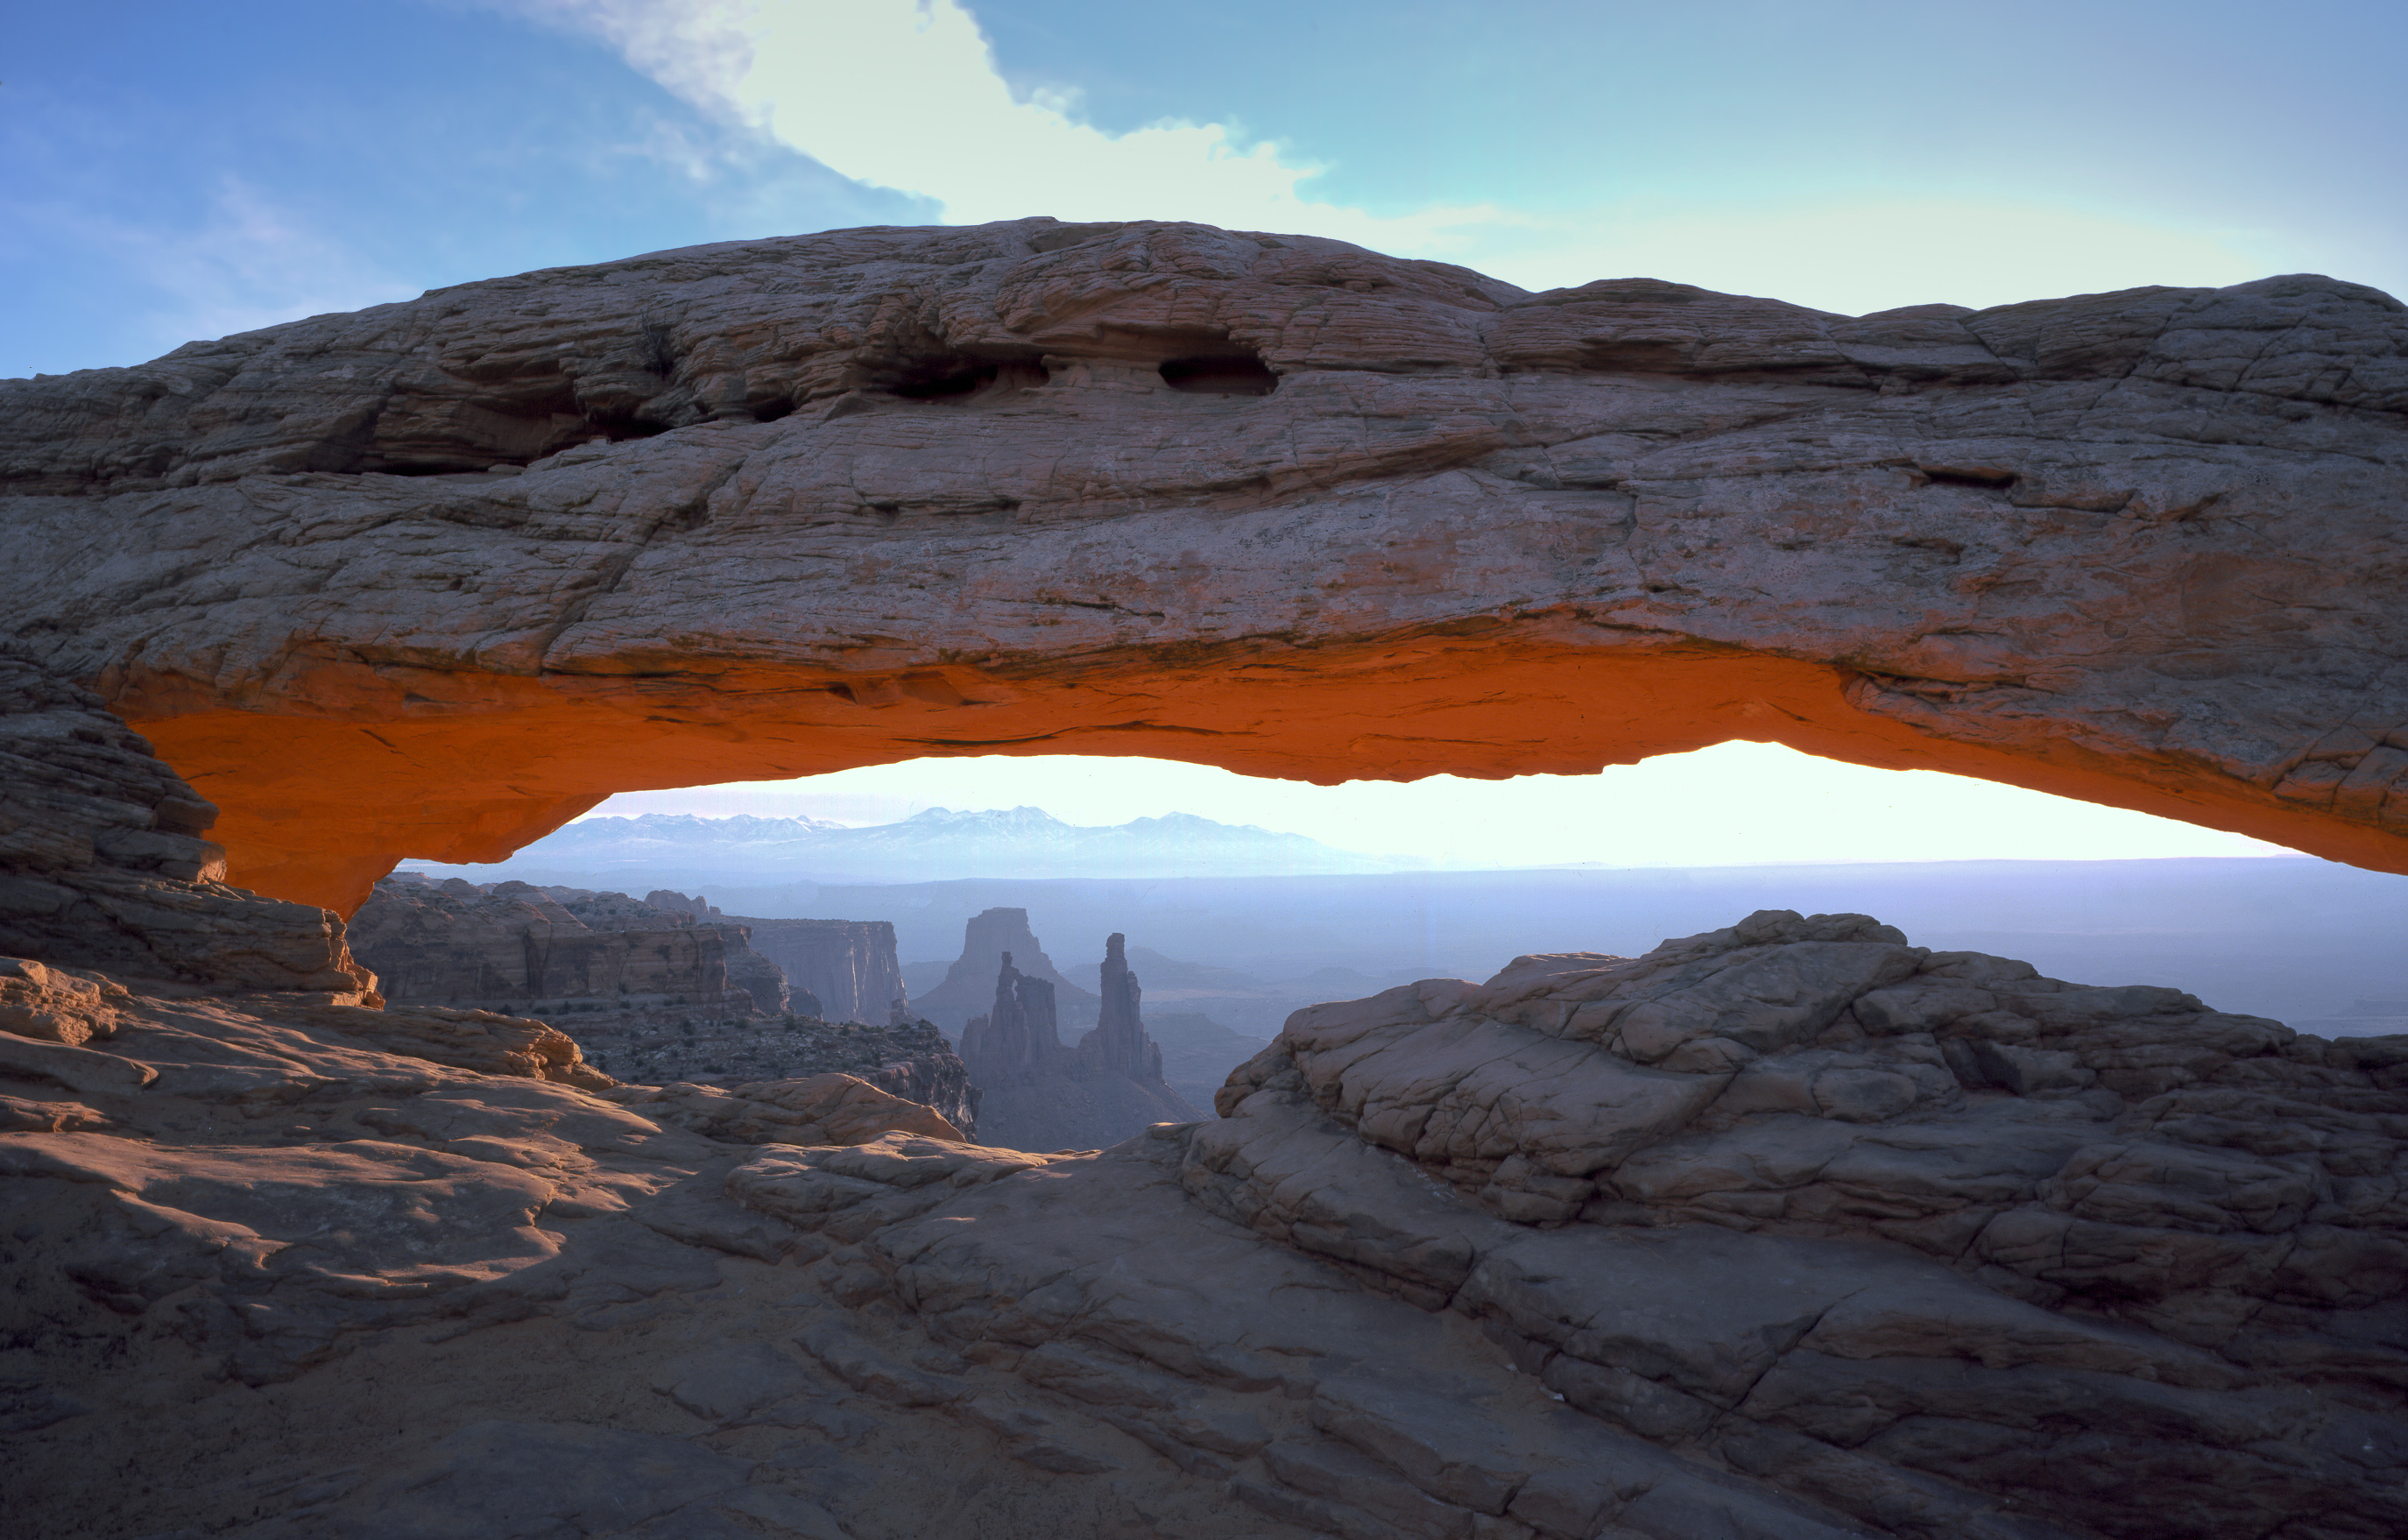
Mesa Arch Trail: The Crowded Postcard
Distance: 0.7 miles roundtrip
Elevation Gain: 88 feet
Trailhead & Parking: The lot is the first major one after the visitor center. It fills by 8:30 AM on spring and fall weekends. Overflow parking spills along the roadside, but rangers will ticket vehicles blocking vegetation. This is a paved, wheelchair-accessible trail for the first portion before it turns to hard-packed dirt.
The Trail: A flat, easy loop on the mesa rim. The surface is mostly packed sand and rock. The arch sits right on the cliff edge, framing a view of Washer Woman Arch and the White Rim far below. It's wide enough for the constant two-way traffic of photographers and families.
The Moment: Sunrise, when the underside of the arch glows fiery orange as the sun crests the La Sal Mountains. It's a spectacle, shared with dozens of other tripods.
What Most Underestimate: The sheer number of people. It's rarely quiet. For a similar view with 90% fewer people, walk 200 yards east along the rim from the arch itself.
Best Time: Sunrise, exclusively. By 9 AM it's a social trail. Winter sunrise offers the same light with thinner crowds.
Grand View Point Trail: The Rim Walk
Distance: 1.8 miles roundtrip
Elevation Gain: Minimal
Trailhead & Parking: At the very end of the Island in the Sky scenic drive. The lot is large but still fills by mid-morning. This is the trailhead for the White Rim Overlook as well, so read signs carefully.
The Trail: It starts as a wide, paved path to the first overlook. Past that point, it narrows to a well-defined dirt trail that follows the very edge of the mesa. The exposure is constant and significant - there are no guardrails. The footing is solid sandstone with some sandy patches.
The Moment: Reaching the final promontory, where you stand on a peninsula of rock with a 360-degree view. The Green and Colorado rivers are visible as thin, dark lines converging over 1,000 feet below, with the entire Maze district unfolding to the west.
What Most Underestimate: The wind. It can be calm at the parking lot and a steady 30 mph gust at the point, enough to challenge your balance. Hold onto hats.
Best Time: Late afternoon. The light on the Chocolate Drops and the Grabens in the Needles district is exceptional, and most crowds have left for dinner in Moab.
Murphy Point Trail: The Quiet Alternative
Distance: 3.6 miles roundtrip
Elevation Gain: Minimal
Trailhead & Parking: A small, unpaved pull-off about 1.5 miles back from Grand View Point. Fits about 8 cars. Often overlooked.
The Trail: A flat, sandy old roadbed that leads straight west across a pinion-juniper plateau. It's utterly exposed, with no shade. The trail ends abruptly at the rim edge at Murphy Point.
The Moment: The solitude. You'll likely have this vast overlook to yourself, with a direct view down into the White Rim 4x4 road and the Green River. It's the best spot in the district to watch the sunset in relative peace.
What Most Underestimate: The lack of any defining features until the very end. It feels like you're walking nowhere until the ground suddenly falls away.
Best Time: An hour before sunset. Bring a headlamp for the walk back.
Upheaval Dome Trail: The Geological Puzzle
Distance: 1.8 miles roundtrip to second overlook
Elevation Gain: 200 feet
Trailhead & Parking: Large lot at the end of the Upheaval Dome road. Often busy, as it's a major stop.
The Trail: A steady climb over slickrock, following cairns (rock piles). The first overlook is at 0.3 miles. The trail continues another 0.6 miles to a second, higher overlook that provides a more complete view. The footing is on exposed sandstone, which can be slick when dusty.
The Moment: Staring into the crater-like formation, which is either a salt dome or an impact crater (geologists still debate). The colorful, jumbled rock layers are unlike anything else in the park.
What Most Underestimate: The cairns are essential. If you lose sight of the next one, stop and look carefully. Turning around, the view back to the trailhead and the car is disorienting.
Best Time: Morning, when the sun illuminates the interior of the dome. The slickrock gets hot by afternoon.
White Rim Overlook Trail: The
Distance: 1.8 miles roundtrip
Elevation Gain: Minimal
Trailhead & Parking: Unmarked pullout on the left, 0.8 miles back from Grand View Point. Fits 4-5 cars. Easy to miss.
The Trail: An unmaintained but obvious social trail that follows a narrow fin of rock out to a ly exposed point. The trail narrows to about two feet wide in places with significant drop-offs on both sides.
The Moment: The very end, where you're standing on a rock peninsula with nothing between you and a 1,400-foot drop to the White Rim road. The view up the Colorado River is in the district.
What Most Underestimate: The exposure. This is not a trail for those uneasy with heights. Not suitable for young children.
Best Time: Any time. It's rarely crowded due to its obscurity.

The Needles District Trails
This is a hiker's district. The trails here are longer, weave through rock formations, and often involve ladders, cairn navigation, and narrow passages. It's about immersion, not just views from above.
Chesler Park Loop: The Signature Needles Hike
Distance: 10.4 miles roundtrip (including the Joint Trail)
Elevation Gain: 1,800 feet
Trailhead & Parking: Elephant Hill Trailhead. This is the most competitive parking in Canyonlands. The lot holds about 20 cars and is full by 7:30 AM on spring and fall weekends. No overflow. Arrive early or have a backup plan.
The Trail: A demanding but incredibly varied loop. It starts with a steep, rocky climb, then traverses slickrock benches marked by cairns. It passes through the narrow, deep cracks of the Joint Trail (a cool, shaded slot canyon), opens into the grassy meadow of Chesler Park surrounded by needles, and returns via more slickrock.
The Moment: Emerging from the tight, dark Joint Trail into the wide-open, sun-drenched expanse of Chesler Park, ringed by hundreds of red-and-white striped spires.
What Most Underestimate: The navigation. You must pay attention to cairns, especially crossing the slickrock sections. Missing one can lead you off-route. The official park map is essential.
Best Time: A spring or fall weekday. This hike is too long and exposed for summer heat.
Druid Arch Trail: The Destination Hike
Distance: 10.8 miles roundtrip
Elevation Gain: 1,200 feet
Trailhead & Parking: Elephant Hill or Squaw Flat (adds distance). Same competitive parking situation as Chesler Park.
The Trail: Follows the Chesler Park trail for the first mile, then branches off down Elephant Canyon. The canyon floor is sandy, with occasional rock-hopping and one section requiring a 10-foot ladder. The final 0.5 miles is a steep, rocky climb out of the canyon to the arch.
The Moment: The first full view of Druid Arch, a massive, rectangular sandstone arch that looks like a megalithic monument. It feels earned.
What Most Underestimate: The ladder. It's sturdy and bolted, but you must use your hands. If you're uncomfortable with this, turn back at the canyon junction.
Best Time: Morning, to have shade in Elephant Canyon for the first half. The final climb is fully exposed.
Slickrock Foot Trail: The Family-Friendly Option
Distance: 2.4 miles roundtrip
Elevation Gain: 200 feet
Trailhead & Parking: Slickrock Foot Trailhead, just past the Needles visitor center. Moderate-sized lot, usually has space later in the day.
The Trail: A loop across a vast expanse of Navajo Sandstone, marked clearly with cairns. It features four numbered viewpoints with interpretive plaques explaining the geology and landmarks of the Needles spread out before you.
The Moment: Viewpoint #4, which gives you the full panorama of the Needles' core formations without the commitment of a long hike.
What Most Underestimate: The "slick" in slickrock. When dusty or wet, the sandstone can be surprisingly slippery. Good traction shoes are a must.
Best Time: Late afternoon for the best light on the Needles. A good sunset spot.
Confluence Overlook Trail: The River View
Distance: 10.6 miles roundtrip
Elevation Gain: 800 feet
Trailhead & Parking: Big Spring Canyon Overlook, at the end of the paved road. Small lot, fills early.
The Trail: A rolling trail across open grassland and along canyon rims, with little shade. The final approach is across a narrow, exposed sandstone fin with significant drop-offs.
The Moment: Looking straight down 1,000 feet to where the Green River (muddy green) meets the Colorado River (red-brown). It's one of the few places in the park to see this geographic landmark from land.
What Most Underestimate: The exposure at the end. The overlook is a small, rocky point. Not for those with a fear of heights.
Best Time: Fall or spring. The summer heat on this shadeless trail is brutal.
The Maze District & Backcountry
This is wilderness. There are no maintained trails, only routes marked sporadically with cairns. A detailed topographic map, GPS, and advanced navigation skills are absolute requirements. All access roads require high-clearance 4WD. Rangers emphasize that self-rescue is the only option here; response times are measured in days, not hours.
The Harvest Scene & Pictograph Panel
Distance: Varies by route; typically a 3-4 mile roundtrip from vehicle
Elevation Gain: Variable, involves descending into canyons
Trailhead & Parking: At the end of the 4WD road in Horseshoe Canyon, a detached unit of the park. Remote dirt lot.
The Trail: A steep descent into Horseshoe Canyon on a defined trail, followed by a sandy walk down the canyon wash.
The Moment: Standing before the Great Gallery, a 200-foot-long panel of life-sized Barrier Canyon Style pictographs, including the famous "Holy Ghost" figure. The silence and scale are humbling.
What Most Underestimate: The climb back out. It's 800 vertical feet of sand and rock back to the rim. Save energy and water for it.
Best Time: Spring or fall. The canyon can be dangerously hot in summer.
Permit Requirements: None for day use. Overnight trips in The Maze require a backcountry permit, which are limited and competitive.

Seasonal Trail Conditions
Your experience hinges on the month. The park's high desert climate delivers extreme swings.
April-May: The prime window. Daytime highs 60-80°F, wildflowers (prickly pear, cliffrose) bloom in May. Crowds are heaviest. Afternoon winds are common.
June-August: Hiking becomes a high-risk activity after 10 AM. Temperatures exceed 100°F regularly. Rangers strongly advise against any strenuous hiking between 10 AM and 4 PM. If you must hike, start before dawn, carry a minimum of 1 gallon of water per person per day, and know the signs of heat illness. Monsoon thunderstorms in July and August can cause flash floods in narrow canyons - check the forecast obsessively.
Mid-September-October: Another prime season. Crowds thin after Labor Day. Pleasant days (60-80°F) and cool nights. Ideal for long day hikes.
November-March: Winter. Daytime highs 30-50°F, nights often below freezing. Snow and ice can make rim trails and slickrock extremely hazardous. Traction devices (microspikes) are recommended for any trail with exposure. The Needles and Maze access roads may be impassable due to snow or mud. What the park website doesn't mention: black ice forms on north-facing slickrock, invisible and treacherous.
Trailhead Logistics
Parking strategy is a critical part of your hike. For Island in the Sky, the Mesa Arch and Grand View Point lots are full by 9 AM on busy days. The Murphy Point and White Rim Overlook pullouts are your best bets for solitude if you arrive late. For the Needles, the Elephant Hill trailhead is the epicenter of competition. If it's full, your only option is to drive back to the Squaw Flat trailhead and choose a different hike, adding significant distance.
There are no park shuttles. You drive yourself to every trailhead.
Cell service drops out completely about 10 minutes after turning off the main highway toward either Island in the Sky or The Needles. Do not rely on your phone for maps or communication. Download offline maps and trail descriptions beforehand.
The only reliable water sources are at the Island in the Sky and Needles visitor centers. There is no potable water on any trail. Treat any natural water source (extremely rare) before drinking.
Check current trail conditions at the visitor center ranger desk. They know which trails have washouts, difficult cairn sections, or recent wildlife activity.

What to Carry
Forget the generic list. Here's what matters for hiking canyonlands national park.
Footwear: Trail runners or hiking boots with aggressive, sticky rubber soles (like Vibram). You will be walking on smooth, sloping sandstone. Slickrock lives up to its name when dusty or in the wrong shoes.
Water: Carry a minimum of 1 liter for every 2 hours of hiking, plus a reserve. For a 4-hour summer hike, that's 3 liters minimum. Most people carry too little. A hydration reservoir is more efficient than bottles for the constant sipping you need to do.
Navigation: A detailed paper map and the ability to use it. GPS is helpful, but batteries die. Cairns can be knocked over. For the Needles and Maze, the National Geographic Trails Illustrated map is considered essential by experienced visitors.
Sun Protection: A wide-brimmed hat, not a baseball cap. Your neck and ears will thank you. Sun gloves if you're using trekking poles. Mineral-based sunscreen (zinc oxide) - it doesn't melt into your eyes with sweat like chemical sunscreens.
Trekking Poles: Highly recommended for the steep, sandy descents and ascents, especially on the return trip. They save your knees on the 1,000-foot climbs back to the mesa.
Headlamp: Even on a day hike. If you twist an ankle, your 3-hour hike can turn into a 5-hour crawl, finishing in the dark.
Practical Takeaways
- Water is your primary constraint. Plan your hike length around your water carry capacity, not just distance.
- The return trip is the real hike. Budget twice as much time and energy for the uphill return as you spent going down.
- Island in the Sky is about vertical views. Needles is about horizontal immersion. Choose based on whether you want to look into the canyon or be inside the rock.
- Elephant Hill trailhead parking is a predawn mission. If you're not an early riser, have a backup hike from Squaw Flat.
- "Moderate" here often includes sections of exposure, ladders, or tricky cairn navigation. Read trail descriptions for these specifics, not just the difficulty rating.
- Your car is your basecamp. Stock it with extra water, food, and electrolytes for when you return dehydrated and tired.
- Check the weather for flash flood risk if your hike involves any canyon bottoms or narrows, especially in The Needles.
- The best light for photography is the hour after sunrise and the hour before sunset. The midday sun washes out all color and depth.
- Leave a trip plan with someone, noting which trailhead and your expected return time. Rangers at the visitor center can note it as well.
- The Maze is not a day-hike destination. It's a multi-day expedition requiring 4WD, advanced planning, and a backcountry permit.
For broader planning context, including how to choose which district fits your trip, consult the park's complete visitor guide. If you're extending your stay, research the camping options well in advance, and always check the best time to visit for current seasonal conditions.
Recommended Gear
What experienced visitors bring to Hiking Canyonlands National Park
Links may earn us a commission at no extra cost to you. We only recommend gear we believe in.
Hiking Essentials
Hydration Pack (3L)
Hands-free water for long trail days
Trekking Poles (Pair)
Save your knees on steep descents
Hiking Boots (Ankle Support)
Sturdy footwear for rocky, uneven trails
Sun & Heat Protection
Wide-Brim Sun Hat
Full coverage UPF 50+ protection at altitude
Insulated Water Bottle (32oz)
Keeps water cold in desert heat all day
Electrolyte Mix Packets
Replace what water alone cannot during intense heat
Winter Gear
Microspikes / Traction Devices
Essential for icy rim trails in winter months
Packable Down Jacket
Lightweight warmth that stuffs into a pocket
Sources
- Official source: NPS — Canyonlands National Park nps.gov/cany/index.htm
Photo Gallery
More to Explore
Park Guide
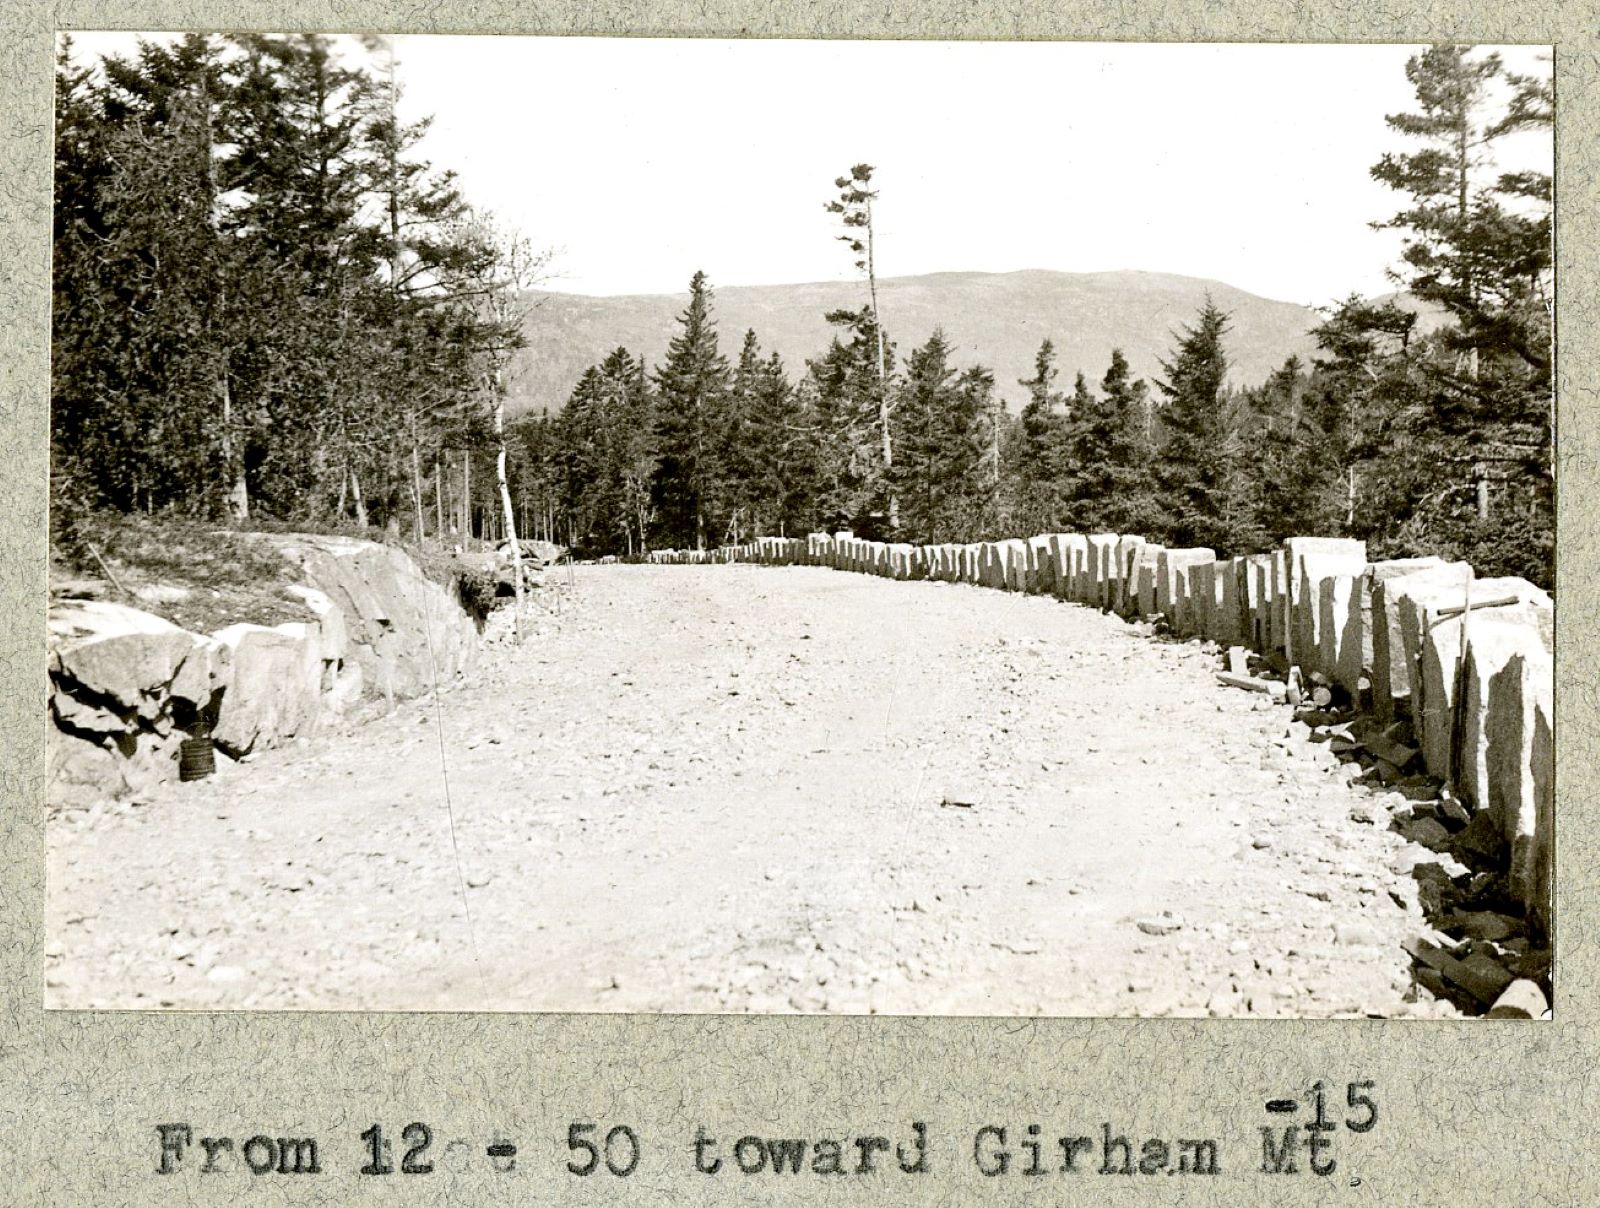
Acadia National Park: Carriage Roads, Cadillac Mountain & 2026 Guide
Discover carriage roads, Cadillac Mountain, and rugged Maine coast. Complete 2026 guide to Acadia National Park — trails, fees, lodging, permits, and what rangers recommend.
Hiking Guide
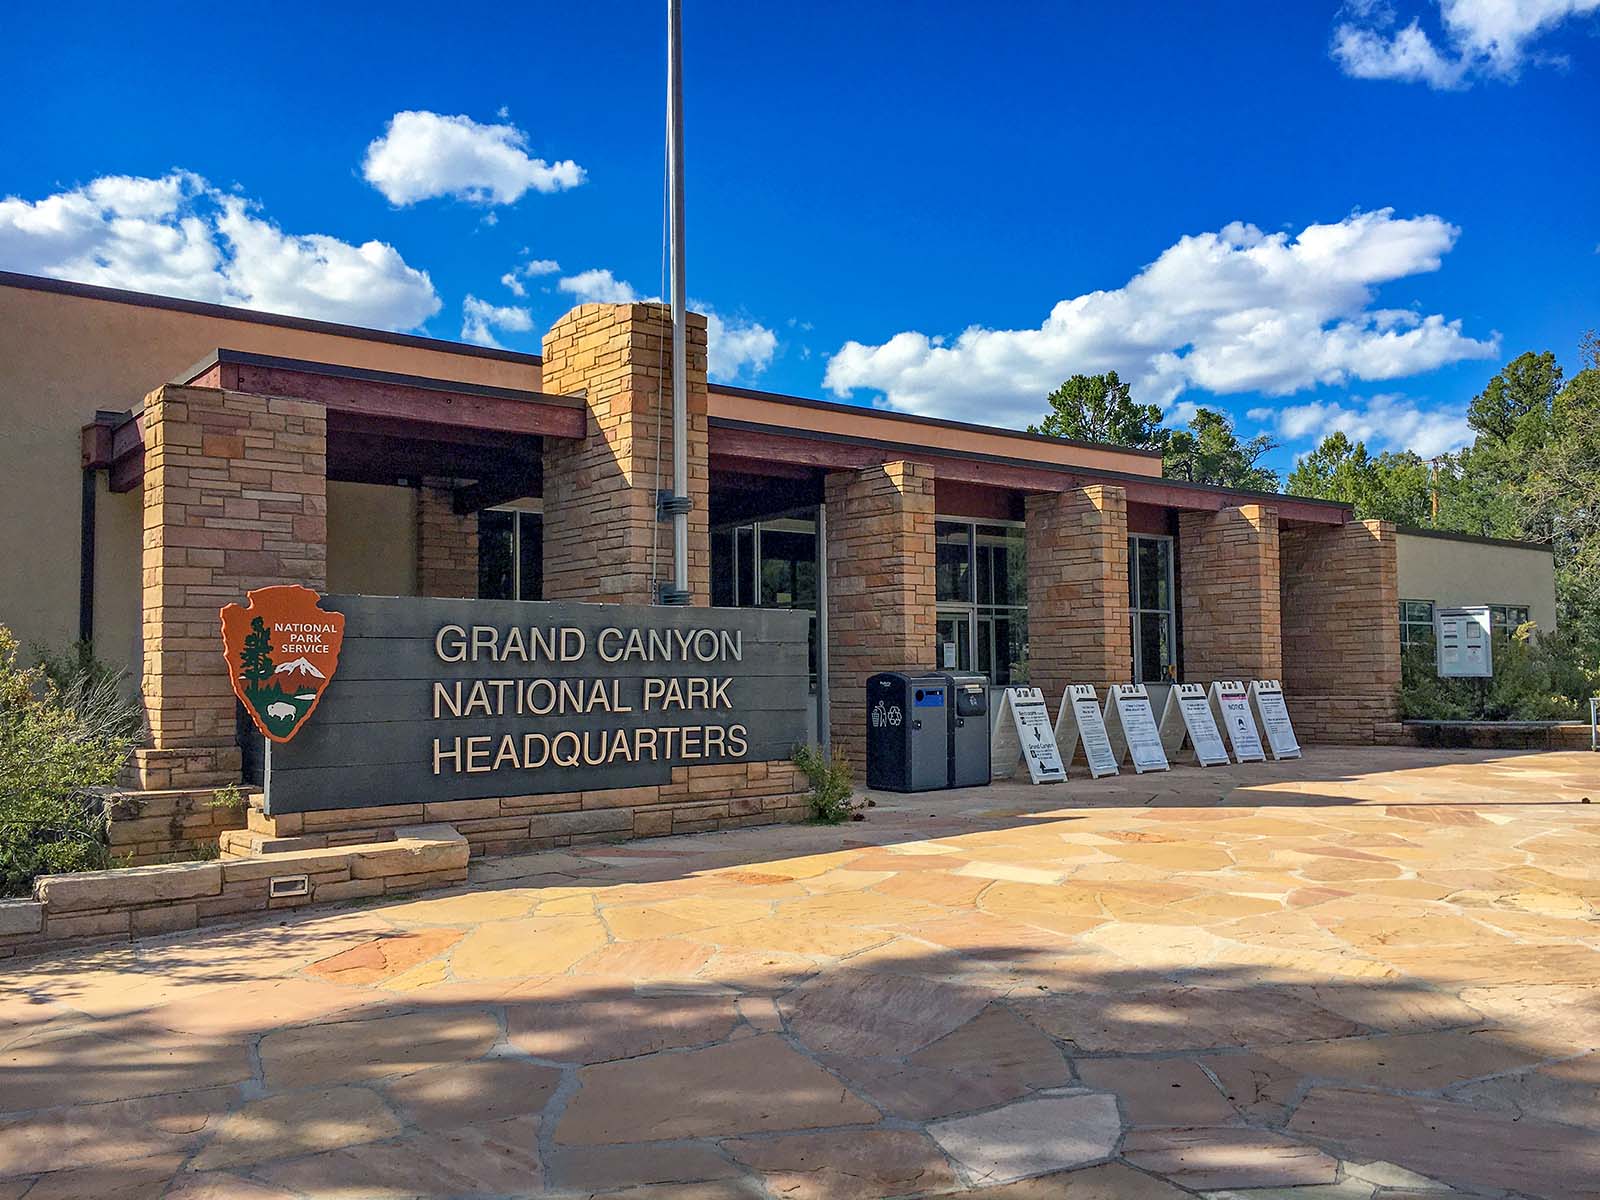
Grand Canyon Hiking Trails: Day Hikes, Water Sources & Rim to Rim
Compare Grand Canyon hiking trails: Bright Angel, South Kaibab, Hermit, Grandview, and rim to rim, with distances, elevation, water stops, and trailhead access for each.
Best Of
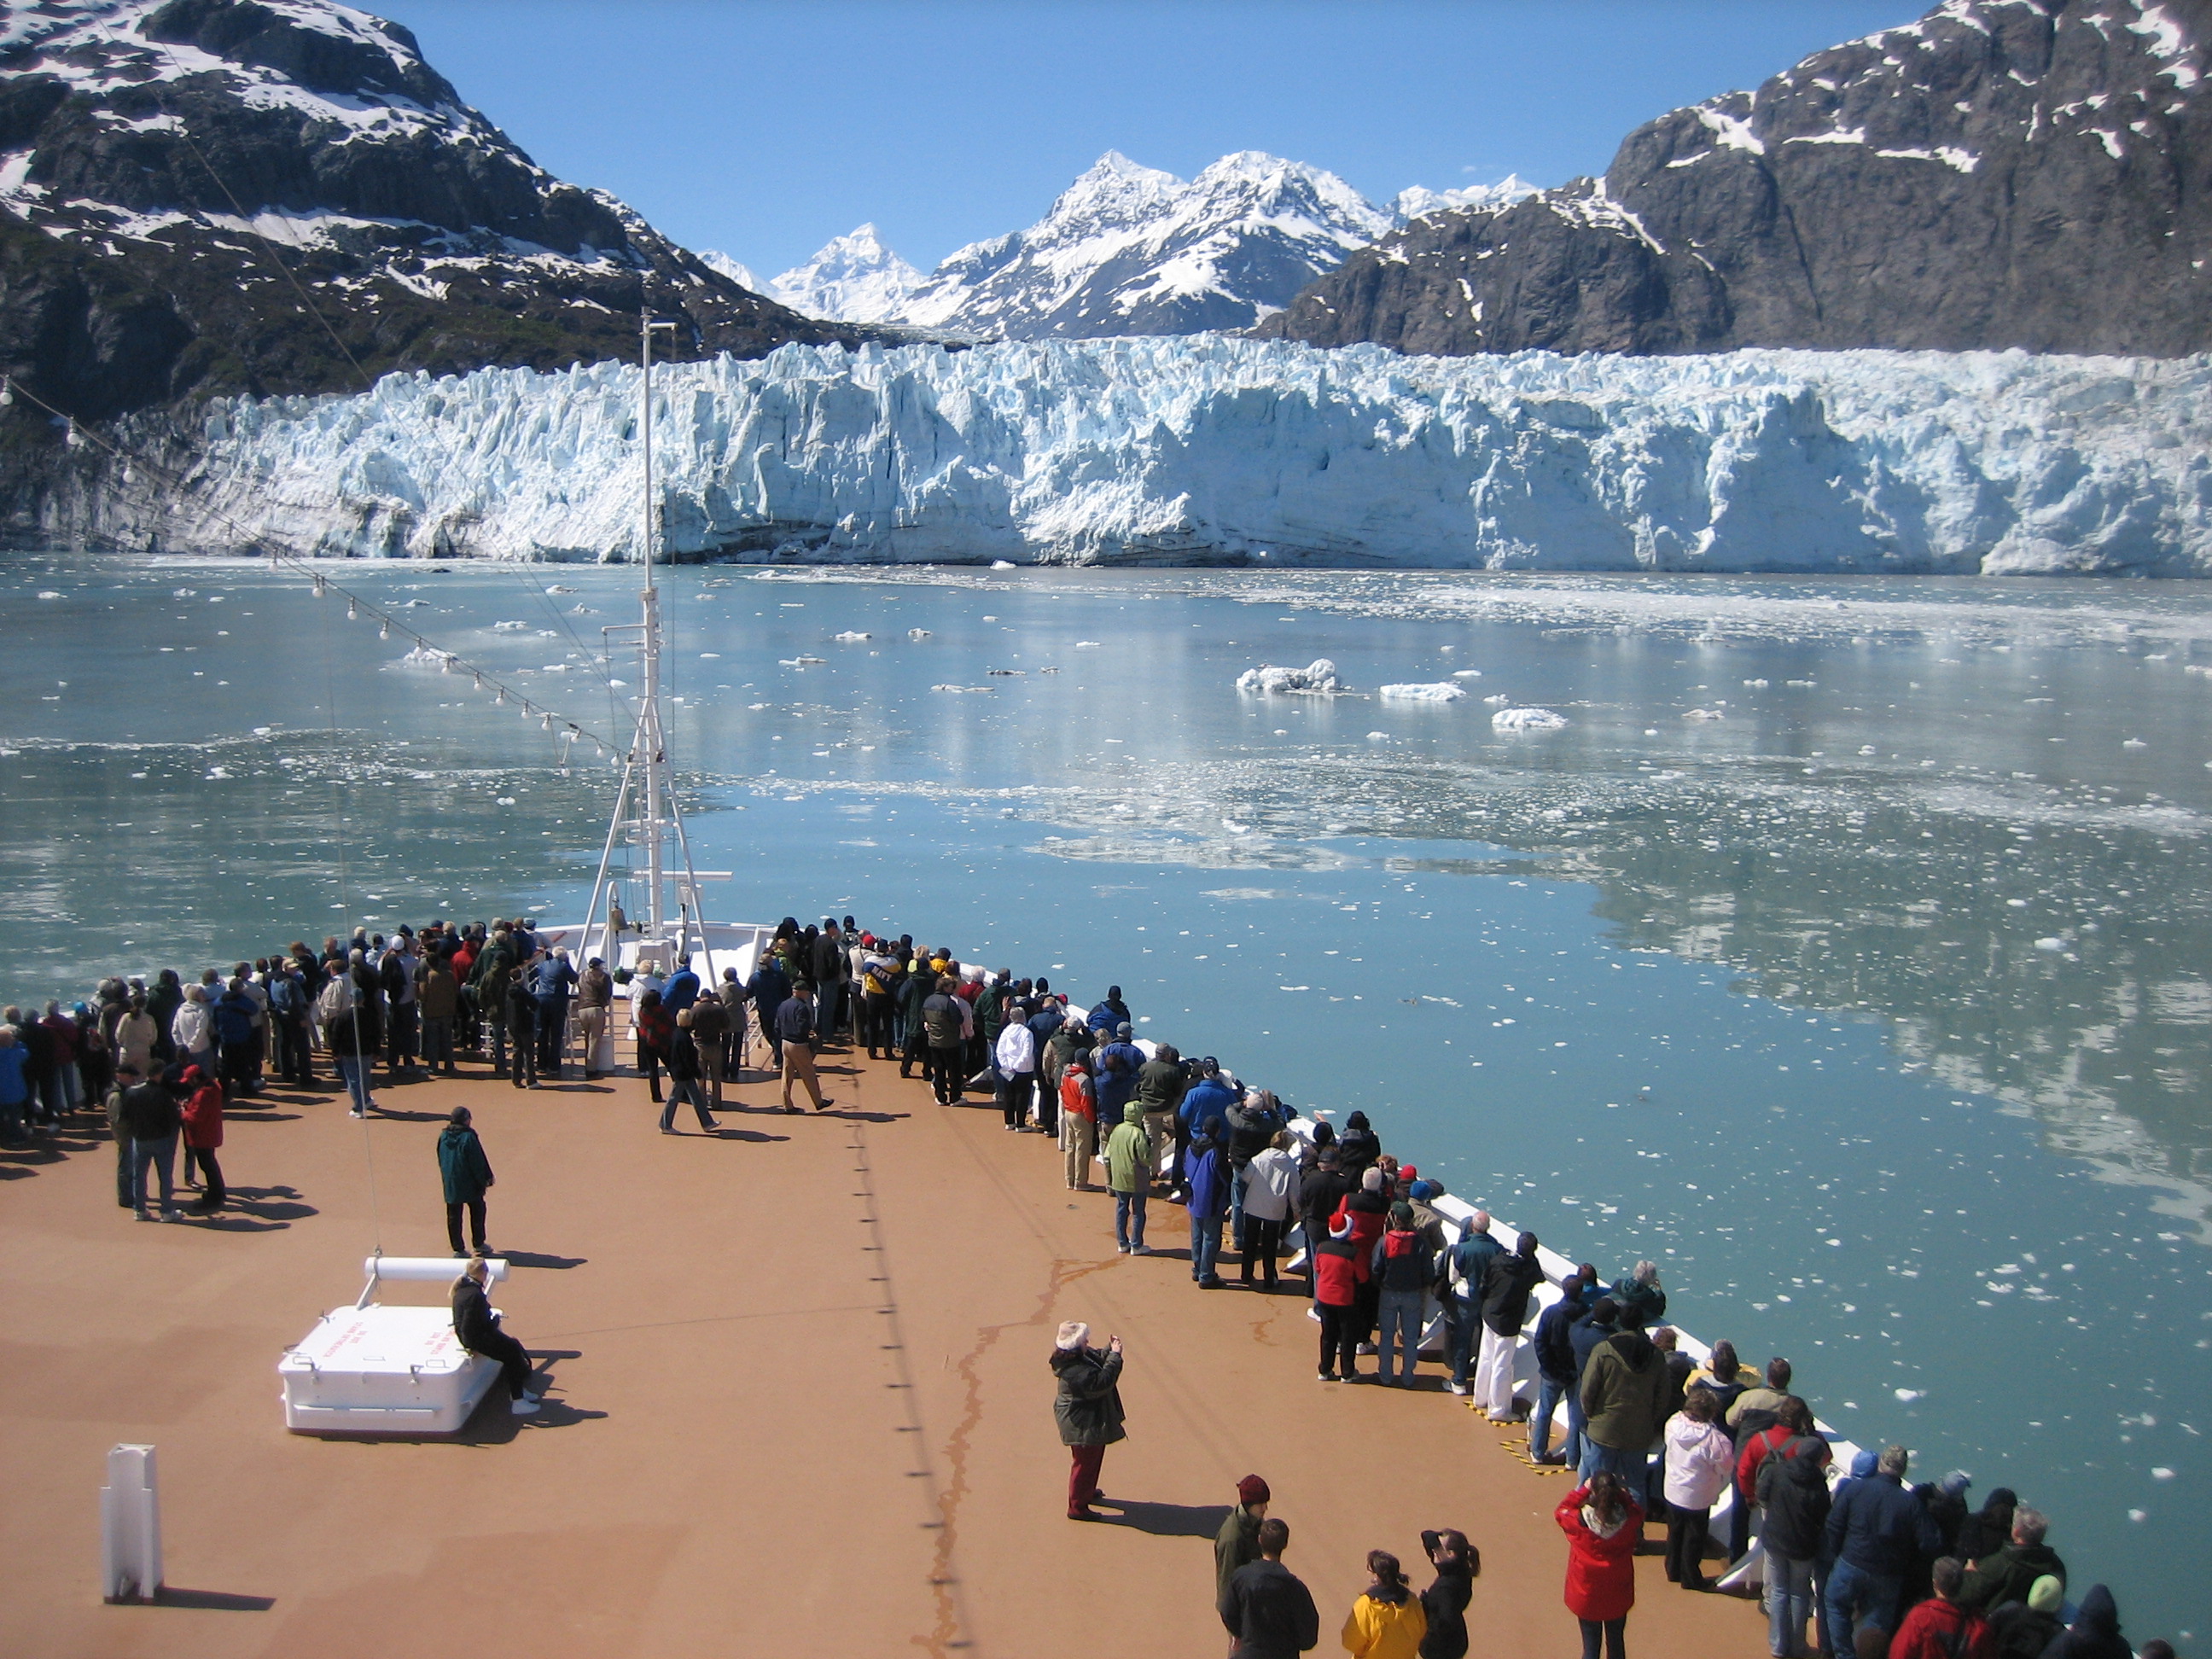
Best of Glacier Bay National Park
The best of Glacier Bay is reached by boat: ranger-led day tours up the bay to the tidewater glaciers. What's worth it, how to book, and when to go (2026).
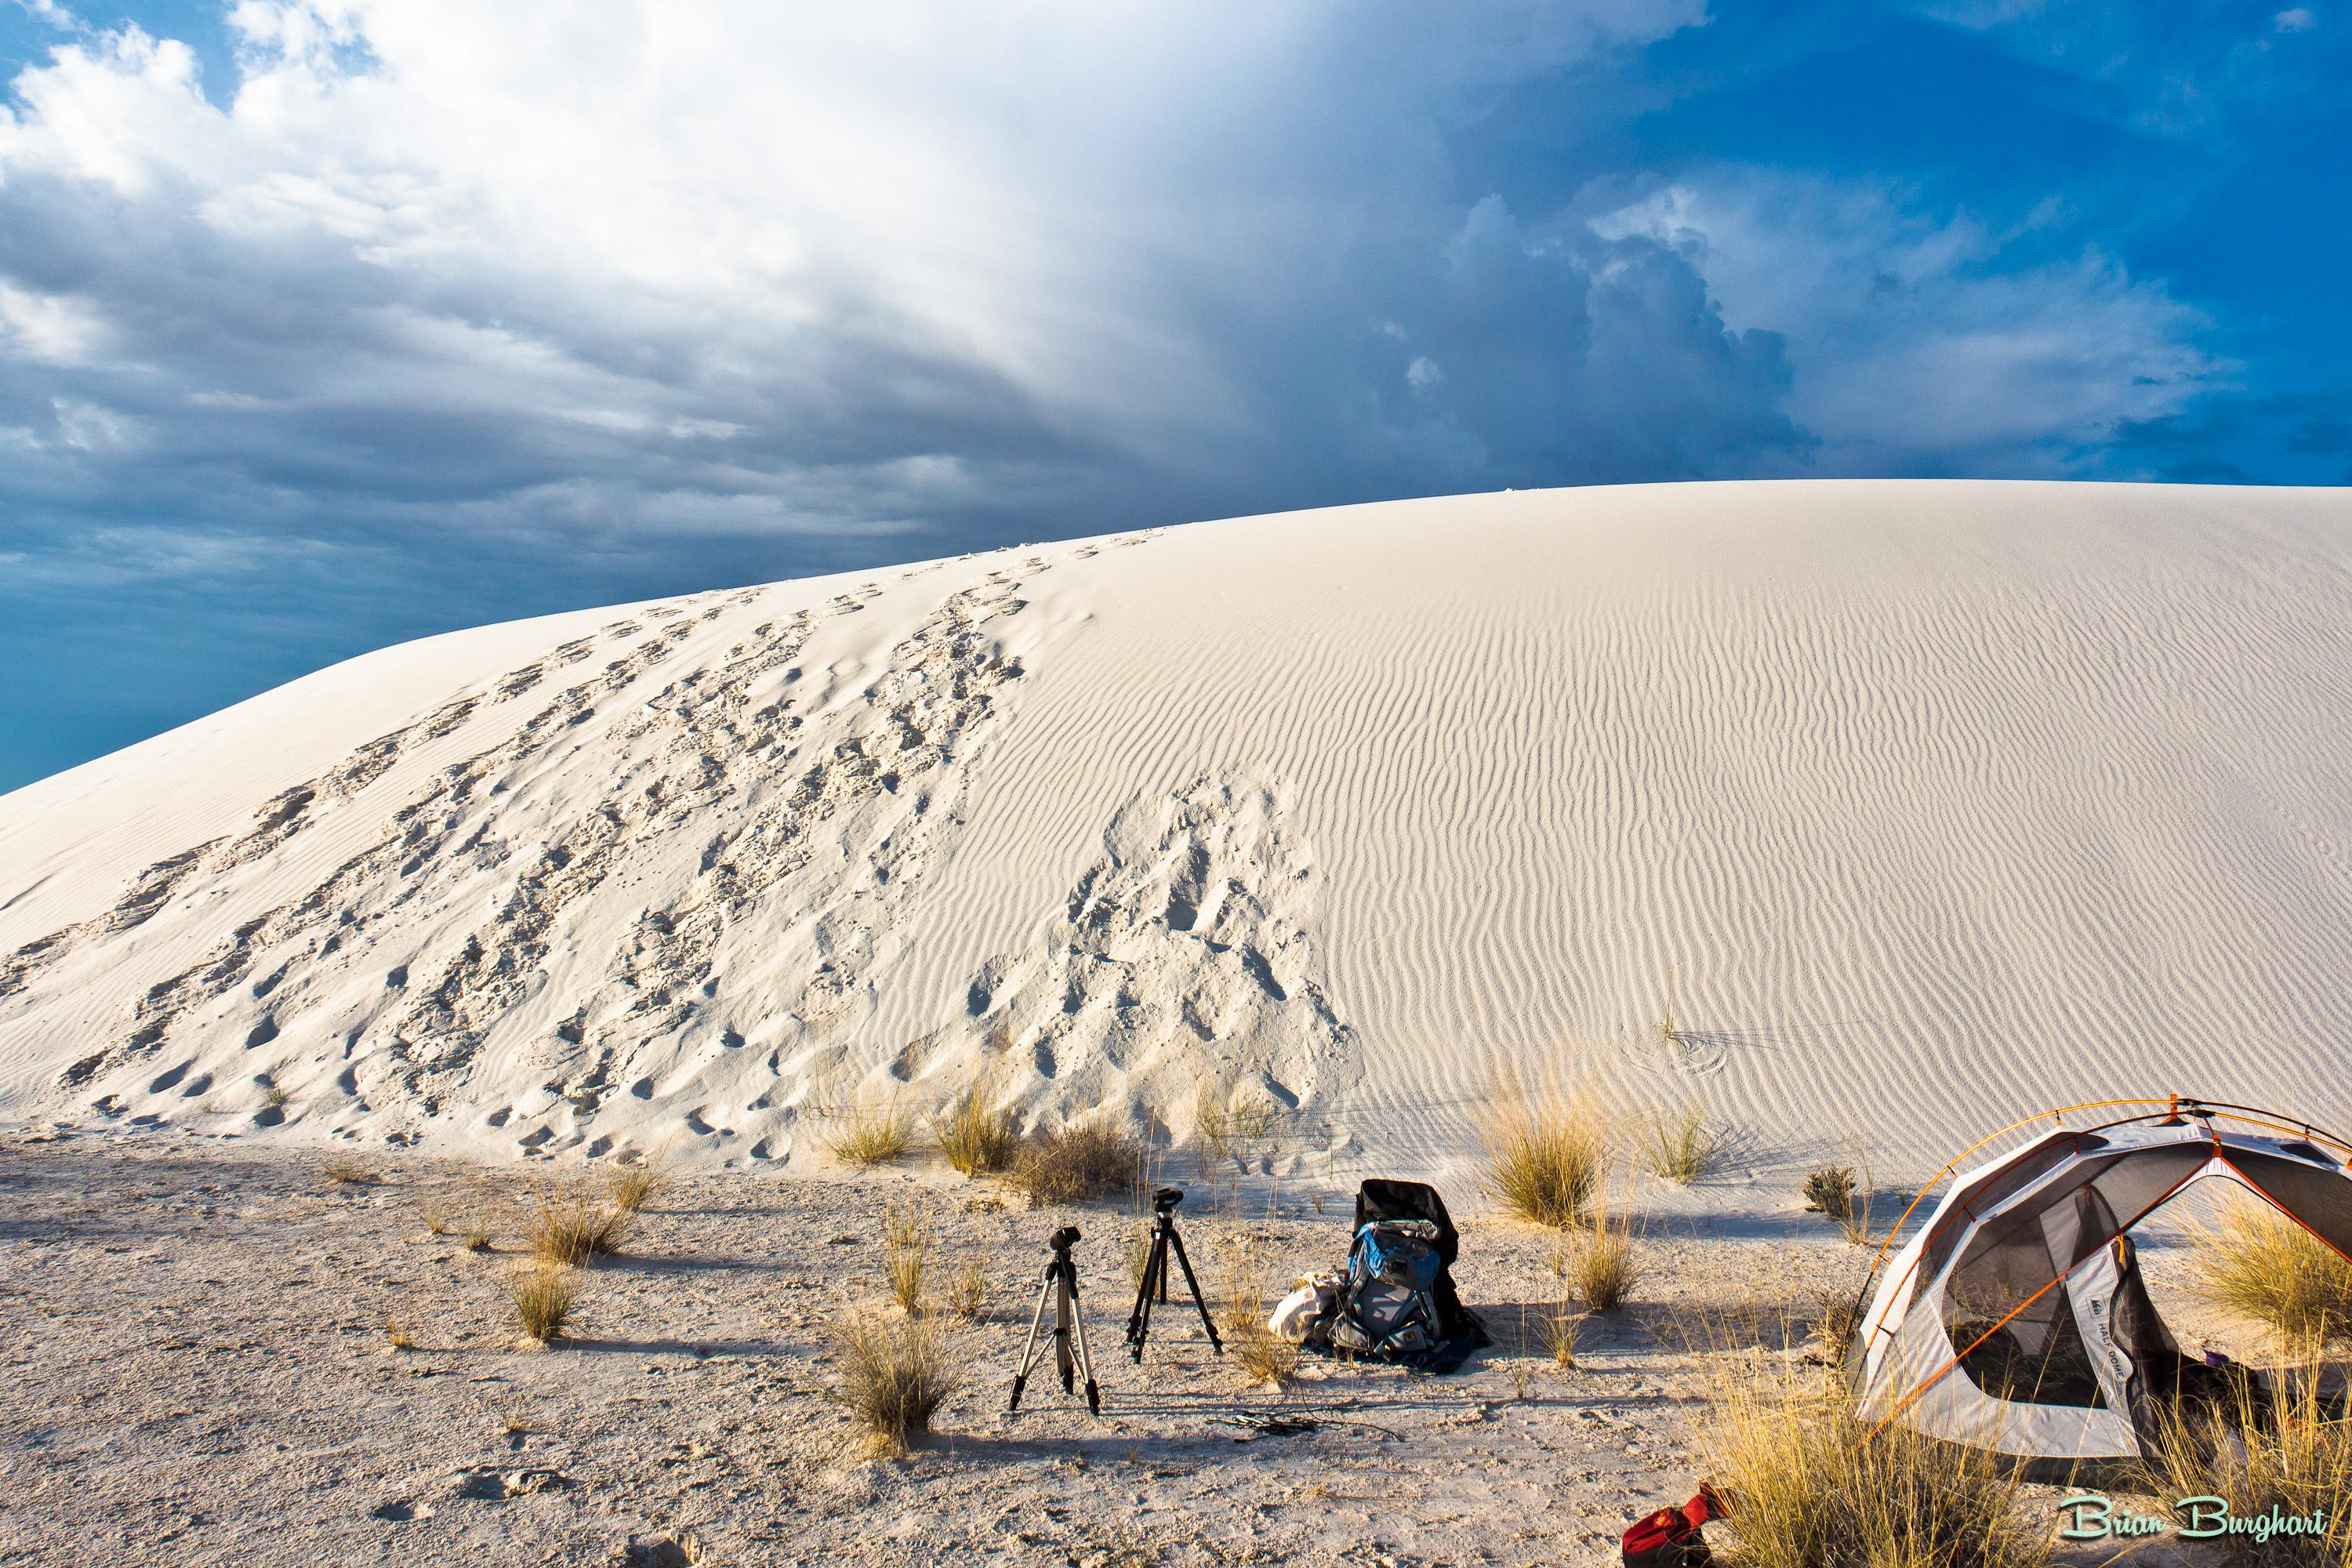
Campsite Guide
White Sands Backcountry Camping: Closed for 2026 — What to Know
As of 2026, backcountry camping at White Sands National Park is closed for site rehabilitation. What that means, and where to camp nearby instead.
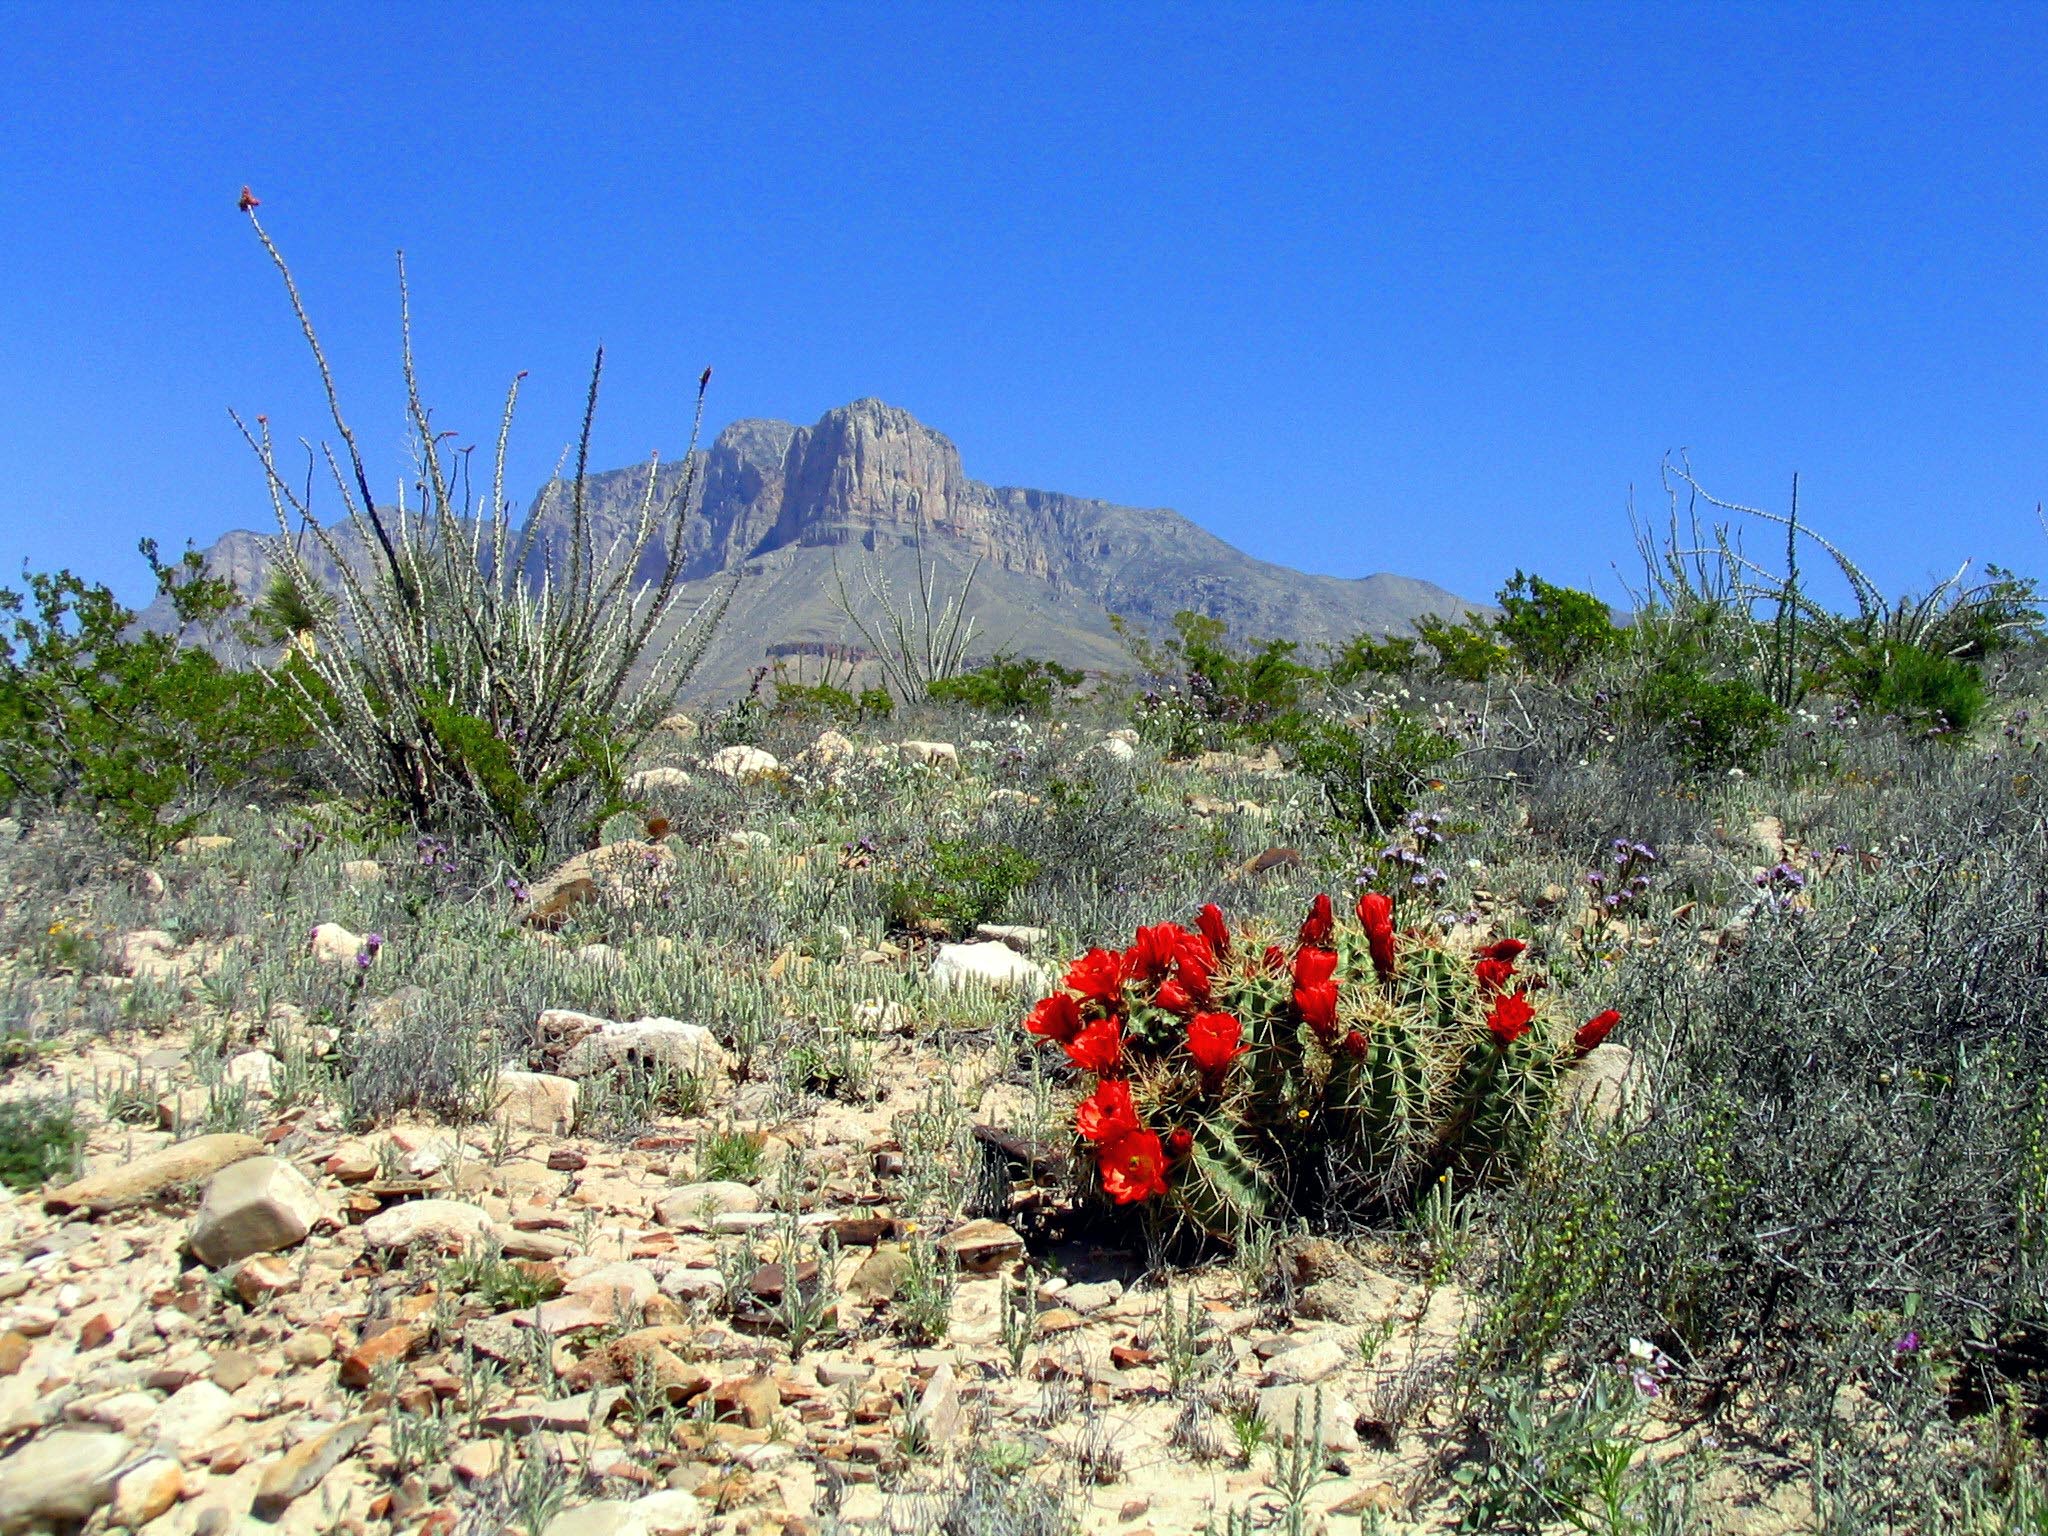
Weather Guide
Guadalupe Mountains National Park Weather: Weather
Guadalupe Mountains National Park: weather guide guide updated 2026. Practical visitor information, reservations, and seasonal tips worth bookmarking before
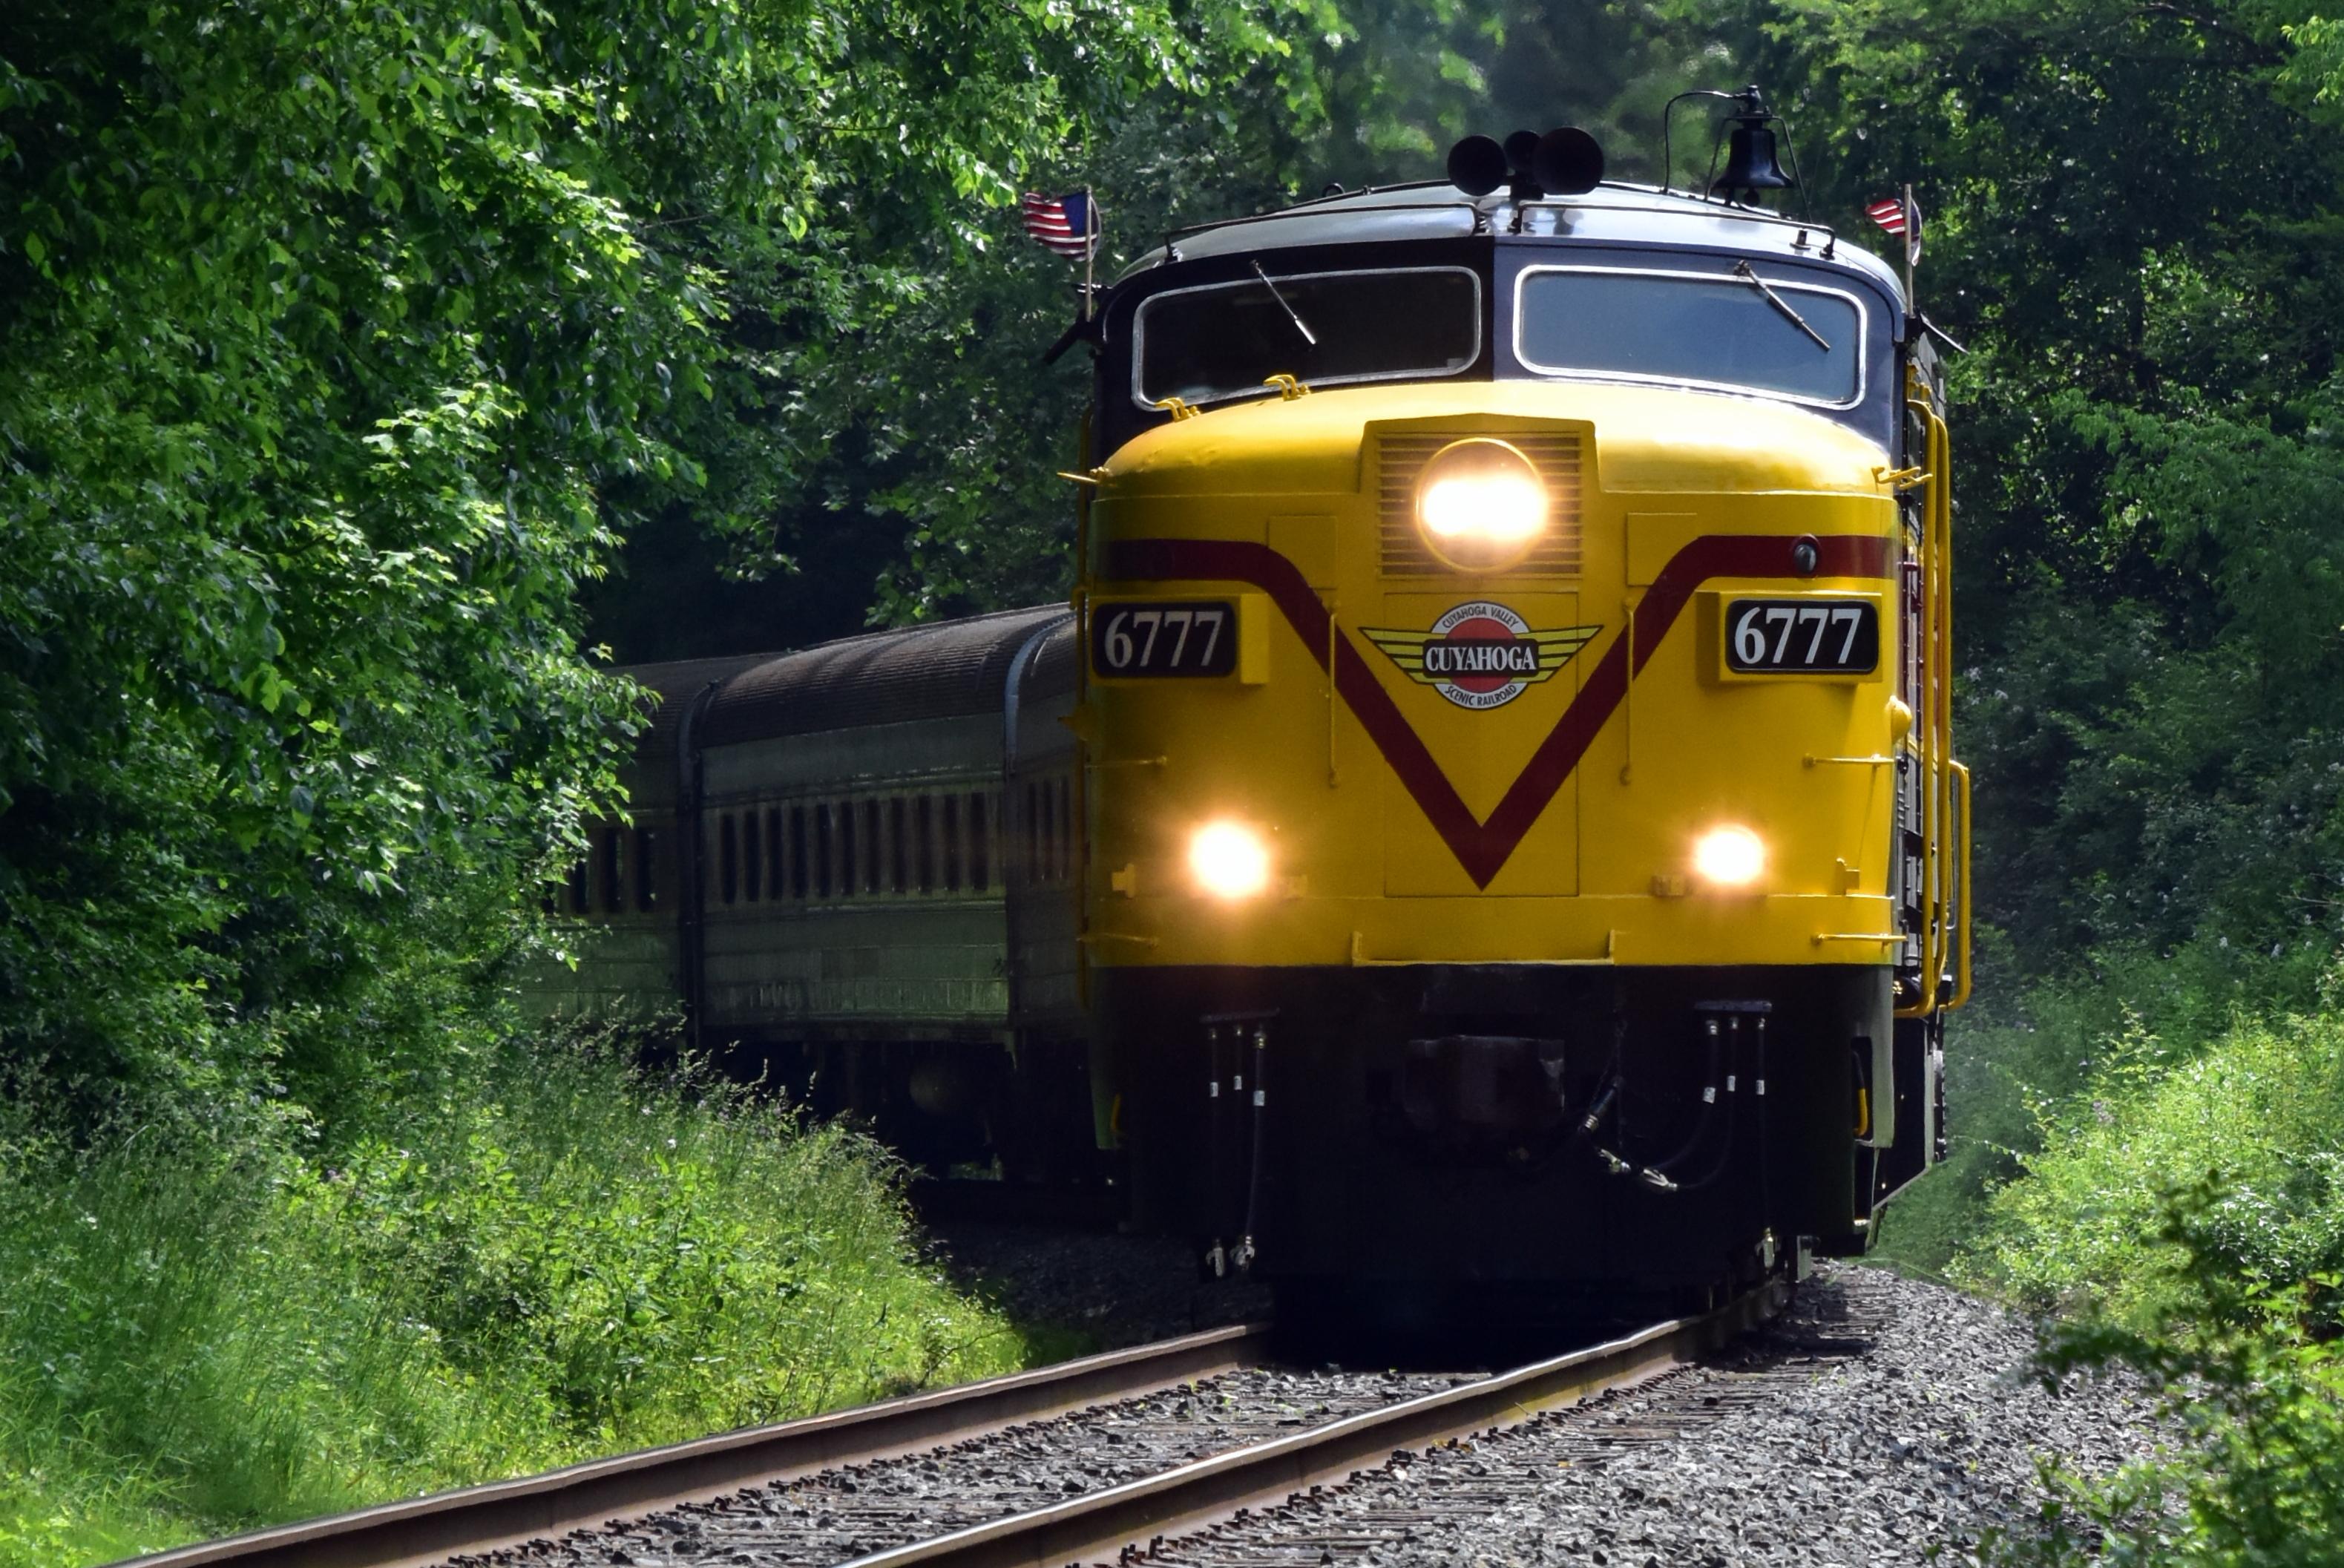
Best Of
Best of Cuyahoga Valley National Park: Best Things to Do
Seeing a Cleveland Orchestra concert with the woods as your backdrop is a uniquely Cuyahoga Valley experience.
Sign in to join the conversation.
Sources & Attribution
Location data courtesy of the National Park Service (U.S. Department of the Interior). NPS data is public domain. Official NPS page.
Images: NPS; NPS; NPS; NPS; NPS.
Map data © OpenStreetMap contributors.
Park operations alerts: NPS.gov · Weather and weather hazards: National Weather Service · Live conditions.
Information may change. Always verify fees, hours, and conditions directly with the official source before visiting.
Did this guide help? Share it with a friend.