Hawaii Volcanoes National Park Hiking: Best Hike In (2026 Guide)
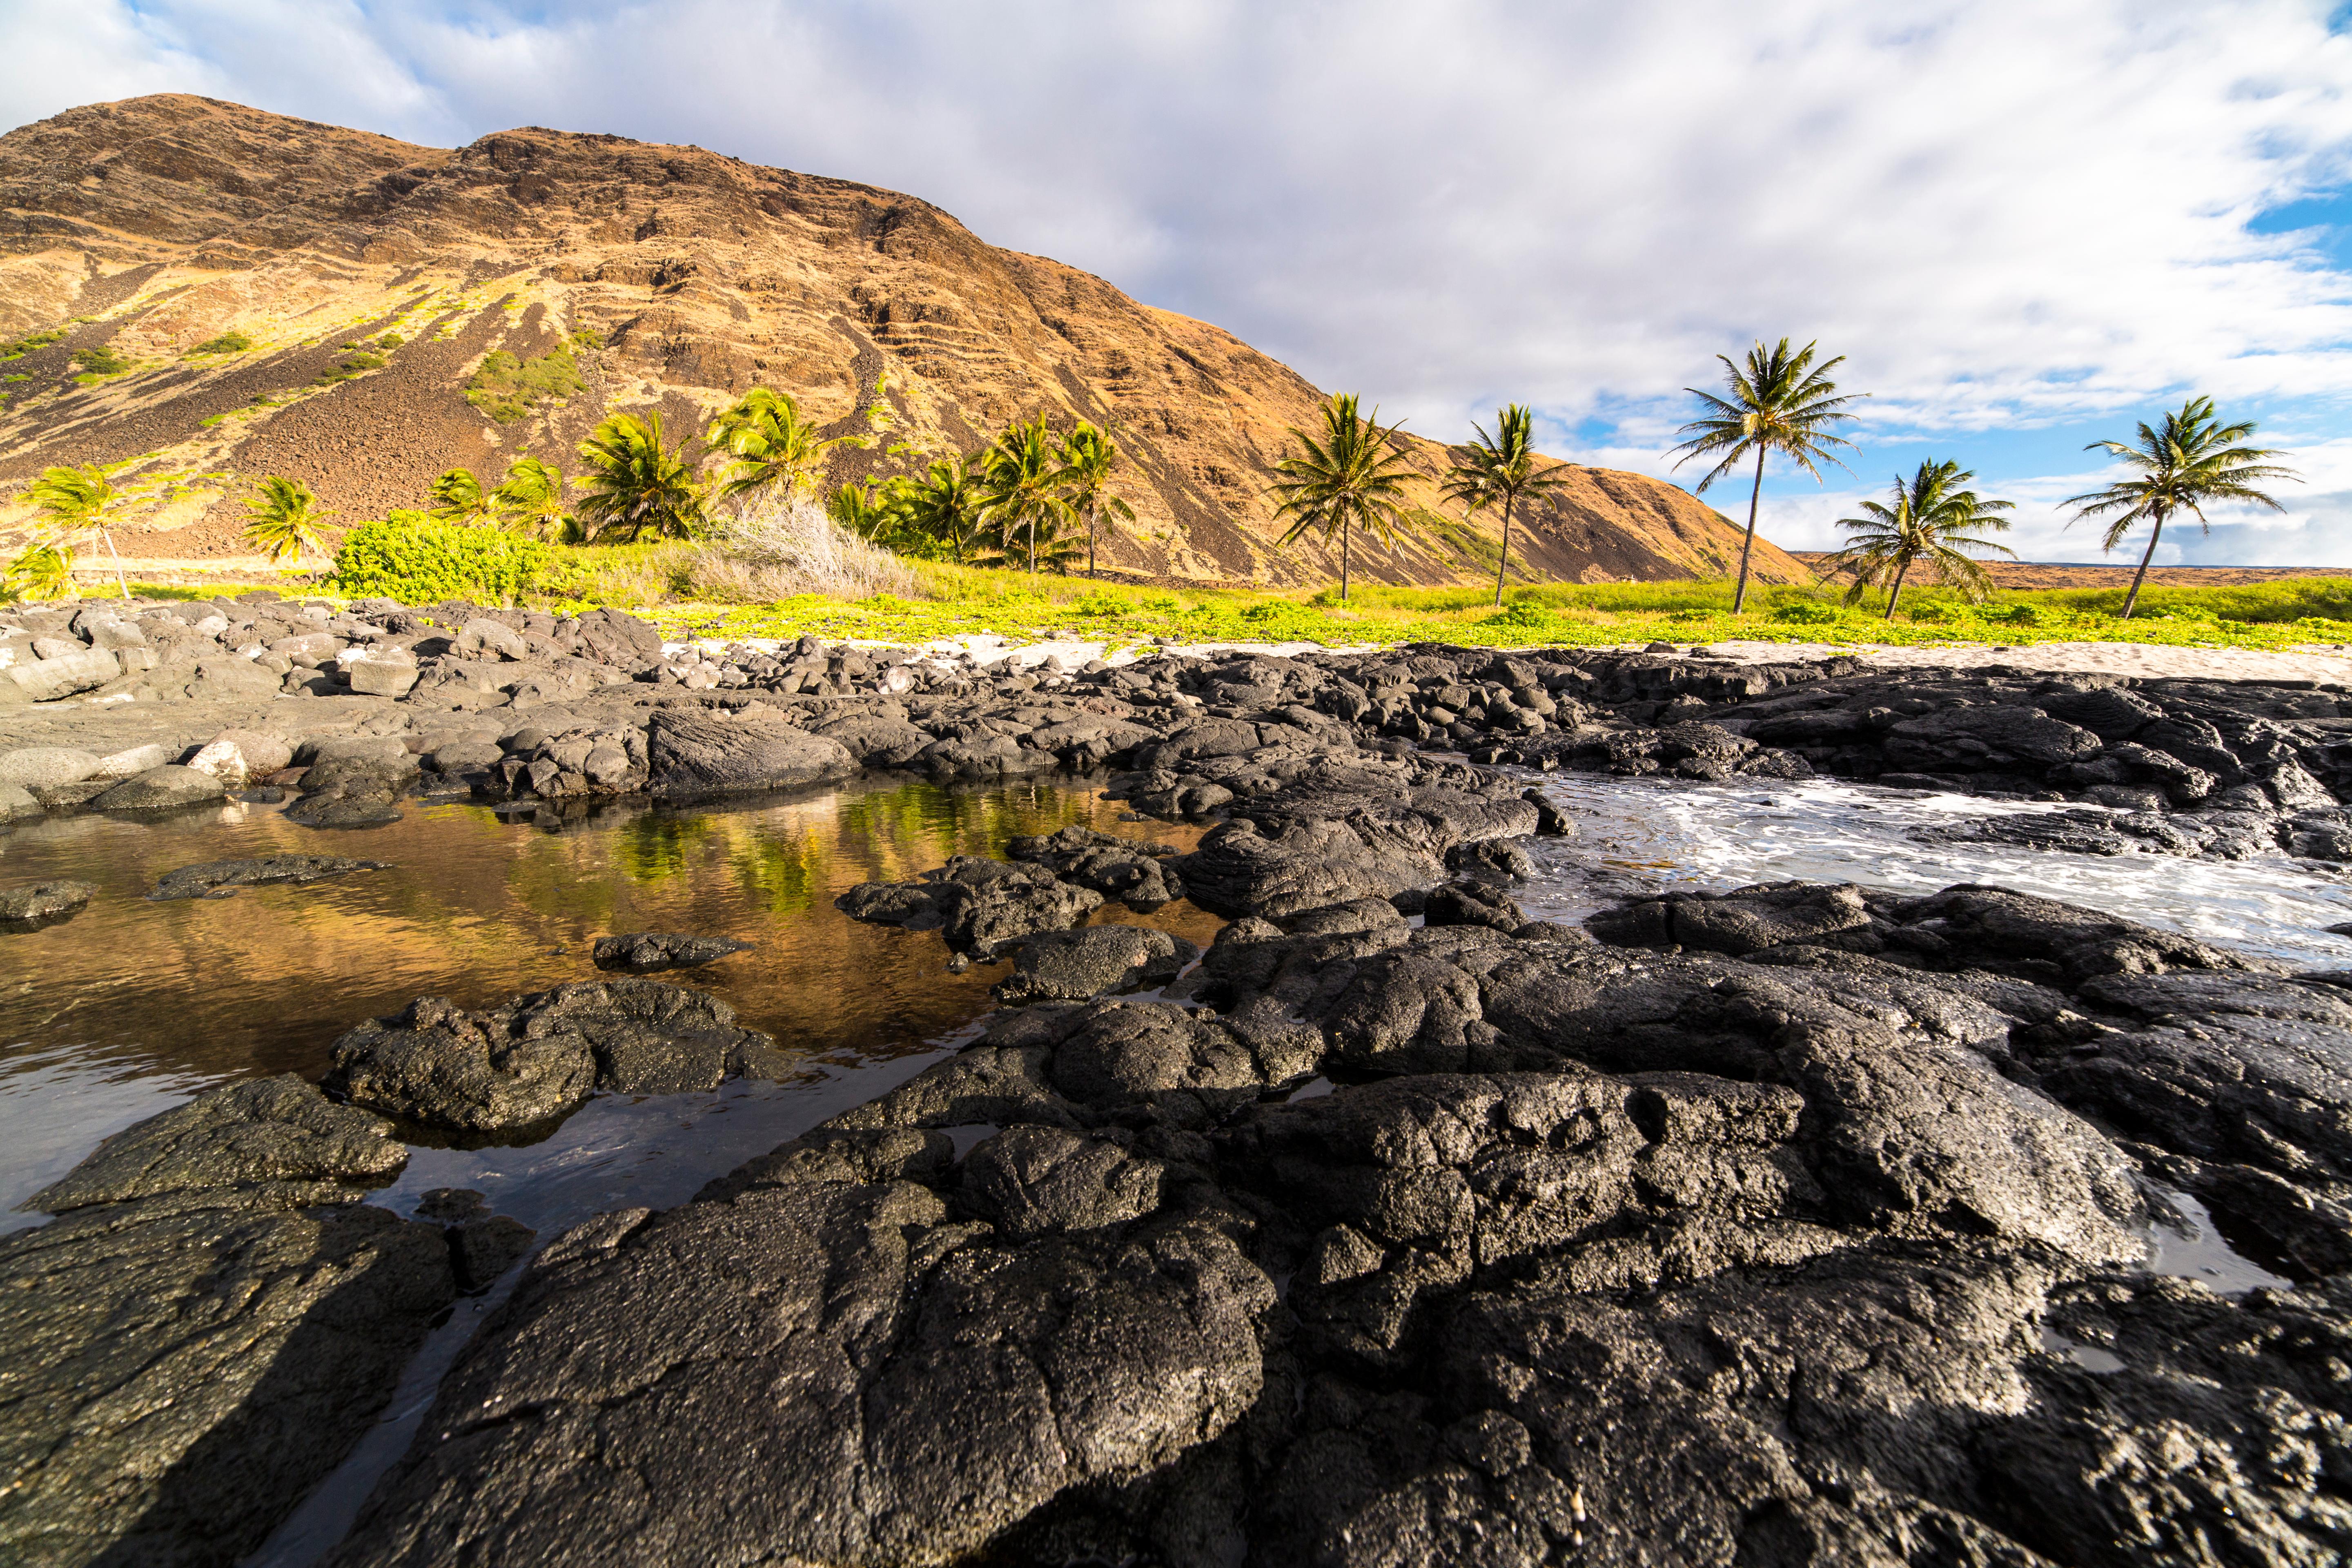
Brent Olson via Pexels
Best Hike in Hawaii Volcanoes National Park
11 min read
Hiking Guide
Complete 2026 hiking guide for Hawaii Volcanoes National Park. Kilauea Iki crater loop, Chain of Craters coastal walk, and the lava tube hikes rangers recommend.
This article contains affiliate links — we may earn a small commission at no extra cost to you.
The first thing you notice is the smell. It's not sulfur, not yet. It's the scent of wet, crushed ferns and volcanic rock dust, a mineral tang that hangs in the humid air. The ground under your boots feels different here - not dirt, but a dense, dark substrate of decomposed lava and ash. Hiking here isn't about conquering a peak; it's about walking across a landscape that is actively being built and destroyed. The best hike in Hawaii Volcanoes National Park isn't just a walk in the woods. It's a traverse across the skin of the earth, where the rules of a stable trail don't always apply.
What Hiking Here Actually Means
Forget everything you know about mainland trail systems. Hiking in Hawaii Volcanoes is defined by three things: variable weather that changes by the minute, terrain that ranges from sharp, glass-like lava to lush rainforest, and the simple fact that the ground itself can shift. The park spans from sea level to over 13,000 feet, but most trails exist in a middle zone of rainforest, desert, and stark volcanic fields. Physical preparation matters less than adaptability. A trail rated "easy" can become a slick, muddy challenge after a passing shower. A "moderate" hike across a lava field demands constant attention to footing on uneven, brittle rock.
First-time visitors consistently underestimate the climate. You're on the windward side of Mauna Kea, the world's tallest mountain from base to summit. Conditions here are coastal, tropical, and change without warning. I've seen trailheads go from sunshine to cloud-drenched, windy plateaus in thirty minutes. Most of our rescue calls aren't for falls—they're for hypothermia from hikers caught unprepared in sudden downpours on higher trails. Your success depends entirely on what's in your pack and on your feet.
Kīlauea Iki Trail: The Definitive Volcano Hike
This is the park's signature loop for good reason. It condenses everything that defines this landscape: a descent through thriving rainforest into the mouth of a recently active pit crater, a walk across a still-steaming crater floor, and a climb back out through more forest. You'll get the full experience in under five miles.
Distance: 3.3-mile loop
Elevation Gain: 400 feet
Trailhead & Parking: The main trailhead is at the Kīlauea Iki Overlook parking lot on Crater Rim Drive. This lot fills by 9:30 AM on most days. Overflow parking stretches along Crater Rim Drive, but it adds a significant walk. You can also start from the Thurston Lava Tube (Nāhuku) parking area, which is often more crowded due to the lava tube attraction. Rangers recommend the overlook start for the more dramatic descent into the crater.
The Trail: You begin on a well-maintained path through dense 'ōhi'a lehua and fern forest. The trail narrows here as it switchbacks down the crater wall - the descent is steady and the roots can be slick. The transition is abrupt. One moment you're in cool, damp forest, the next you're stepping onto the black, cracked plain of the crater floor. The surface is mostly packed cinder and pāhoehoe lava (the smooth, ropy kind). You'll see steam vents (fumaroles) along the marked trail - stay on the path. The cairns (rock piles) are essential for navigation across the featureless floor. The climb out the other side is a sustained ascent on switchbacks through more forest.
The defining moment comes when you stand in the crater's center, looking up at the 400-foot walls you descended, surrounded by black rock and wisps of volcanic steam. The scale becomes personal—you're inside the volcano.
Most hikers underestimate the crater floor. It's an exposed, reflective oven on a sunny day, and a wind tunnel when clouds roll in. The temperature swing from the forest to the floor can be 20 degrees. Most people bring enough water for a forest hike, not a desert crossing.
Best Time: Early morning, right at sunrise. You'll have the crater to yourself, the light is dramatic, and you'll finish before the midday heat bakes the black rock. Avoid midday in full sun.

Devastation Trail: The Quick & Powerful Perspective
This isn't a hike in the traditional sense. It's a paved, accessible walk with one of the most potent stories in the park. It's perfect for families, those with mobility limitations, or as a sobering add-on before or after Kīlauea Iki.
Distance: 1-mile round trip (paved)
Elevation Gain: Minimal
Trailhead & Parking: Dedicated lot at the Devastation Trailhead on Crater Rim Drive. It rarely fills completely, but tour buses stop here, so expect intermittent crowds.
The Trail: A fully paved, flat path across a cinder field. The landscape is lunar: gray, dotted with the skeletal remains of 'ōhi'a trees killed by the 1959 Kīlauea Iki eruption. Informational signs tell the story of the explosive event that created this landscape. The trail ends at a viewing area for Puʻu Puaʻi, the massive cinder cone formed during that eruption.
The Moment: Reading the accounts of the 1959 eruption while standing in its aftermath. The juxtaposition of the dead forest and the vibrant new growth of ferns and 'ōhi'a seedlings pushing through the cinder is a direct lesson in ecological succession.
What Most Underestimate: The weather. This exposed, high-elevation trail is often windy, cool, and wet. People show up in shorts and t-shirts and leave shivering. Bring a layer.
Best Time: Any time of day, but it's particularly atmospheric in the mist or late afternoon light.
Halemaʻumaʻu Trail: Into the Caldera
This is the hike for those who want to feel the volcano's breath. It descends from the rim of Kīlauea caldera toward the currently active Halemaʻumaʻu crater. Volcanic activity dictates how much of this trail is open - always check the park website for current conditions before you go.
Distance: Varies; typically a 1.8-mile round trip to the first major overlook into Halemaʻumaʻu from the Kīlauea Overlook trailhead.
Elevation Gain: About 400 feet round trip (descent and return climb)
Trailhead & Parking: Start at the Kīlauea Overlook on Crater Rim Drive. Parking is limited. If closed, the trail can be accessed from the Volcano House hotel area, adding distance.
The Trail: A rugged descent on a dirt and cinder path marked by cairns. The terrain is loose in spots. You are walking on the caldera floor, across older lava flows and through sparse vegetation. The active crater is often visible ahead, with a plume of volcanic gas (vog) rising. Rangers will emphasize that you must stay on the marked trail due to extreme volcanic hazards and cultural sensitivity.
The Moment: The first clear view into Halemaʻumaʻu crater, especially at dusk or after dark, when the glow from the lava lake (if active) illuminates the steam plume. It's a primal, humbling sight.
What Most Underestimate: The volcanic gases (vog). On days with little wind, sulfur dioxide and other gases can accumulate in the caldera, causing breathing difficulties for those with asthma or respiratory issues. If you feel irritation, turn back.
Best Time: Late afternoon, hiking down to be at the overlook at dusk to see any glow. Carry a headlamp with a red light setting for the hike back up.

Nāhuku (Thurston Lava Tube): The Underground Detour
More a walk-through attraction than a hike, but it's a non-negotiable stop. It's a short, easy loop that takes you through a massive, naturally formed lava tube.
Distance: 0.7-mile loop
Elevation Gain: 100 feet
Trailhead & Parking: The dedicated Nāhuku parking lot is famously congested from 10 AM to 3 PM. Tour buses cycle through constantly. The overflow lot is often full. The best strategy is to use the Kīlauea Iki Overlook parking and walk the connecting trail to the lava tube, avoiding the main lot altogether.
The Trail: A paved descent through a rainforest gorge filled with giant ferns. You enter the lighted, 600-foot-long lava tube - ceiling height varies from 10 to 30 feet. It's damp and cool inside. The loop continues up a stairway on the other side, back through more forest to the start.
The Moment: Inside the tube, halfway through, turn off your headlamp (if you have one) or just stand still for a moment. The complete darkness and silence, knowing this was once a river of molten rock, is a unique sensation.
What Most Underestimate: The congestion. This is the park's most popular single attraction. For a marginally more peaceful experience, go at 8 AM when it opens, or after 5 PM. The tube is open 24/7, but is unlit at night - bring a good flashlight if visiting after dark.
Best Time: Sunrise or after sunset (with a flashlight).
Mauna Iki Trail (Footprints Trail): Across the Kaʻū Desert
For solitude and a stark, powerful landscape, drive down the Chain of Craters Road to the Mauna Iki trailhead. This hike traverses the Kaʻū Desert, a rain-shadow zone where volcanic ash and periodic acid rain have created a seemingly barren expanse.
Distance: 4.2 miles round trip to the prehistoric footprint field
Elevation Gain: Minimal, mostly flat
Trailhead & Parking: A small, unmarked pullout on the side of Chain of Craters Road, about 3.5 miles down from the Crater Rim intersection. Look for the "Footprints" sign. There's room for maybe 6 cars. If it's full, do not park on vegetation.
The Trail: You walk on a mixture of crushed cinder and sand across an open, exposed plain. The trail is marked by cairns, which are absolutely essential to follow. The landscape is dominated by views of Mauna Loa to the north and the Pacific to the south. The destination is a protected area where hardened ash has preserved footprints of Hawaiian warriors from the 1790s.
The Moment: Finding the first set of footprints, protected under a shelter. The human connection across centuries in this desolate place is profound.
What Most Underestimate: The exposure. This is a true desert hike. There is zero shade, the sun is intense, and the reflected heat from the ground is significant. Wind can whip fine ash into your eyes. Carry double the water you think you need, wear a wide-brimmed hat, and use sunscreen on every exposed inch.
Best Time: Early morning, to avoid the midday heat. Late afternoon can also be beautiful, but watch your time - the cairns are harder to follow in fading light.

Seasonal Trail Conditions
* December-March (Winter): This is the coolest, wettest period. Rain is frequent, making rainforest trails like Kīlauea Iki muddy and slick. The crater floor can be shrouded in clouds. High-elevation trails like Mauna Iki are cooler and more comfortable for hiking. Always have a rain shell.
* April-June (Spring): Often considered the best overall window. Rain showers are less frequent, temperatures are mild, and trade winds are consistent. Wildflowers, like the red 'ōhi'a lehua blossoms, can be spectacular in the rainforest zones.
* July-September (Summer): Drier and warmer. The crater floor of Kīlauea Iki gets hot by mid-morning. Vog (volcanic smog) from Halemaʻumaʻu can be more persistent if winds are calm, potentially affecting views and air quality on the caldera trails. Start hikes very early.
* October-November (Fall): A transition period. Weather can be unpredictable, with a mix of dry spells and early winter rains. Crowds are typically lighter. It's a good time for solitude but be prepared for anything.
Regardless of season, check the official park website for the best time to visit regarding volcanic activity. A change in eruption status can open or close trails like Halemaʻumaʻu overnight.
Trailhead Logistics
Parking strategy is your first test. The lots at Kīlauea Iki Overlook, Thurston Lava Tube, and Kīlauea Overlook are the three choke points. The rule is simple: arrive before 8:30 AM or plan to use overflow parking and walk further. The Crater Rim Drive loop connects these areas, and it's often faster to park at one and walk to another trailhead via connecting paths than to circle endlessly for a spot.
Cell service drops out at most trailheads and is nonexistent on the vast majority of trails. Do not rely on your phone for navigation or emergency communication. Download offline maps and trail guides beforehand.
There are no reliable natural water sources on any of the trails listed. All water must be carried in. The only potable water refill stations are at the Kīlauea Visitor Center and the Volcano House hotel.
For the latest on trail closures, lava flow activity, and air quality, stop at the Kīlauea Visitor Center first. The rangers there have the most current information posted and can advise on conditions for the specific hike you're planning. Their advice overrules any guidebook or article.

What to Carry
Your gear list for Hawaii Volcanoes is different. It's not about bears; it's about microclimates and volcanic terrain.
* Footwear: Sturdy hiking shoes or boots with aggressive tread are mandatory. Trail runners can work on paved paths, but the uneven, sharp lava rock on crater floors and the slick, rooted forest trails demand ankle support and protective soles. Sandals are a hard no for any real hiking.
* Water: Carry a minimum of 2 liters per person for a half-day hike like Kīlauea Iki. For the exposed Mauna Iki trail, 3 liters is a safer minimum. Hydration reservoirs are ideal because they encourage sipping constantly in the humid air.
* Layers: A moisture-wicking base layer, a lightweight insulating layer (fleece or puffy), and a waterproof/windproof shell are the non-negotiable trio. The weather can cycle through all three in an hour.
* Navigation: A physical map and compass, or a GPS device with pre-loaded tracks. The cairn-marked trails across featureless lava fields are easy to lose in fog or if you wander off-path.
* Illumination: A headlamp with extra batteries, even for a day hike. If you get delayed on a crater hike or want to see the lava glow at dusk, you'll need it. The red light setting is preferred for night viewing to preserve your night vision and that of others.
* Sun Protection: The tropical sun is intense, and UV rays reflect off black lava. Wide-brimmed hat, sunglasses, and reef-safe sunscreen (applied liberally and often) are critical.
* Trekking Poles: Highly recommended for the descents and ascents on crater trails. They provide stability on loose cinder and slick roots.
Practical Takeaways
- Your start time is your most important decision. Aim to be at your trailhead by 8 AM.
- Pack for four seasons, regardless of the forecast. The shell layer is never optional.
- Water is weight, but dehydration is a faster threat here than on mainland trails. Err on the side of carrying too much.
- Footwear is your primary safety equipment. If your shoes can't handle sharp, uneven rock and deep mud, you shouldn't be on the trail.
- Check the park website the morning of your hike for volcanic activity updates and trail closures. Conditions are dynamic.
- For a deeper understanding of the trails and geology, read the park's complete visitor guide before you arrive.
- If planning an overnight, research the park's camping options well in advance, as they are limited and regulations are strict.
- The cairns are there for a reason. On lava fields, follow them exactly. Going off-trail risks injury from unstable ground and damages fragile ecosystems.
- Vog (volcanic smog) is a real health consideration. If the air looks hazy and you have respiratory issues, choose a trail in the rainforest or along the coast instead of the caldera rim.
- Success here is about flexibility. Have a primary hike in mind, but listen to the ranger's advice at the visitor center. They might steer you to a less-crowded or more suitable trail based on that day's unique conditions.
For more information, see our complete Hawaii Volcanoes National Park Guide.
Recommended Gear
What experienced visitors bring to Best Hike in Hawaii Volcanoes National Park
Links may earn us a commission at no extra cost to you. We only recommend gear we believe in.
Hiking Essentials
Hydration Pack (3L)
Hands-free water for long trail days
Trekking Poles (Pair)
Save your knees on steep descents
Hiking Boots (Ankle Support)
Sturdy footwear for rocky, uneven trails
Sun & Heat Protection
Wide-Brim Sun Hat
Full coverage UPF 50+ protection at altitude
Insulated Water Bottle (32oz)
Keeps water cold in desert heat all day
Electrolyte Mix Packets
Replace what water alone cannot during intense heat
Winter Gear
Microspikes / Traction Devices
Essential for icy rim trails in winter months
Packable Down Jacket
Lightweight warmth that stuffs into a pocket
Sources
- Official source: NPS — Hawaii Volcanoes National Park nps.gov/havo/index.htm
Photo Gallery
More to Explore
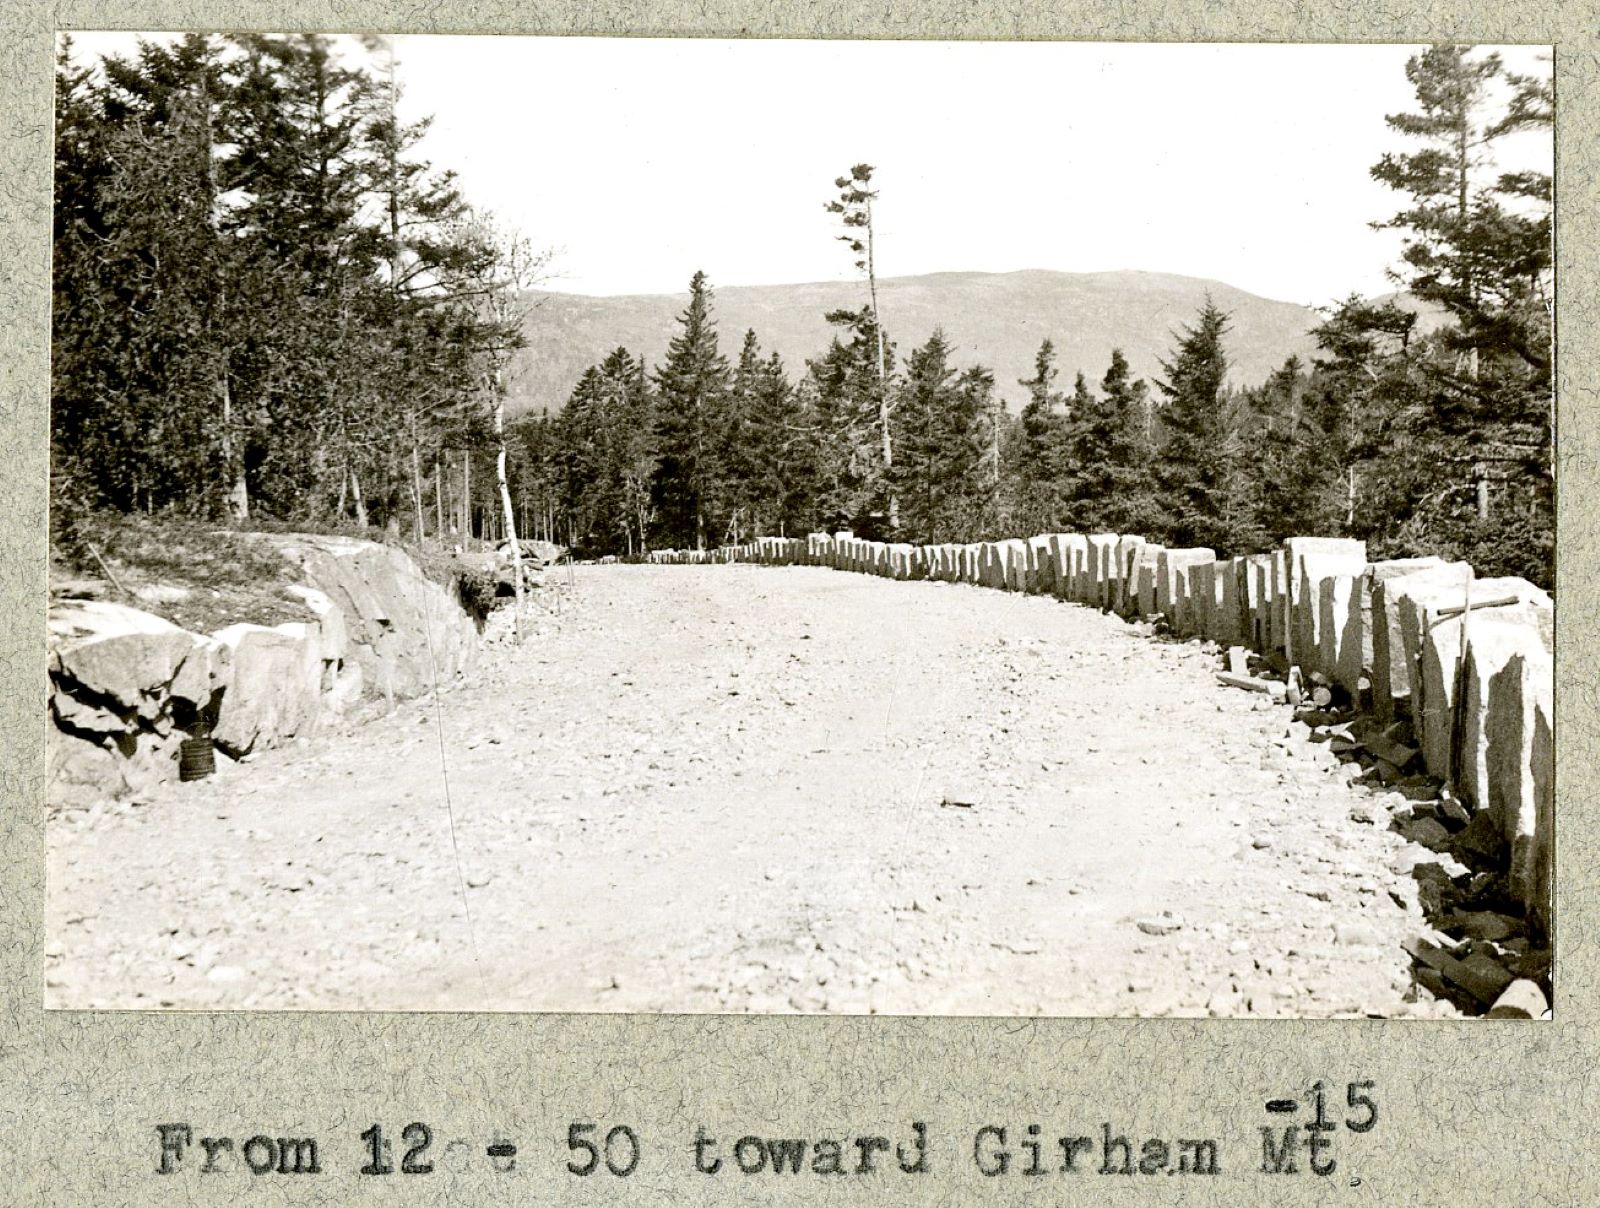
Park Guide
Acadia National Park: Carriage Roads, Cadillac Mountain & 2026 Guide
Discover carriage roads, Cadillac Mountain, and rugged Maine coast. Complete 2026 guide to Acadia National Park — trails, fees, lodging, permits, and what rangers recommend.
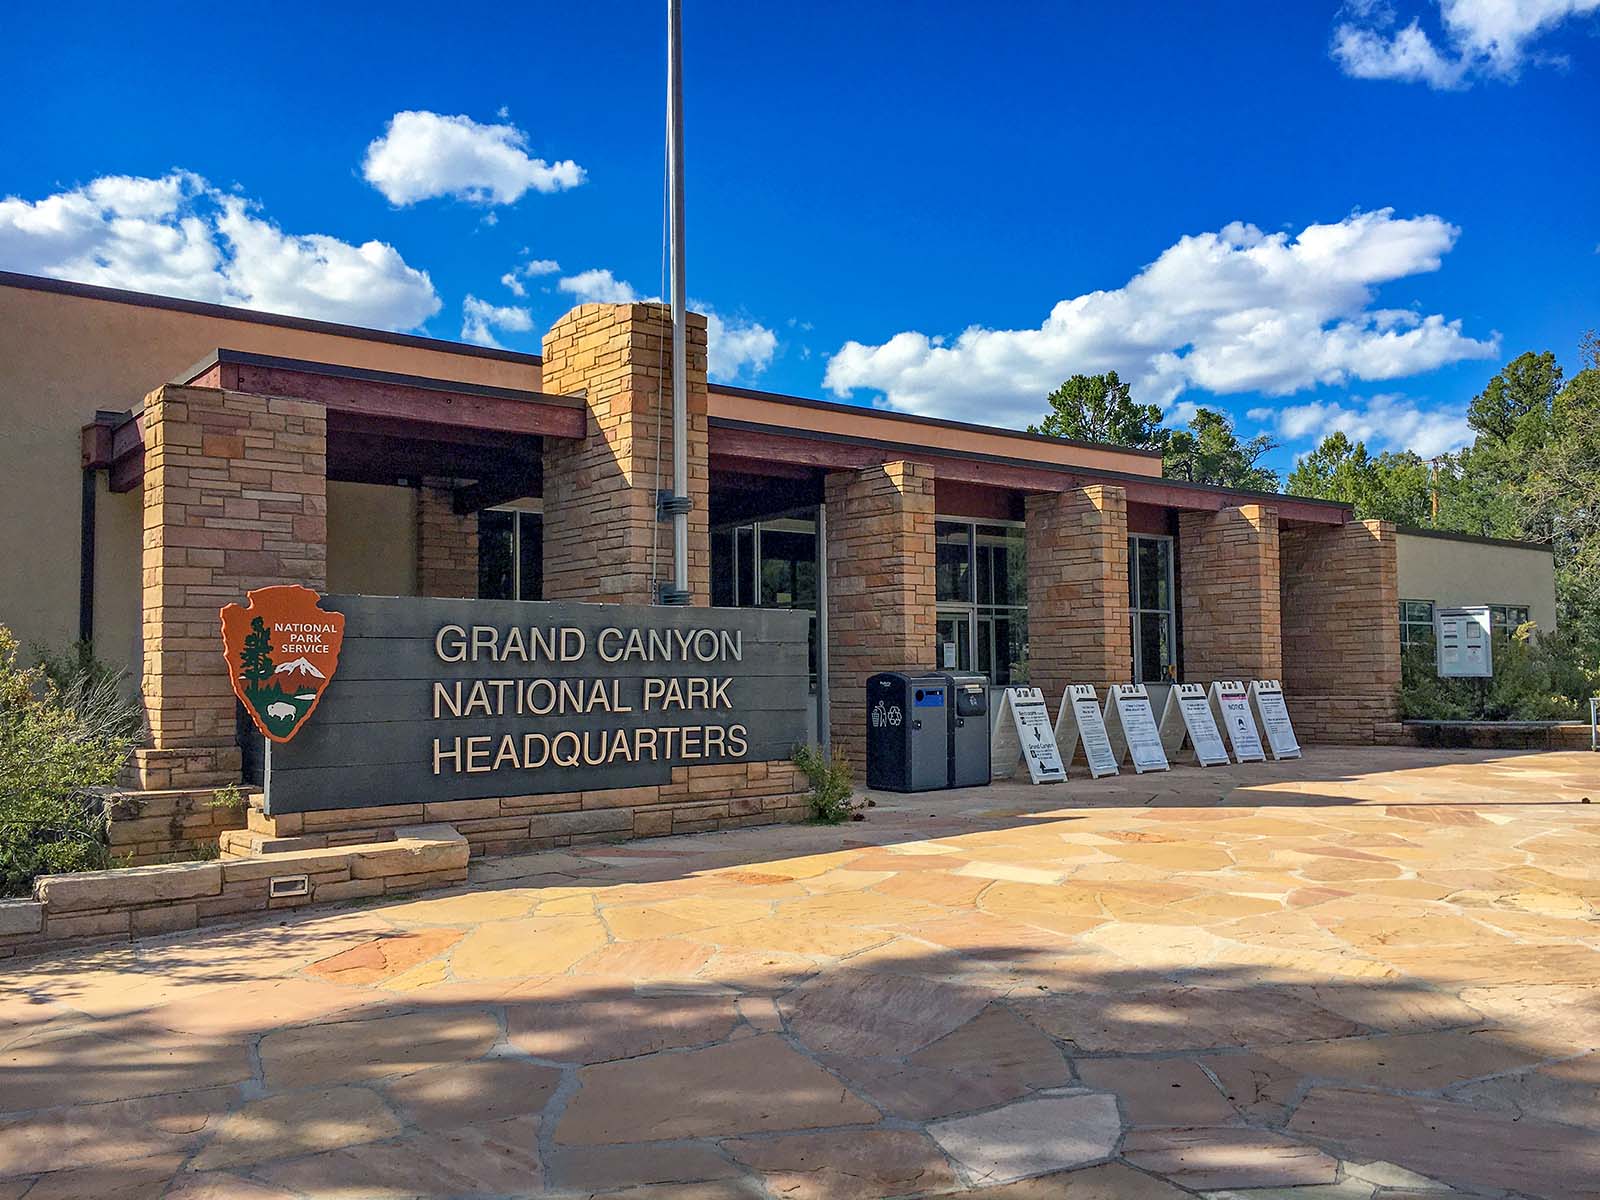
Hiking Guide
Grand Canyon Hiking Trails: Day Hikes, Water Sources & Rim to Rim
Compare Grand Canyon hiking trails: Bright Angel, South Kaibab, Hermit, Grandview, and rim to rim, with distances, elevation, water stops, and trailhead access for each.
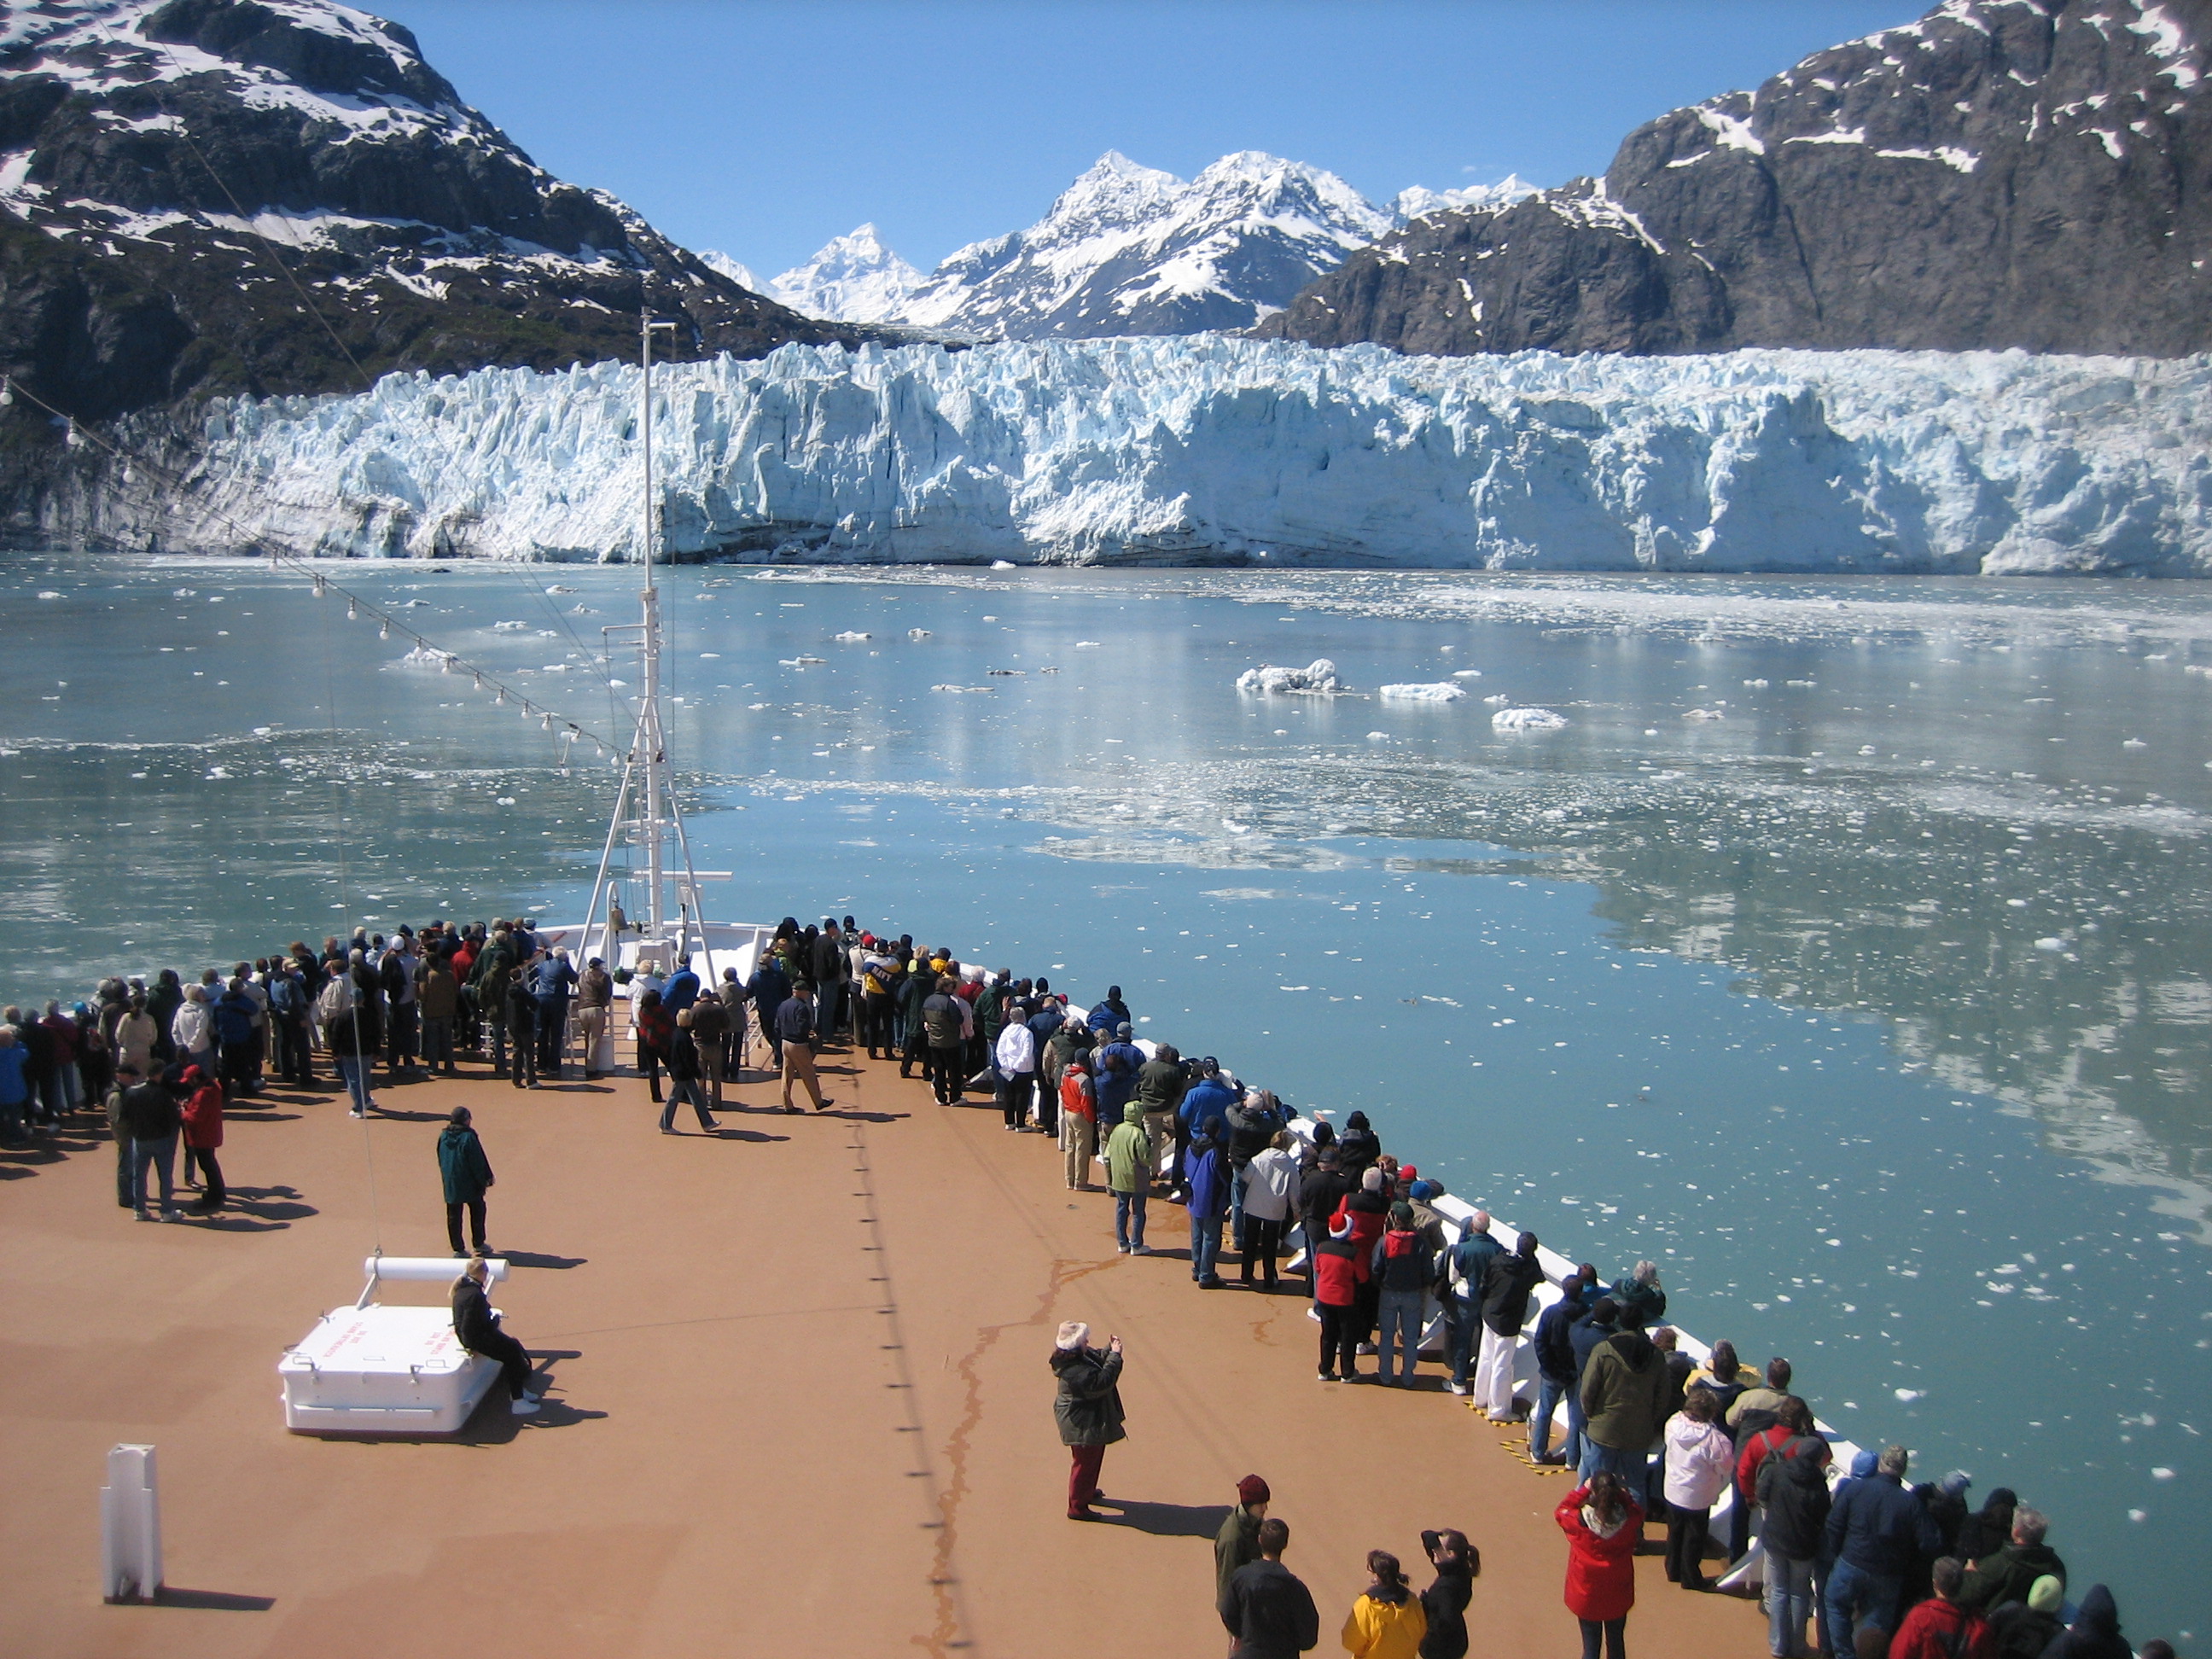
Best Of
Best of Glacier Bay National Park
The best of Glacier Bay is reached by boat: ranger-led day tours up the bay to the tidewater glaciers. What's worth it, how to book, and when to go (2026).
Campsite Guide
White Sands Backcountry Camping: Closed for 2026 — What to Know
As of 2026, backcountry camping at White Sands National Park is closed for site rehabilitation. What that means, and where to camp nearby instead.
Weather Guide
Guadalupe Mountains National Park Weather: Weather
Guadalupe Mountains National Park: weather guide guide updated 2026. Practical visitor information, reservations, and seasonal tips worth bookmarking before

Best Of
Best of Cuyahoga Valley National Park: Best Things to Do
Seeing a Cleveland Orchestra concert with the woods as your backdrop is a uniquely Cuyahoga Valley experience.
Sign in to join the conversation.
Sources & Attribution
Location data courtesy of the National Park Service (U.S. Department of the Interior). NPS data is public domain.
Images: Photo by Brent Olson on Pexels; Photo by Jess Loiterton on Pexels; Photo by Daniel Absi on Pexels; Photo by Janine Speidel on Pexels; Photo by Jess Loiterton on Pexels. Stock photos from Pexels / Unsplash license; links above point to each photo where available.
Map data © OpenStreetMap contributors.
Park operations alerts: NPS.gov · Weather and weather hazards: National Weather Service · Live conditions.
Information may change. Always verify fees, hours, and conditions directly with the official source before visiting.
Did this guide help? Share it with a friend.