The South Rim sits at 7,000 feet. The river lies 4,800 feet below. Every step you take into the canyon, you will eventually have to take back out. That return trip - 3,000 to 4,500 feet of elevation gain depending on your route - is where the wrong footwear turns a memorable hike into a miserable one. Finding the best grand canyon hiking boots means understanding what this specific landscape demands from your feet, your ankles, and your soles.
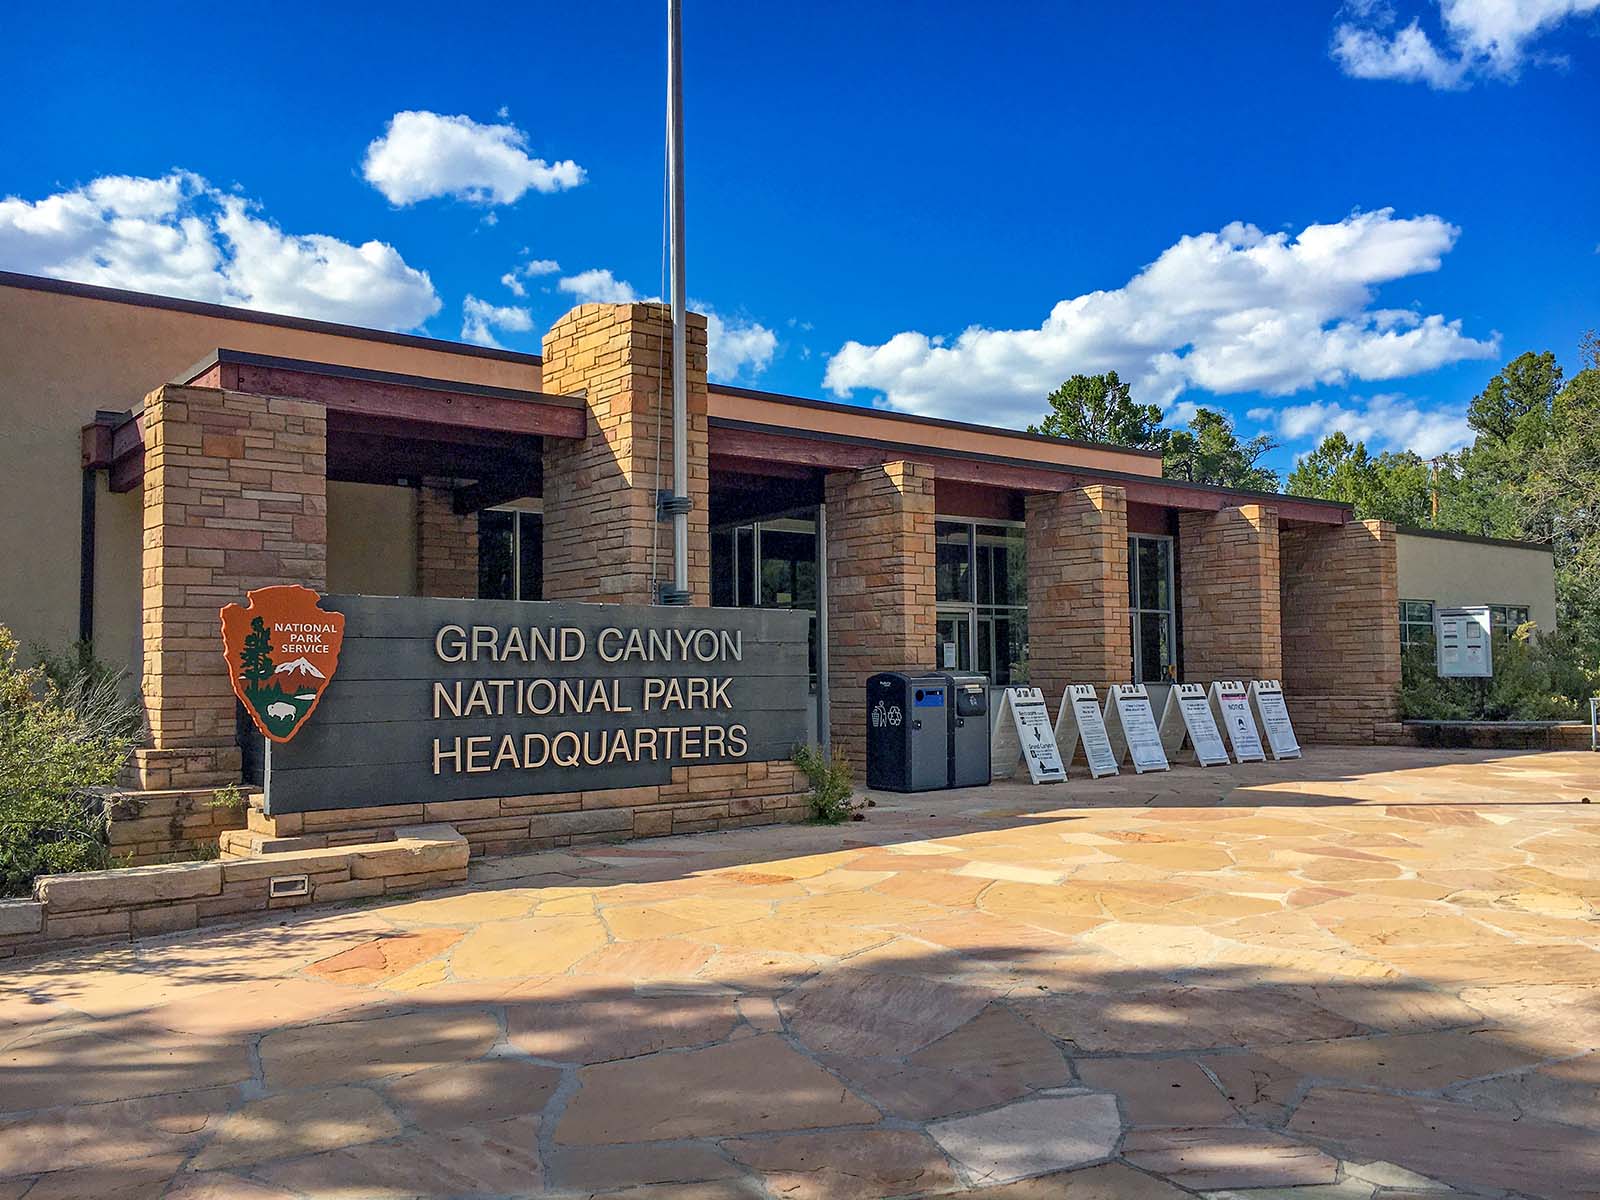
NPS via NPS.gov (Public Domain)
Grand Canyon National Park Gear Guide: Hiking Boots
9 min read
Gear Guide
Complete guide to best grand canyon hiking boots. Everything you need to know, updated for 2026.
This guide covers what actually matters for Grand Canyon hiking: the terrain you will walk on, the thermal conditions you will walk through, and the boot features that make the difference between finishing strong and limping up the last switchback. If you are still planning the rest of your trip, the complete visitor guide covers lodging, permits, and entrance fees. Here, we focus on what goes on your feet.
Why Grand Canyon Hiking Is Different From Any Other Trail
Most hiking trails punish your lungs on the way up. Grand Canyon hiking trails punish your joints on the way down and your stamina on the way out. The math is simple: descending 4,000 feet puts roughly four times your body weight of impact through each footfall. Your boots absorb that load, or your knees do.
The Surface Changes Constantly
The South Kaibab Trail drops through layers of Kaibab limestone, Toroweap sandstone, and Bright Angel shale before hitting the Redwall limestone section. Each layer has a different texture. The limestone sections are sharp and abrasive. The shale sections are loose and crumbly. The sandstone sections are slick when dry and treacherous when wet.
A boot that performs well on the packed dirt of the Bright Angel Trail will feel insecure on the exposed rock of the South Kaibab. The grand canyon hiking trail surfaces vary enough that you need a sole that handles slickrock, scree, and hardpack - often within the same mile.
Heat Radiates From Every Surface
By late morning on a June hike, the trail surface temperature on the Tonto Platform hits 130°F. The walls of the inner gorge radiate heat back at you from both sides. Your feet swell inside your boots. Your soles soften. The combination of heat, elevation gain, and repetitive impact creates blisters in places you have never had blisters before.
Rangers at the Backcountry Information Center will tell you that footwear failure - not fitness - is the most common reason hikers turn around early.
What to Look for in Grand Canyon Hiking Boots
Not all boots labeled "hiking" can handle what this canyon delivers. Here is what the terrain demands.
Sole Stiffness and Traction
Grand canyon hiking trails demand a sole stiff enough to support a heavy pack on uneven terrain but with enough flexibility to feel secure on sloped sandstone slabs. A fully rigid mountaineering boot is overkill. A soft trail runner is under-gunned.
Look for a mid-stiffness sole with a Vibram or comparable outsole. The lug pattern matters: wide-spaced, deep lugs for loose scree sections, with enough flat contact area for the slickrock traverses. Avoid aggressive "climbing" soles with exaggerated heel rims - they catch on rock edges and can throw your stride off on steep downhills.
Ankle Support That Actually Works
The switchbacks on the South Kaibab are cut into exposed ridgelines. The Bright Angel Trail has sections where the trail narrows to shoulder width with a 500-foot drop on one side. Carrying a 25-pound daypack on these sections means your ankles work constantly to stabilize micro-movements on uneven footing.
A boot with a collar that rises at least 4 inches above the heel and uses a stiff heel counter provides the lateral stability you need. The boot should lock your heel in place without restricting forward flexion. If you can wiggle your heel inside the boot at the store, that boot will destroy your Achilles on the descent.
Breathability vs. Protection
The inner canyon runs 20 to 30 degrees warmer than the rim. On a July day, hiking out of the canyon means walking from 105°F at the river to 85°F at the rim over the course of four hours. Your boots need to handle both extremes without turning your feet into puddles of sweat.
Full-grain leather boots breathe poorly but offer the best protection against rock abrasion and cactus spines. Fabric-and-leather hybrids breathe better but wear through faster on the sharp limestone sections. For most grand canyon hiking trail use, a fabric-and-leather hybrid with a mesh tongue and perforated lining strikes the right balance. Save the full leather for winter hikes or off-trail routes.
Boot Recommendations by Canyon Use Case
The right boot depends on what exactly you are doing. Here is how the choices break down.
Day Hikers: Rim to Ooh Ahh Point
If you are hiking to Ooh Ahh Point on the South Kaibab (1.8 miles round trip, 690 feet elevation gain) or to the Three Mile Resthouse on the Bright Angel (6 miles round trip, 2,100 feet elevation gain), you want a lightweight mid-height boot. You do not need a full expedition boot for a three-hour hike.
The mid-weight category includes options like the Merrell Moab 3 Mid and the Keen Targhee III. These boots weigh under two pounds per pair, have enough ankle support for the uneven trail sections, and break in quickly. The Moab 3 uses a Vibram TC5+ sole that handles the mix of rock and hardpack well. The Targhee III has a wider toe box that accommodates the foot swelling you will experience even on short hikes.
Rim-to-River Hikers: Full Day, Full Load
Hiking from the South Rim to the river and back in a single day - Phantom Ranch day trips, Bright Angel Campground day hikes, or the classic South Kaibab down / Bright Angel up - demands more boot. You are carrying at least 3 liters of water plus food and layers. You are on your feet for 8 to 14 hours. The elevation gain on the way out is 4,500 feet over 7 to 9 miles.
For this use case, something in the category of the La Sportiva Trango Tech GTX or the Salomon Quest 4 GTX performs well. The Trango Tech uses a stiff TPU midsole that provides support under a heavy load without feeling like a ski boot on the descent. The Salomon Quest 4 has a 4mm drop that keeps your gait natural on the long uphill sections, and its upper wraps the foot securely enough to prevent hot spots on long descents.
Both boots require break-in. Do not show up at the trailhead with these fresh out of the box. Put 20 to 30 miles on them first, including some downhill sections.
Multi-Day Backpackers: Camping Below the Rim
If you have a permit for Bright Angel Campground, Cottonwood Campground, or one of the backcountry sites, you are carrying a pack that starts at 35 pounds and ends at 25 pounds after the food gets eaten. That weight changes your footfall mechanics significantly on the descent.
The Lowa Renegade GTX Mid and the Asolo Fugitive GTX are the boots you see most often on the packs of experienced Grand canyon national park hiking guides. The Renegade uses a Monowrap frame that provides stability without the weight of a full-shank boot. The Fugitive has a PU midsole that does not compress and lose cushioning over a week of heavy use. Both have replaceable insoles - a feature worth paying for when you are logging 20-plus canyon miles in a trip.
Bright Angel Trail Specifics
The Bright Angel Trail has sections of cobbled stone, loose sand, and hard-packed dirt. It also has the Pipe Creek section where the trail crosses several seep springs. The trail surface stays damp here year-round. The sandstone becomes slick enough that a boot with a sticky rubber compound - Vibram Megagrip or similar - makes a noticeable difference. In these sections, the grand canyon hiking trail conditions change from dry dust to wet rock in a single step. Boots with predictable traction on both surfaces are worth the premium.
What Breaks First in Grand Canyon Use
Experience reveals patterns. Here is what fails on boots in this canyon and what to look for before it fails on you.
The Tongue Gusset
Grand canyon trails deposit fine red dust into every crevice of your footwear. A boot with a fully gusseted tongue (the tongue is sewn to the upper on both sides so debris cannot enter) keeps that dust out. Partially gusseted tongues let grit in. Grit between your sock and the boot liner causes blisters within two miles. Check the tongue construction before you buy. If you can see exposed fabric at the tongue edge, that boot will fill with trail debris.
The Lacing System
The heat and dust destroy standard laces within one canyon trip. Cotton laces dry rot. Nylon laces melt against hot rock. Flat Kevlar-blend laces hold up best. Replace your boot laces before your Grand Canyon trip if they show any fraying. A lace break on the descent of the South Kaibab at mile two means tightening your boot with a knot for the remaining seven miles. Pack a spare pair of laces in your first-aid kit.
The Insole
Every boot sold comes with a flat, non-supportive insole. Hiking in the canyon with the stock insole is like wearing dress shoes on a construction site. Replace the insole before you go. Superfeet Green or Currex HikePro insoles provide the arch support and heel cup that keep your feet stable on uneven terrain for hours. The improvement is immediate and dramatic. Experienced visitors know this is the single cheapest upgrade to your footwear that changes your hike more than the boot itself.
Sizing and Preparation
Rangers will tell you that the most common boot mistake at this park is buying boots that fit at sea level in an air-conditioned store and then wearing them at 105°F with foot swelling.
The Hot-Day Fit Test
Your feet swell a half size to a full size during a full-day canyon hike in warm weather. Boots that fit perfectly at 7 AM in 60°F conditions will compress your toes by 2 PM in 110°F conditions. When trying on boots, wear the socks you plan to hike in - medium-weight merino wool, not cotton - and leave a thumb's width between your longest toe and the boot tip. If the fit is snug room temperature in the store, it will be too tight on the trail.
Break-In Protocol
The canyon is not the place to break in new boots. The combination of steep descent forces, heat, and trail abrasion creates pressure points that a broken-in boot handles and a new boot turns into open blisters.
Walk 50 miles in your boots before the trip. Include at least 10 miles of steep downhill hiking. If you develop a hot spot during break-in, you can address it with a boot fitter before you leave. If you develop a hot spot on the South Kaibab, you can address it with moleskin and ibuprofen.
Practical Takeaways
- Choose mid-stiffness boots with Vibram outsoles for the mix of slickrock, scree, and hardpack that defines every grand canyon trail worth hiking.
- Replace the stock insole with a supportive aftermarket option before you ever set foot on the trail. This is the highest-impact upgrade for the lowest cost.
- Break in boots for 50 miles minimum including significant downhill sections. The canyon exposes fit problems that flat trails never reveal.
- Size a half-size up from your street shoe to accommodate foot swelling in the canyon heat. Test with the exact sock you will hike in.
- Pack spare laces, moleskin, and a small tube of foot balm in your daypack. The canyon dust and heat combination creates friction issues that require active management.
- Consider hybrid fabric-and-leather uppers for the balance of breathability and durability. Save full leather for winter use.
Final Thoughts
The best grand canyon hiking boots are the ones that fit your specific foot, match the specific trail you are hiking, and survive the specific conditions of that trail on that day. The retail industry wants you to think there is one perfect boot. There is not. There is a boot that fits well, supports your load, handles the surface, and does not hurt after hour six. That is the one you want.
The Grand Canyon does not care what brand you wear. It cares whether your boots keep you stable on the loose sections, comfortable on the long stretches, and capable of making the climb back out. Choose accordingly, and spend the money on boots before you spend it on anything else in your pack. Your knees will thank you at the 4,000-foot mark on the way up.
Related: grand canyon hiking guide
Sources
- Official source: NPS — Grand Canyon National Park nps.gov/grca/index.htm
More to Explore
Park Guide
Acadia National Park: Carriage Roads, Cadillac Mountain & 2026 Guide
Discover carriage roads, Cadillac Mountain, and rugged Maine coast. Complete 2026 guide to Acadia National Park — trails, fees, lodging, permits, and what rangers recommend.
Hiking Guide
Grand Canyon Hiking Trails: Day Hikes, Water Sources & Rim to Rim
Compare Grand Canyon hiking trails: Bright Angel, South Kaibab, Hermit, Grandview, and rim to rim, with distances, elevation, water stops, and trailhead access for each.
Best Of
Best of Glacier Bay National Park
The best of Glacier Bay is reached by boat: ranger-led day tours up the bay to the tidewater glaciers. What's worth it, how to book, and when to go (2026).
Campsite Guide
White Sands Backcountry Camping: Closed for 2026 — What to Know
As of 2026, backcountry camping at White Sands National Park is closed for site rehabilitation. What that means, and where to camp nearby instead.
Weather Guide
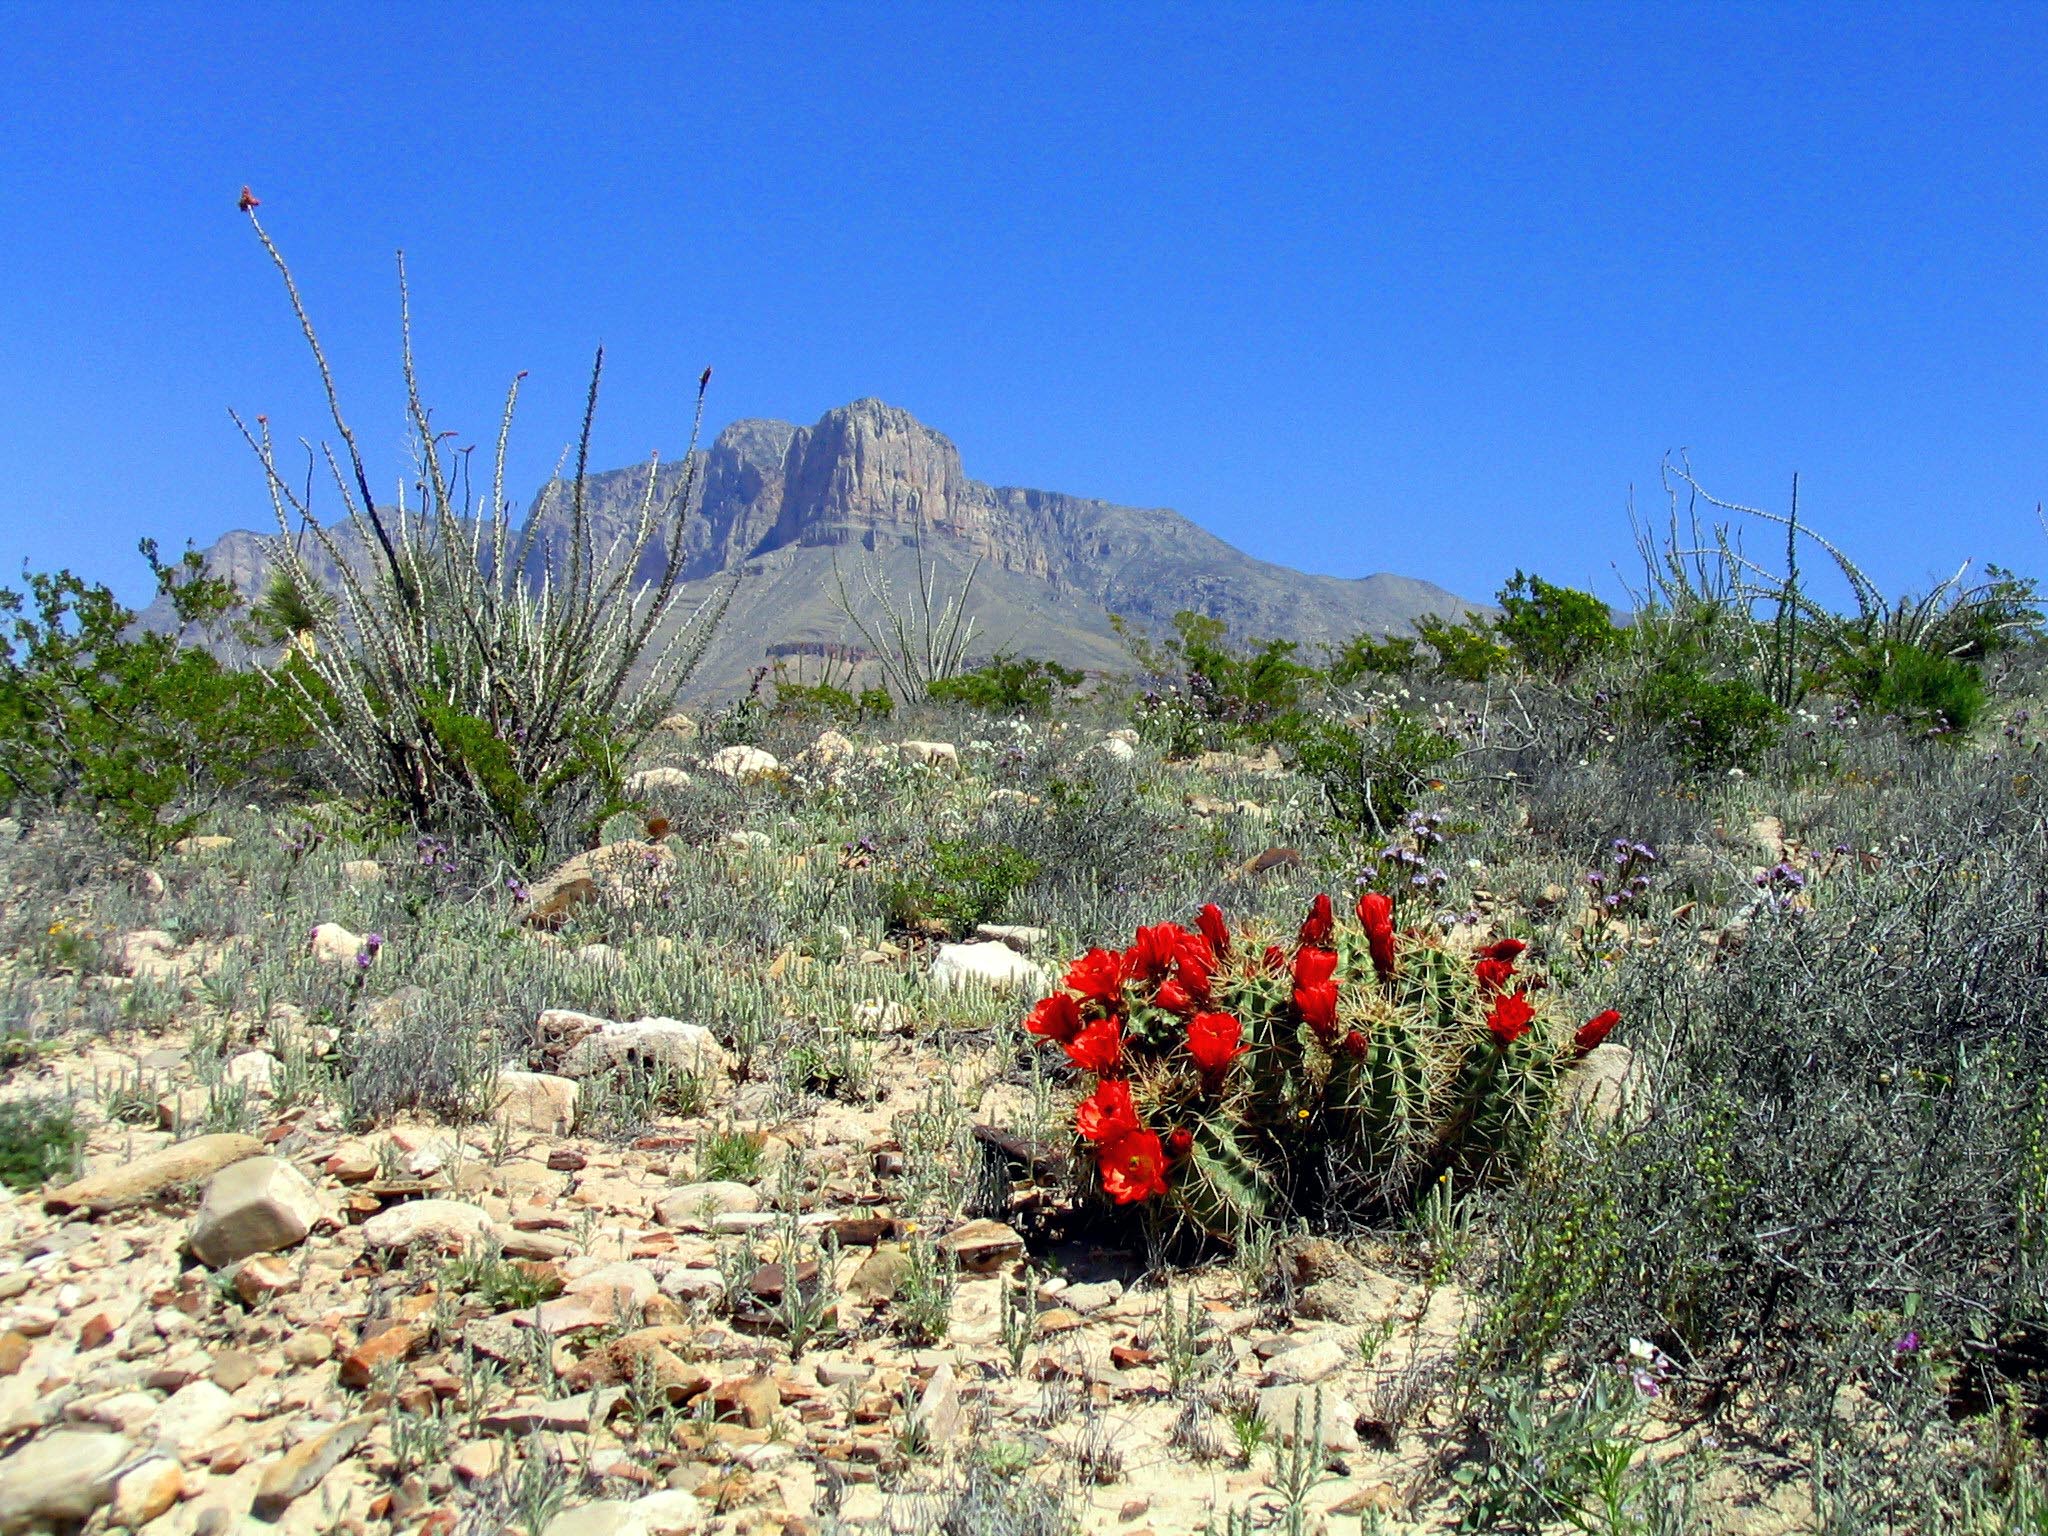
Guadalupe Mountains National Park Weather: Weather
Guadalupe Mountains National Park: weather guide guide updated 2026. Practical visitor information, reservations, and seasonal tips worth bookmarking before
Best Of
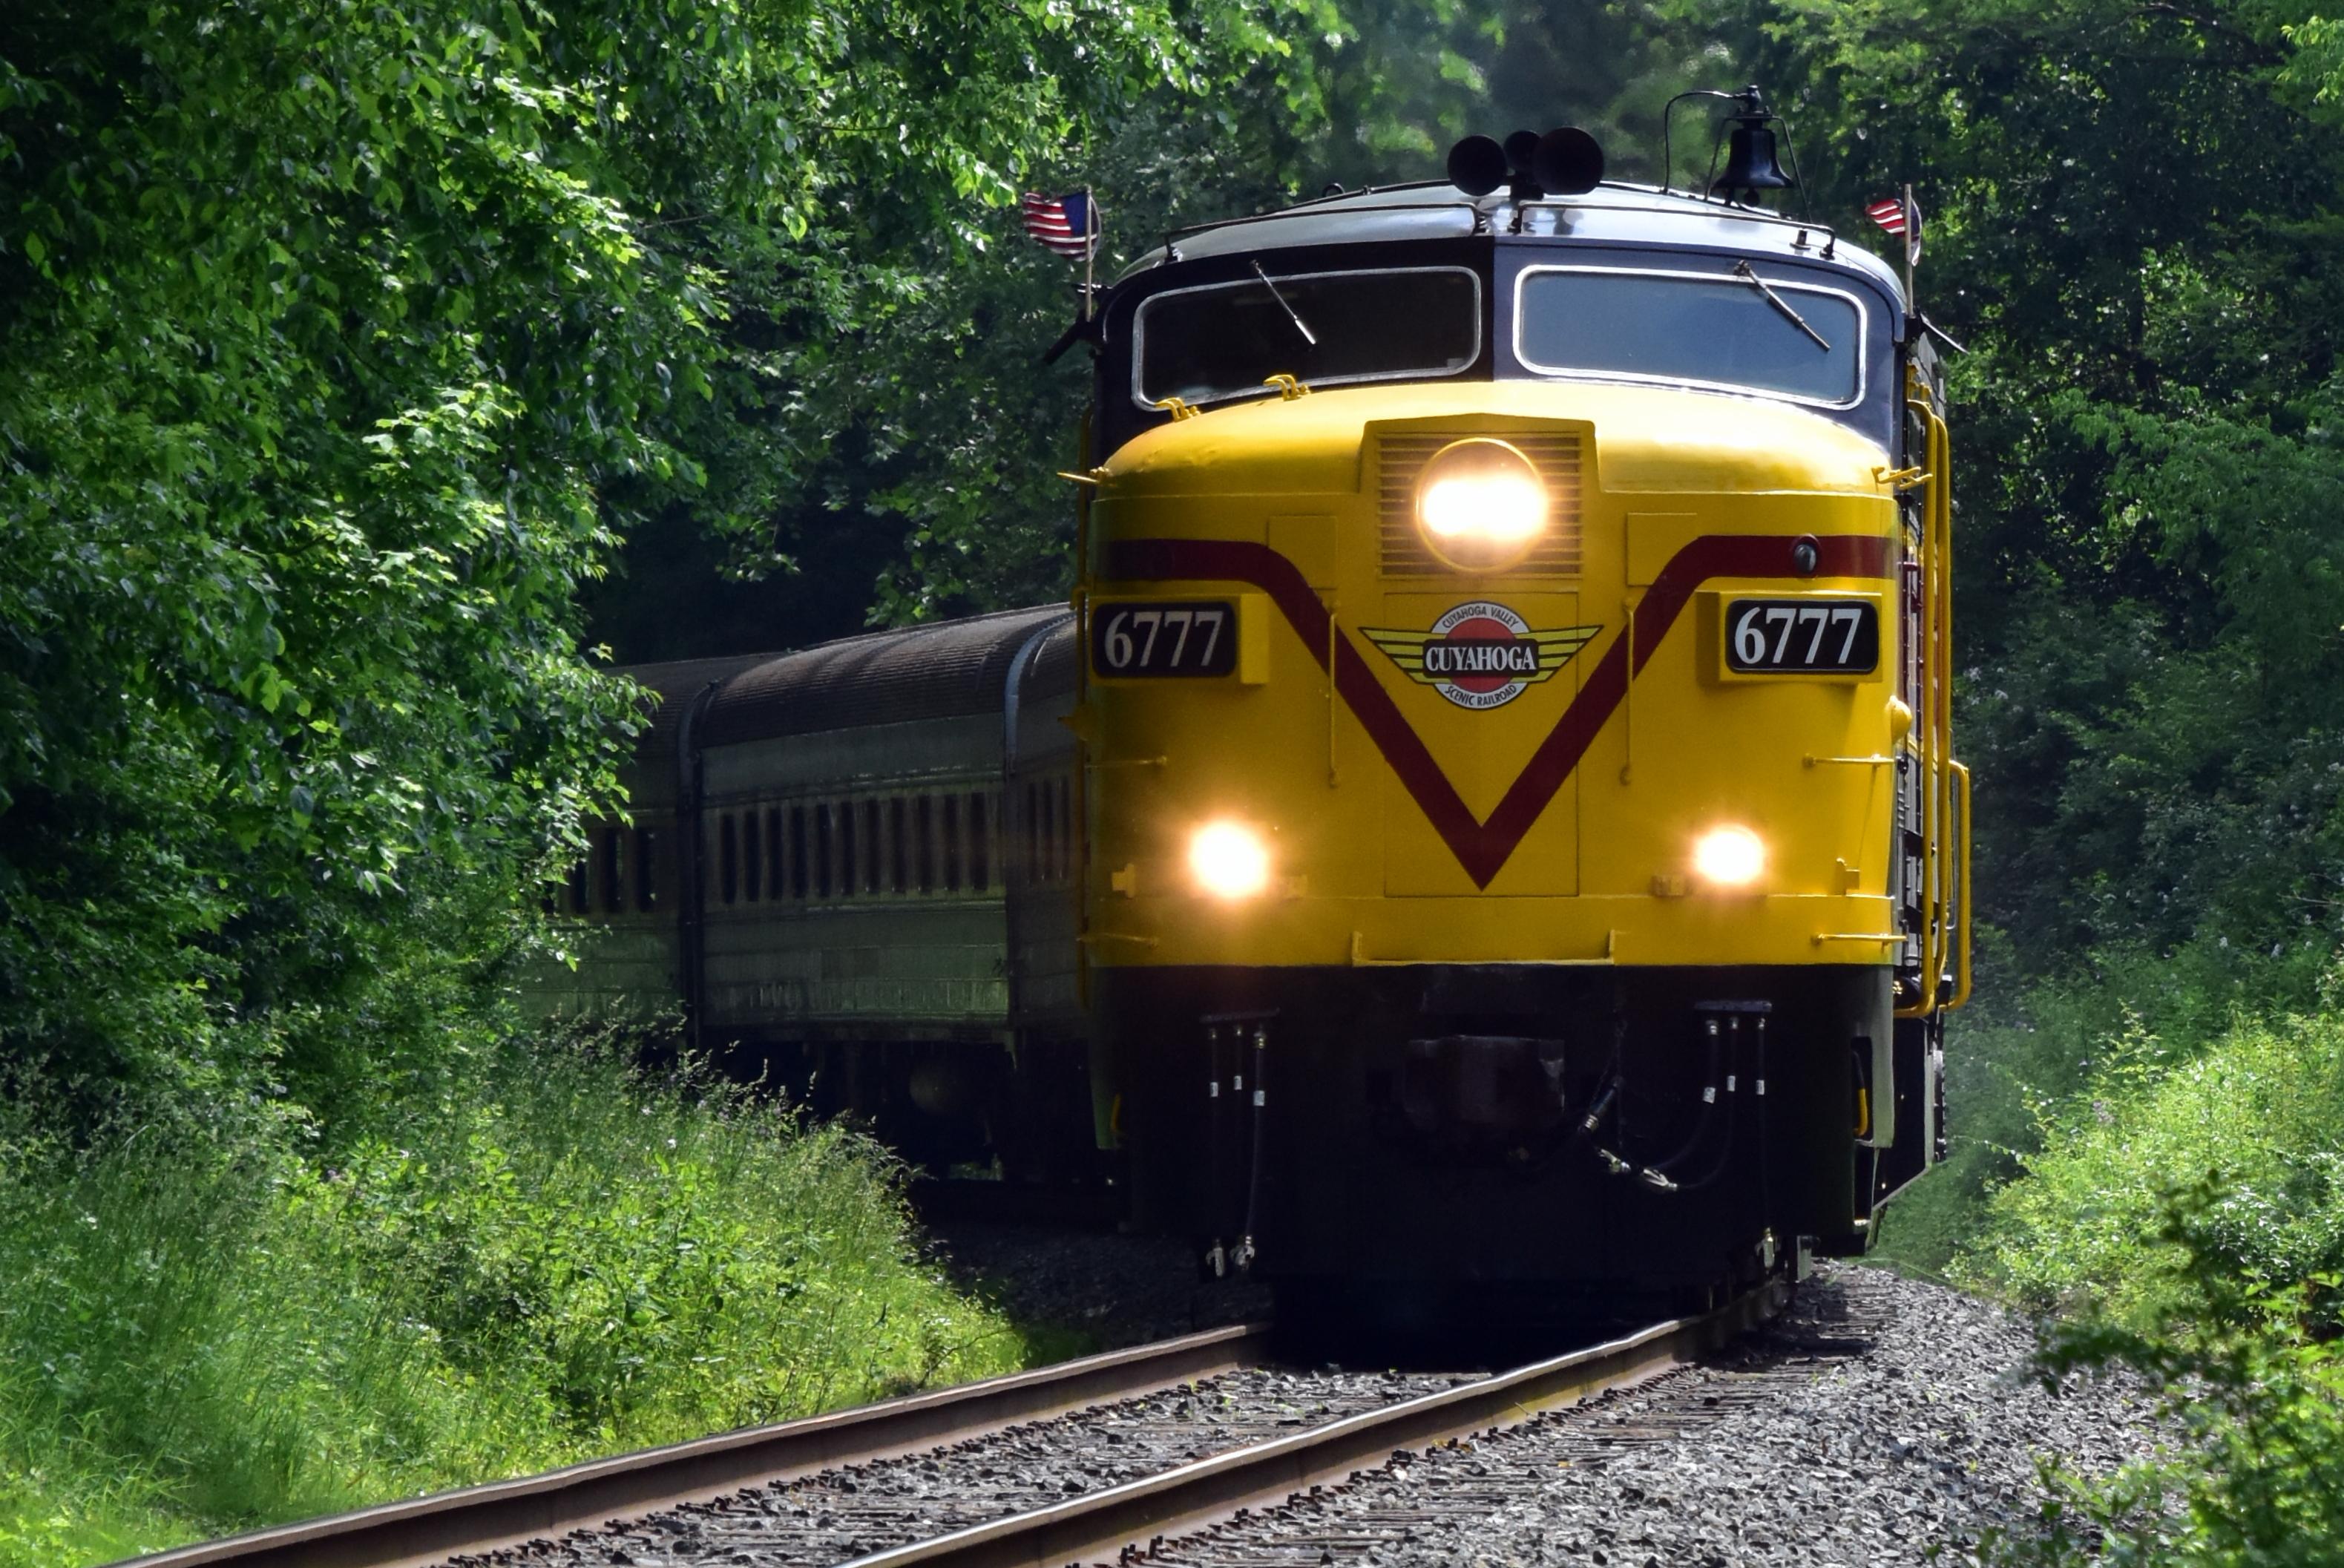
Best of Cuyahoga Valley National Park: Best Things to Do
Seeing a Cleveland Orchestra concert with the woods as your backdrop is a uniquely Cuyahoga Valley experience.
Sign in to join the conversation.
Sources & Attribution
Location data courtesy of the National Park Service (U.S. Department of the Interior). NPS data is public domain.
Images: NPS.
Map data © OpenStreetMap contributors.
Park operations alerts: NPS.gov · Weather and weather hazards: National Weather Service · Live conditions.
Information may change. Always verify fees, hours, and conditions directly with the official source before visiting.
Did this guide help? Share it with a friend.