What happens to a canyon visited by millions when the last shuttle pulls into the depot and the footsteps fade? Most visitors never find out. They arrive at 10 AM, hike until their legs complain, and roll back to Springdale before the light goes orange. But staying after dark at Zion National Park rewards you with something the midday crowds don't leave room for: the chance to experience the best place for stargazing in zion national park, where the Milky Way arcs from cliff to cliff and the only sound is the river below.
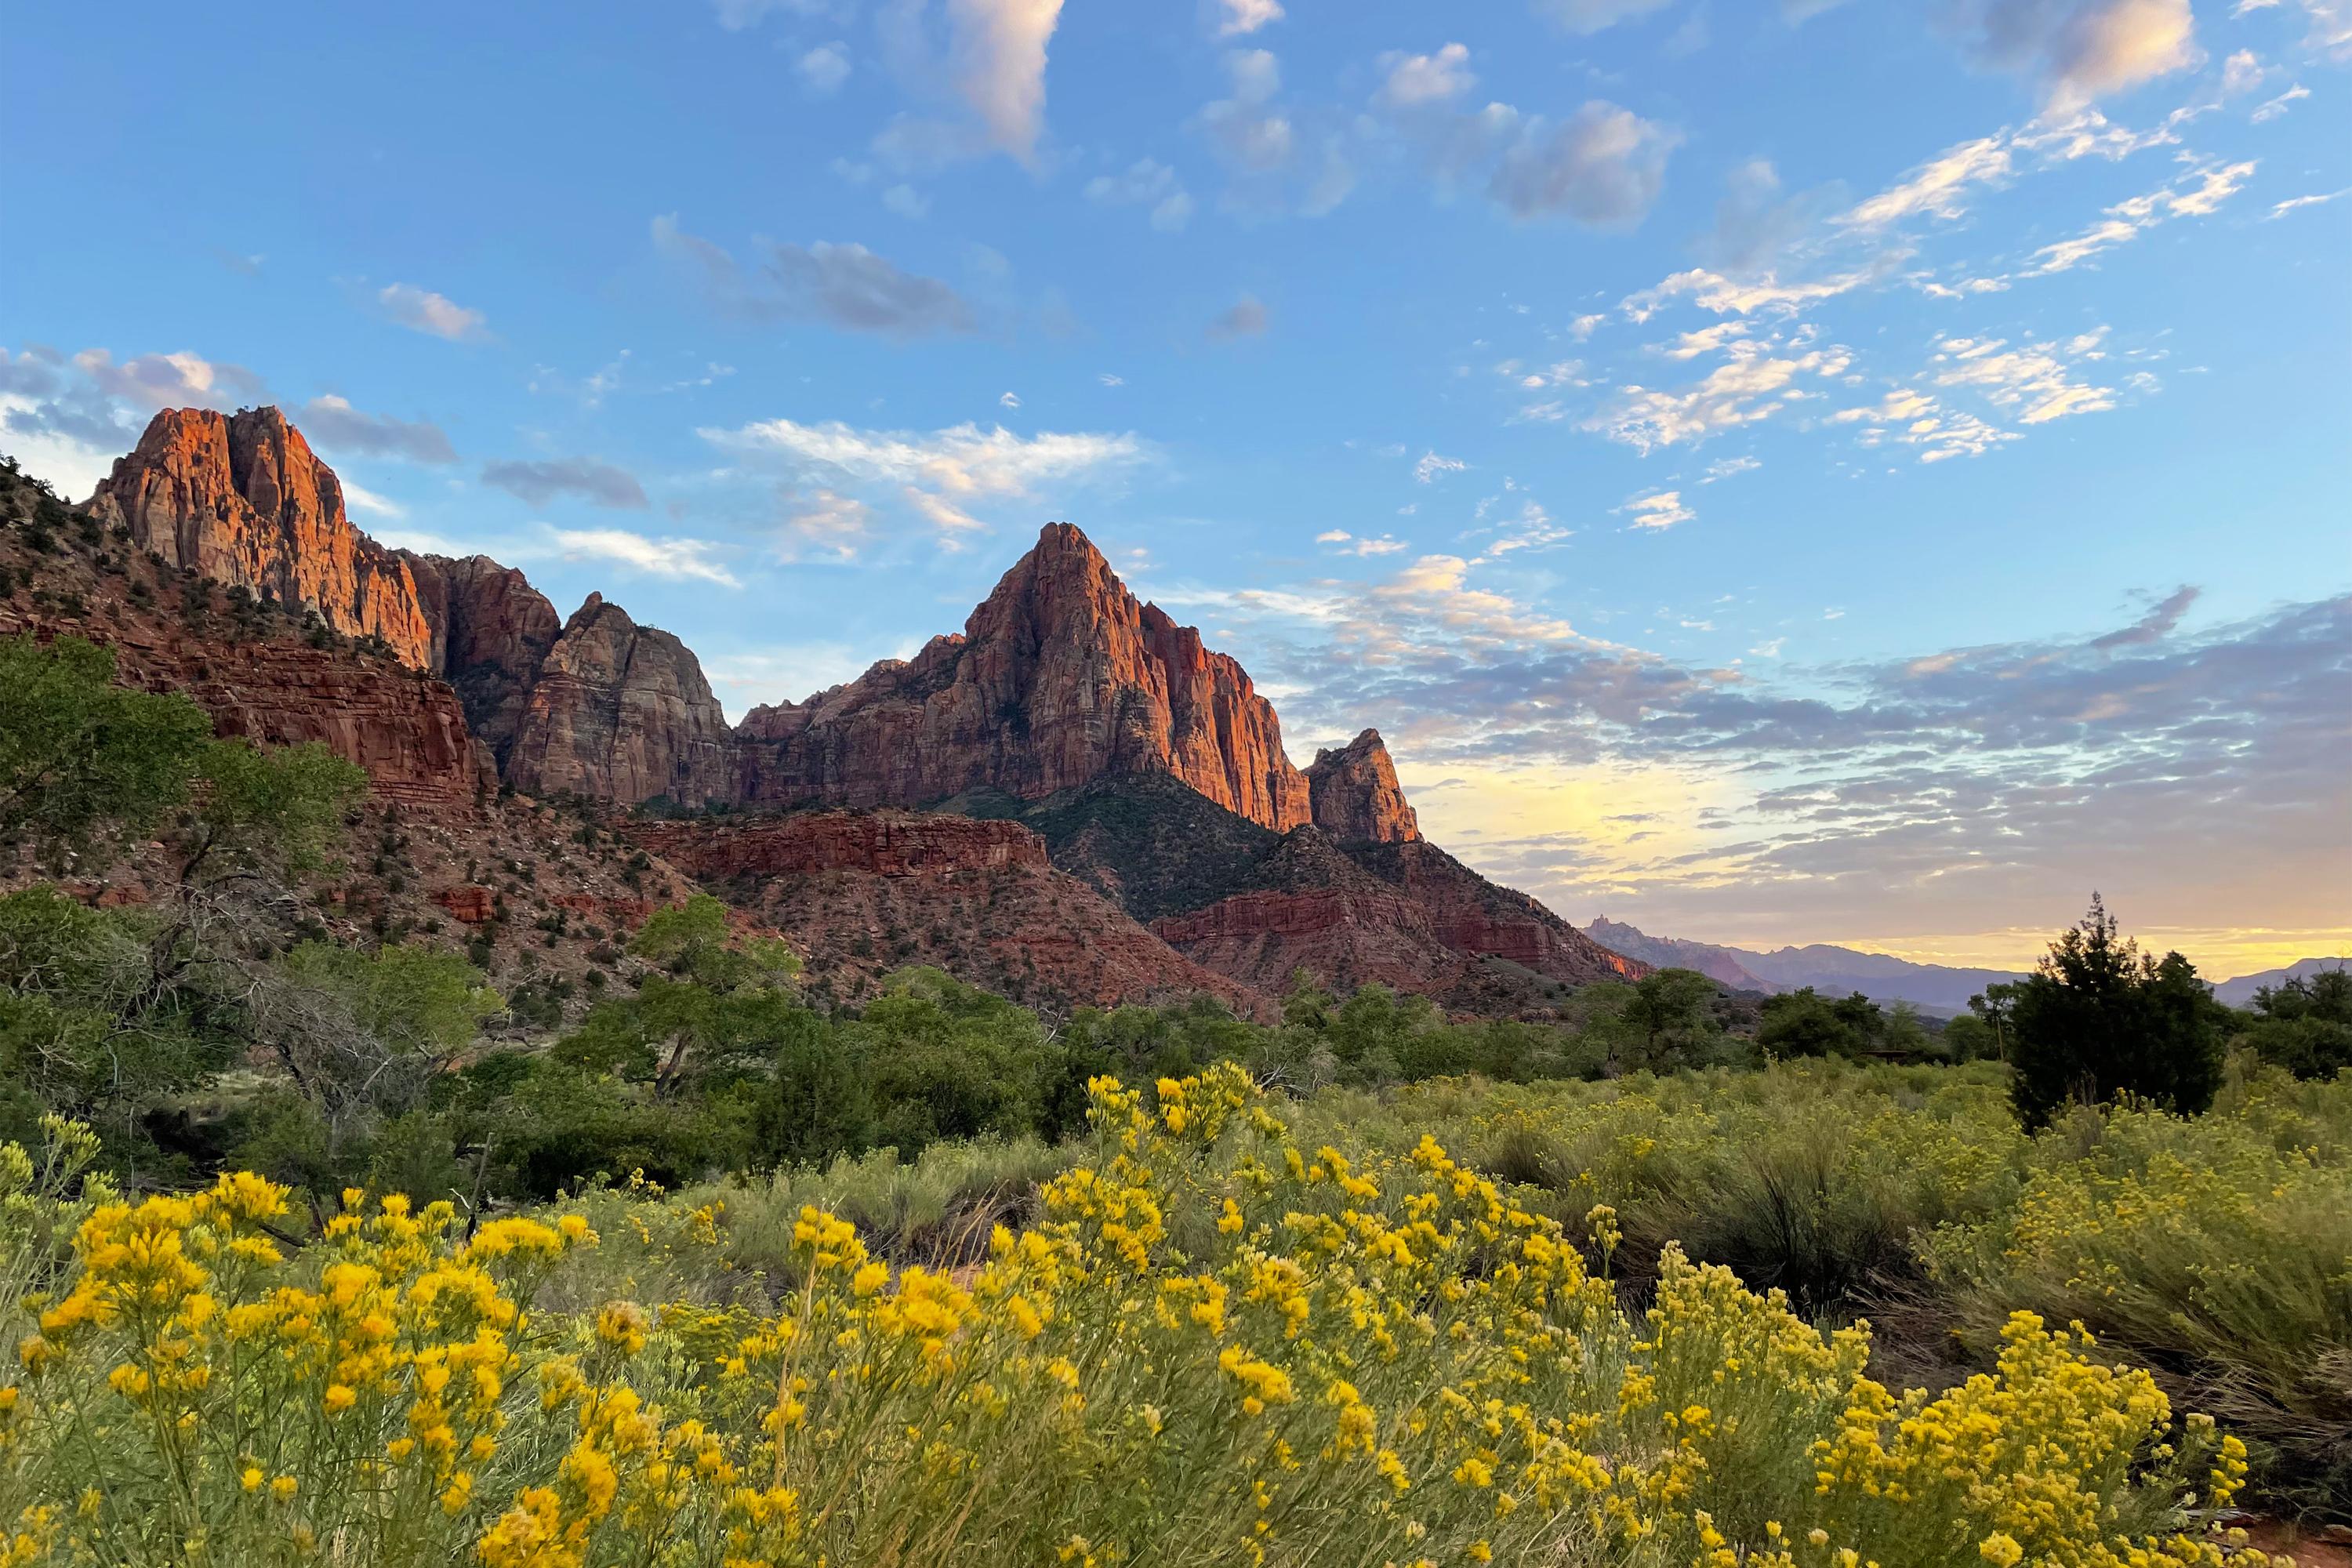
NPS via NPS.gov (Public Domain)
Best of Zion National Park: Best Place for Stargazing in (2026)
8 min read
Best Of
See the Milky Way from the Pa'rus Trail after the last shuttle leaves. Arrive before 9 AM to beat crowds and catch the best stargazing in Zion National Park (2026).
This article contains affiliate links — we may earn a small commission at no extra cost to you.
If you have limited time, this is your priority. Everything else comes second.
If You Only Have One Day
Start early. The main gate at Springdale opens 24 hours, but the parking lots fill before 9 AM from March through October. If you arrive after 9, park in Springdale and ride the free shuttle in from the Zion Canyon Visitor Center.
Take the first shuttle of the day into the canyon. Most visitors board between 10 and 11 AM. The 7 AM shuttle means you will have the trails largely to yourself. Get off at the Grotto stop and hike up toward Angels Landing as far as your comfort and permit situation allow - even Scout Lookout without the final chain section gives you a view down the full length of the canyon.
By noon, the heat builds. July through September, temperatures frequently exceed 100°F. This is the right time for a short, shaded walk or a stop at the Zion Human History Museum. Eat lunch at your car or at the picnic area near the South Campground.
From 2 to 4 PM, the trails are at their most crowded. Use this window to ride the shuttle from end to end without getting off. You will see the canyon from every angle, and the air-conditioned bus gives your legs a break.
As evening approaches, head to the Watchman area near the south entrance. You are positioning yourself for the main event. Eat dinner early - cold food you packed is better than waiting for anything in Springdale at peak hour.
An hour after sunset, walk a short distance from the Watchman Campground onto the Pa'rus Trail or find a spot near the Virgin River bridge. Let your eyes adjust for twenty minutes. The sky above the Watchman peak will go from deep blue to black, and the stars will stack up against the sandstone.
That is the best place for stargazing in zion national park that is accessible without a backcountry permit. You will see planets, the Milky Way core (in season), and satellites tracking across the gap between the canyon walls.

The Top Experiences, Ranked
These are ranked by return on effort for a first-time visitor who wants to maximize their time and leave feeling like they actually saw Zion.
#1 - Stargazing at the Watchman Area: No hike required, no permit needed, the best darkness you can reach without camping
- Why it makes this list: Zion is a designated International Dark Sky Park, but the main canyon has light bleed from the shuttle buildings and the lodge. The Watchman area near the south entrance is dark enough for serious viewing, accessible from the road, and requires zero planning beyond showing up after sunset.
- What it requires: Nothing but a jacket - temperatures drop more than 30°F at night even in summer. A flashlight with a red filter helps preserve your night vision. No reservation needed.
- The single best tip: Visit on a moonless night between April and October. The Milky Way is visible to the naked eye from this spot. Park rangers occasionally lead evening astronomy programs here during summer - check the schedule at the visitor center.
- What most visitors do wrong: They look at their phone screen and ruin their night vision for twenty minutes. Set your phone to red mode or leave it in the car.
- Related: If you want darker skies still, drive the Zion-Mt. Carmel Highway toward the east entrance. Light pollution drops to near zero past the tunnel.
#2 - Angels Landing: The one trail that defines the park, but you need a permit
- Why it makes this list: There is no viewpoint in Zion that matches the combination of exposure and vertical relief. You are on a narrow fin of rock with 1,500-foot drops on both sides. The view up and down the canyon justifies the logistical hassle.
- What it requires: A permit from the pilot permit program - everyone on the trail past Scout Lookout needs one. Apply in advance. The hike is 5 miles round trip with 1,500 feet of elevation gain. The chain section is steep and exposed. This is not for anyone uncomfortable with heights.
- The single best tip: Start before sunrise. The permit system limits how many people are on the trail, but it still gets busy by 9 AM. The early morning light on the canyon walls is better than anything you will see at midday anyway.
- What most visitors do wrong: They attempt this as their first hike of the day after driving from Las Vegas. The altitude isn't severe at 5,790 feet at the summit, but dehydration hits fast. Pack extra water for this stretch.
- For a full breakdown, check our hiking trails guide.
#3 - The Narrows: Walking through the Virgin River with 1,000-foot walls on both sides
- Why it makes this list: No other trail in the lower 48 is like this. You walk in the river itself, with the canyon narrowing until you can touch both walls simultaneously in some sections. The scale is disorienting in the best way.
- What it requires: Sturdy water shoes or boots with neoprene socks. A dry bag for anything that cannot get wet. A walking stick makes a real difference on the slippery river bed. The hike is as long or short as you want - you turn around whenever you decide you have gone far enough.
- The single best tip: Check the weather forecast for flash flood risk before you go. Zion experiences monsoons from mid-July into September that result in an increased risk of flash floods. If rain is forecast anywhere upstream, do not enter. Also, toxic cyanobacteria has been detected in the Virgin River - do not submerge your head in the water and do not filter drinking water from it.
- What most visitors do wrong: They underestimate the cold. The river stays at around 55-60°F even in August. You will lose body heat faster than you expect.
- For more trail options, see our zion hiking trails page.
#4 - Canyon Overlook Trail: The best short hike in the park with the best payoff-to-effort ratio
- Why it makes this list: This is a 1-mile round trip hike that ends at a viewpoint over the lower canyon and the Zion-Mt. Carmel switchbacks. It takes 45 minutes leisurely and delivers a view that most visitors miss because they drive straight past the trailhead.
- What it requires: Minimal fitness. Some mild exposure near the end. No permit required. Parking at the east entrance trailhead is extremely limited - eight spots.
- The single best tip: Go at sunset. The light hits the canyon walls from the west and turns the sandstone a deep copper. The trail faces east, so you are looking directly into the glow.
- What most visitors do wrong: They try to drive here after spending the morning in the main canyon and find the parking full. Go here first, before the main canyon, and skip the morning crowds entirely.
- The canyon overlook trail zion is covered in more detail on our hiking page.
#5 - Zion Canyon Scenic Drive by Shuttle: The only way to see the main canyon without a car
- Why it makes this list: The scenic drive is closed to private vehicles most of the year. The shuttle system is free, runs frequently, and stops at every major trailhead and viewpoint. You can ride the full loop in 90 minutes without getting off and get a complete orientation of the canyon.
- What it requires: Patience during peak hours - the shuttle fill up. Board at the visitor center or in Springdale.
- The single best tip: Ride the full loop once without getting off. Note which stops you want to explore. Then go back on a second loop and start your hikes. This saves you the rookie mistake of getting off at the first interesting stop and running out of energy.
- What most visitors do wrong: They wait in line at the visitor center shuttle stop at 10 AM with everyone else. Walk a quarter mile south to the Springdale stops - the bus picks up there with shorter lines.
#6 - Emerald Pools: Easy, family-friendly, and genuinely pretty at the right time of day
- Why it makes this list: The lower pool is an easy 0.6-mile walk on paved trail. The upper pool requires some climbing but rewards you with a small waterfall (seasonal) and a view down-canyon. This is the trail to take with people who cannot handle the longer hikes.
- What it requires: Very little - this is the easiest canyon trail on this list. An hour total for the lower pool, two hours if you push to the upper.
- The single best tip: Go in the morning. By 11 AM the trail is full of groups taking photos at every switchback. Early morning light illuminates the pools and the cliff above them.
- What most visitors do wrong: They expect the pools to look like swimming holes. These are shallow, algae-rich pools on a sandstone shelf, not a place to swim. Manage expectations.
#7 - Kolob Canyons: The section of the park that two-thirds of visitors never see
- Why it makes this list: Kolob Canyons is the northwest section of Zion, accessed from a separate entrance near Cedar City. It has its own scenic drive, its own trails, and a fraction of the main canyon's crowds. The views are comparable to anything in the main canyon.
- What it requires: A 40-minute drive from the main entrance. The scenic drive is a 5-mile paved road to the Kolob Canyons viewpoint. You can do Taylor Creek Trail (3.5 miles) or Kolob Arch (14 miles) for longer hikes.
- The single best tip: Go here on a day when the main canyon shuttle lines look long. You will spend more time in the car getting there than waiting in lines. This is a morning or afternoon trip, not an all-day commitment.
- What most visitors do wrong: They skip it entirely because it is not on the standard Springdale itinerary. That is the reason it is worth doing.
#8 - Biking the Scenic Drive: Beat the shuttle crowds entirely
- Why it makes this list: When the shuttle is running, bicycles are allowed on the Zion Canyon Scenic Drive. You move at your own pace, you stop where you want, and you skip every line. Springdale has bike rentals at several shops.
- What it requires: Bike rental (around $40-60 per day) and the fitness to ride 8 miles one way with some gentle grade. E-bikes are also available and popular.
- The single best tip: Start at 6
For more information, see our complete National Park Guide.
Related: Zion national park lodges guide
Related: trails zion national park guide
Recommended Gear
What experienced visitors bring to Best of Zion National Park: Best Place for Stargazing in (2026)
Links may earn us a commission at no extra cost to you. We only recommend gear we believe in.
Hiking Essentials
Hydration Pack (3L)
Hands-free water for long trail days
Trekking Poles (Pair)
Save your knees on steep descents
Hiking Boots (Ankle Support)
Sturdy footwear for rocky, uneven trails
Sun & Heat Protection
Wide-Brim Sun Hat
Full coverage UPF 50+ protection at altitude
Insulated Water Bottle (32oz)
Keeps water cold in desert heat all day
Electrolyte Mix Packets
Replace what water alone cannot during intense heat
Winter Gear
Microspikes / Traction Devices
Essential for icy rim trails in winter months
Packable Down Jacket
Lightweight warmth that stuffs into a pocket
Sources
- Official source: NPS — Zion National Park nps.gov/zion/index.htm
Photo Gallery
More to Explore
Park Guide
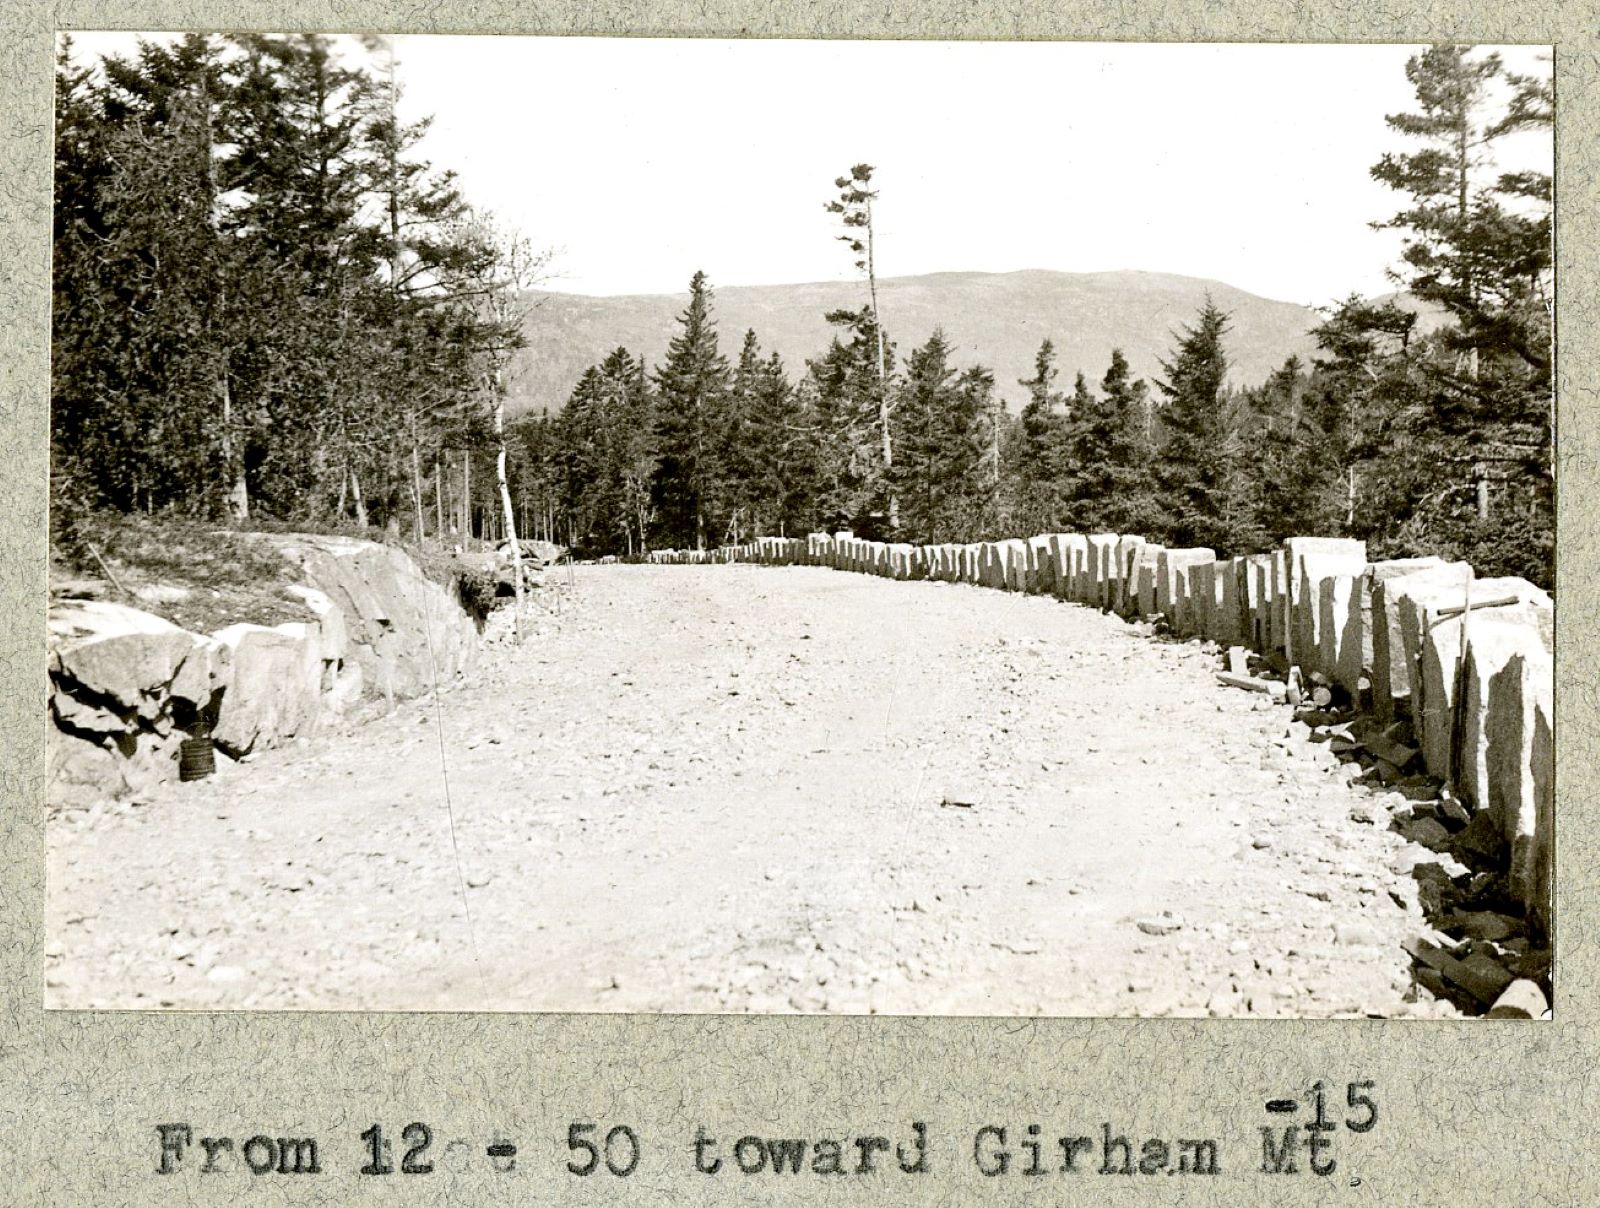
Acadia National Park: Carriage Roads, Cadillac Mountain & 2026 Guide
Discover carriage roads, Cadillac Mountain, and rugged Maine coast. Complete 2026 guide to Acadia National Park — trails, fees, lodging, permits, and what rangers recommend.
Hiking Guide
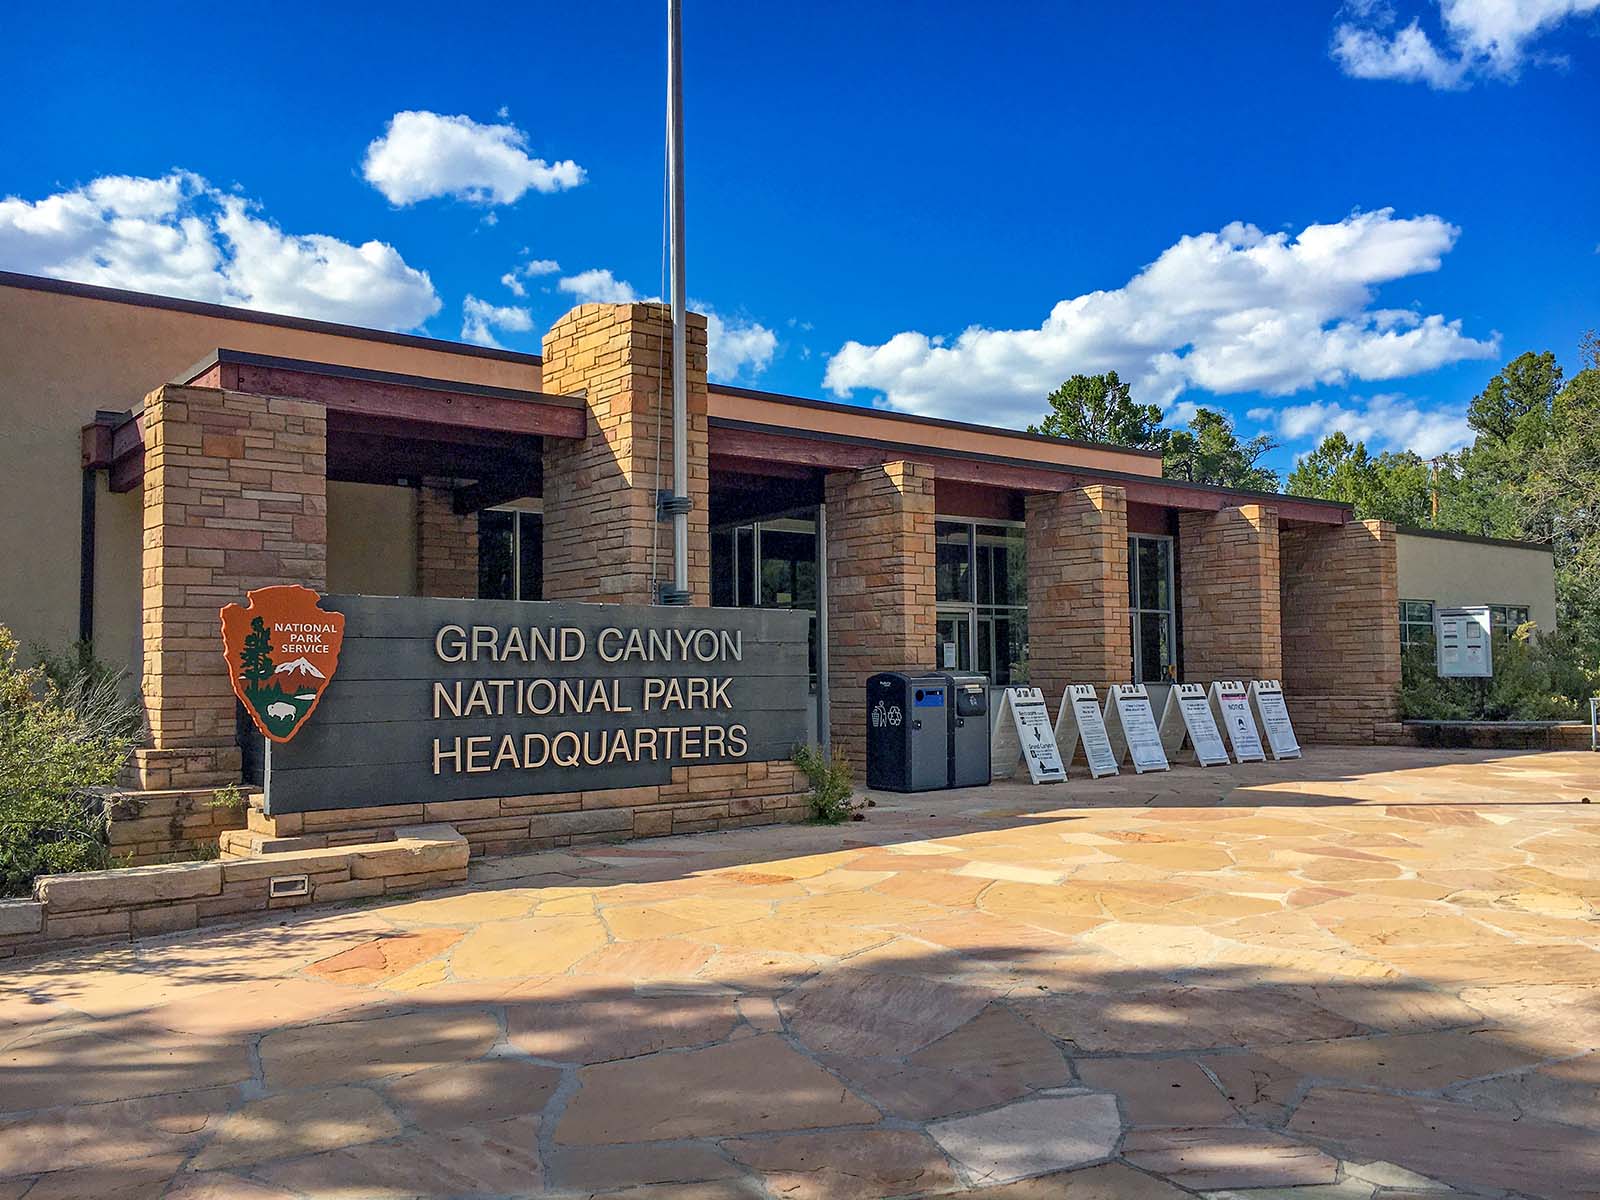
Grand Canyon Hiking Trails: Day Hikes, Water Sources & Rim to Rim
Compare Grand Canyon hiking trails: Bright Angel, South Kaibab, Hermit, Grandview, and rim to rim, with distances, elevation, water stops, and trailhead access for each.
Best Of
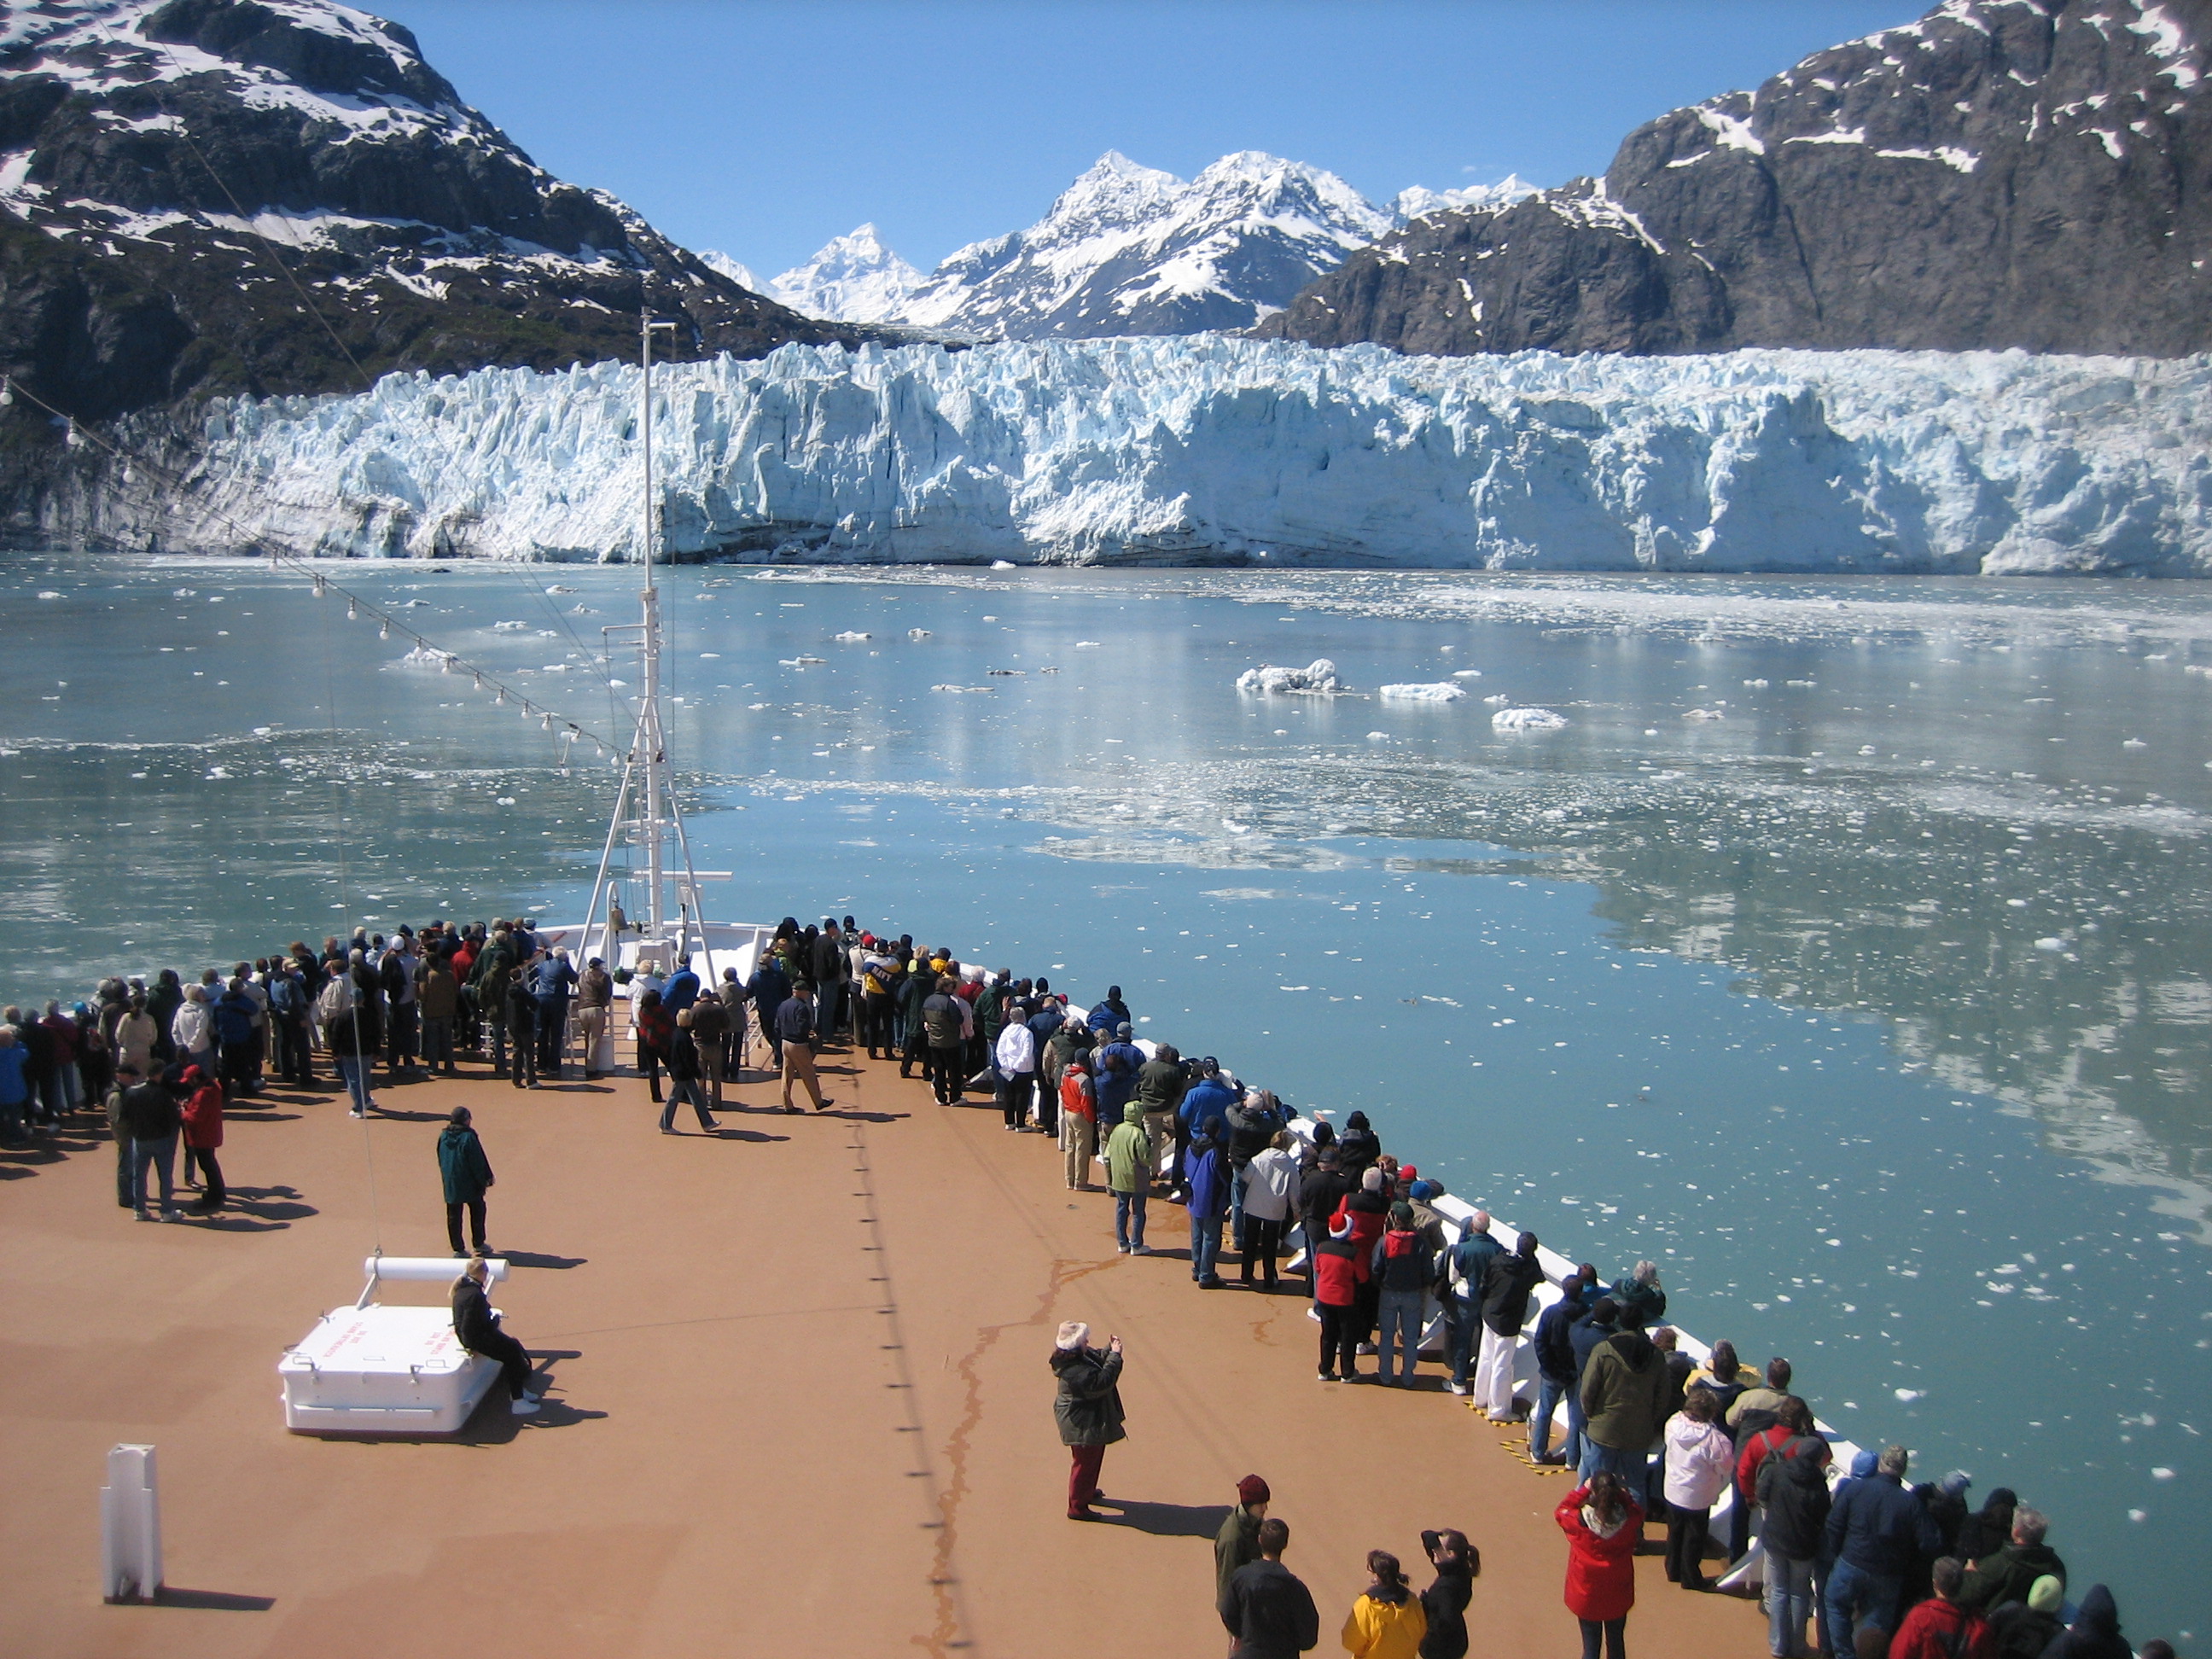
Best of Glacier Bay National Park
The best of Glacier Bay is reached by boat: ranger-led day tours up the bay to the tidewater glaciers. What's worth it, how to book, and when to go (2026).
Campsite Guide
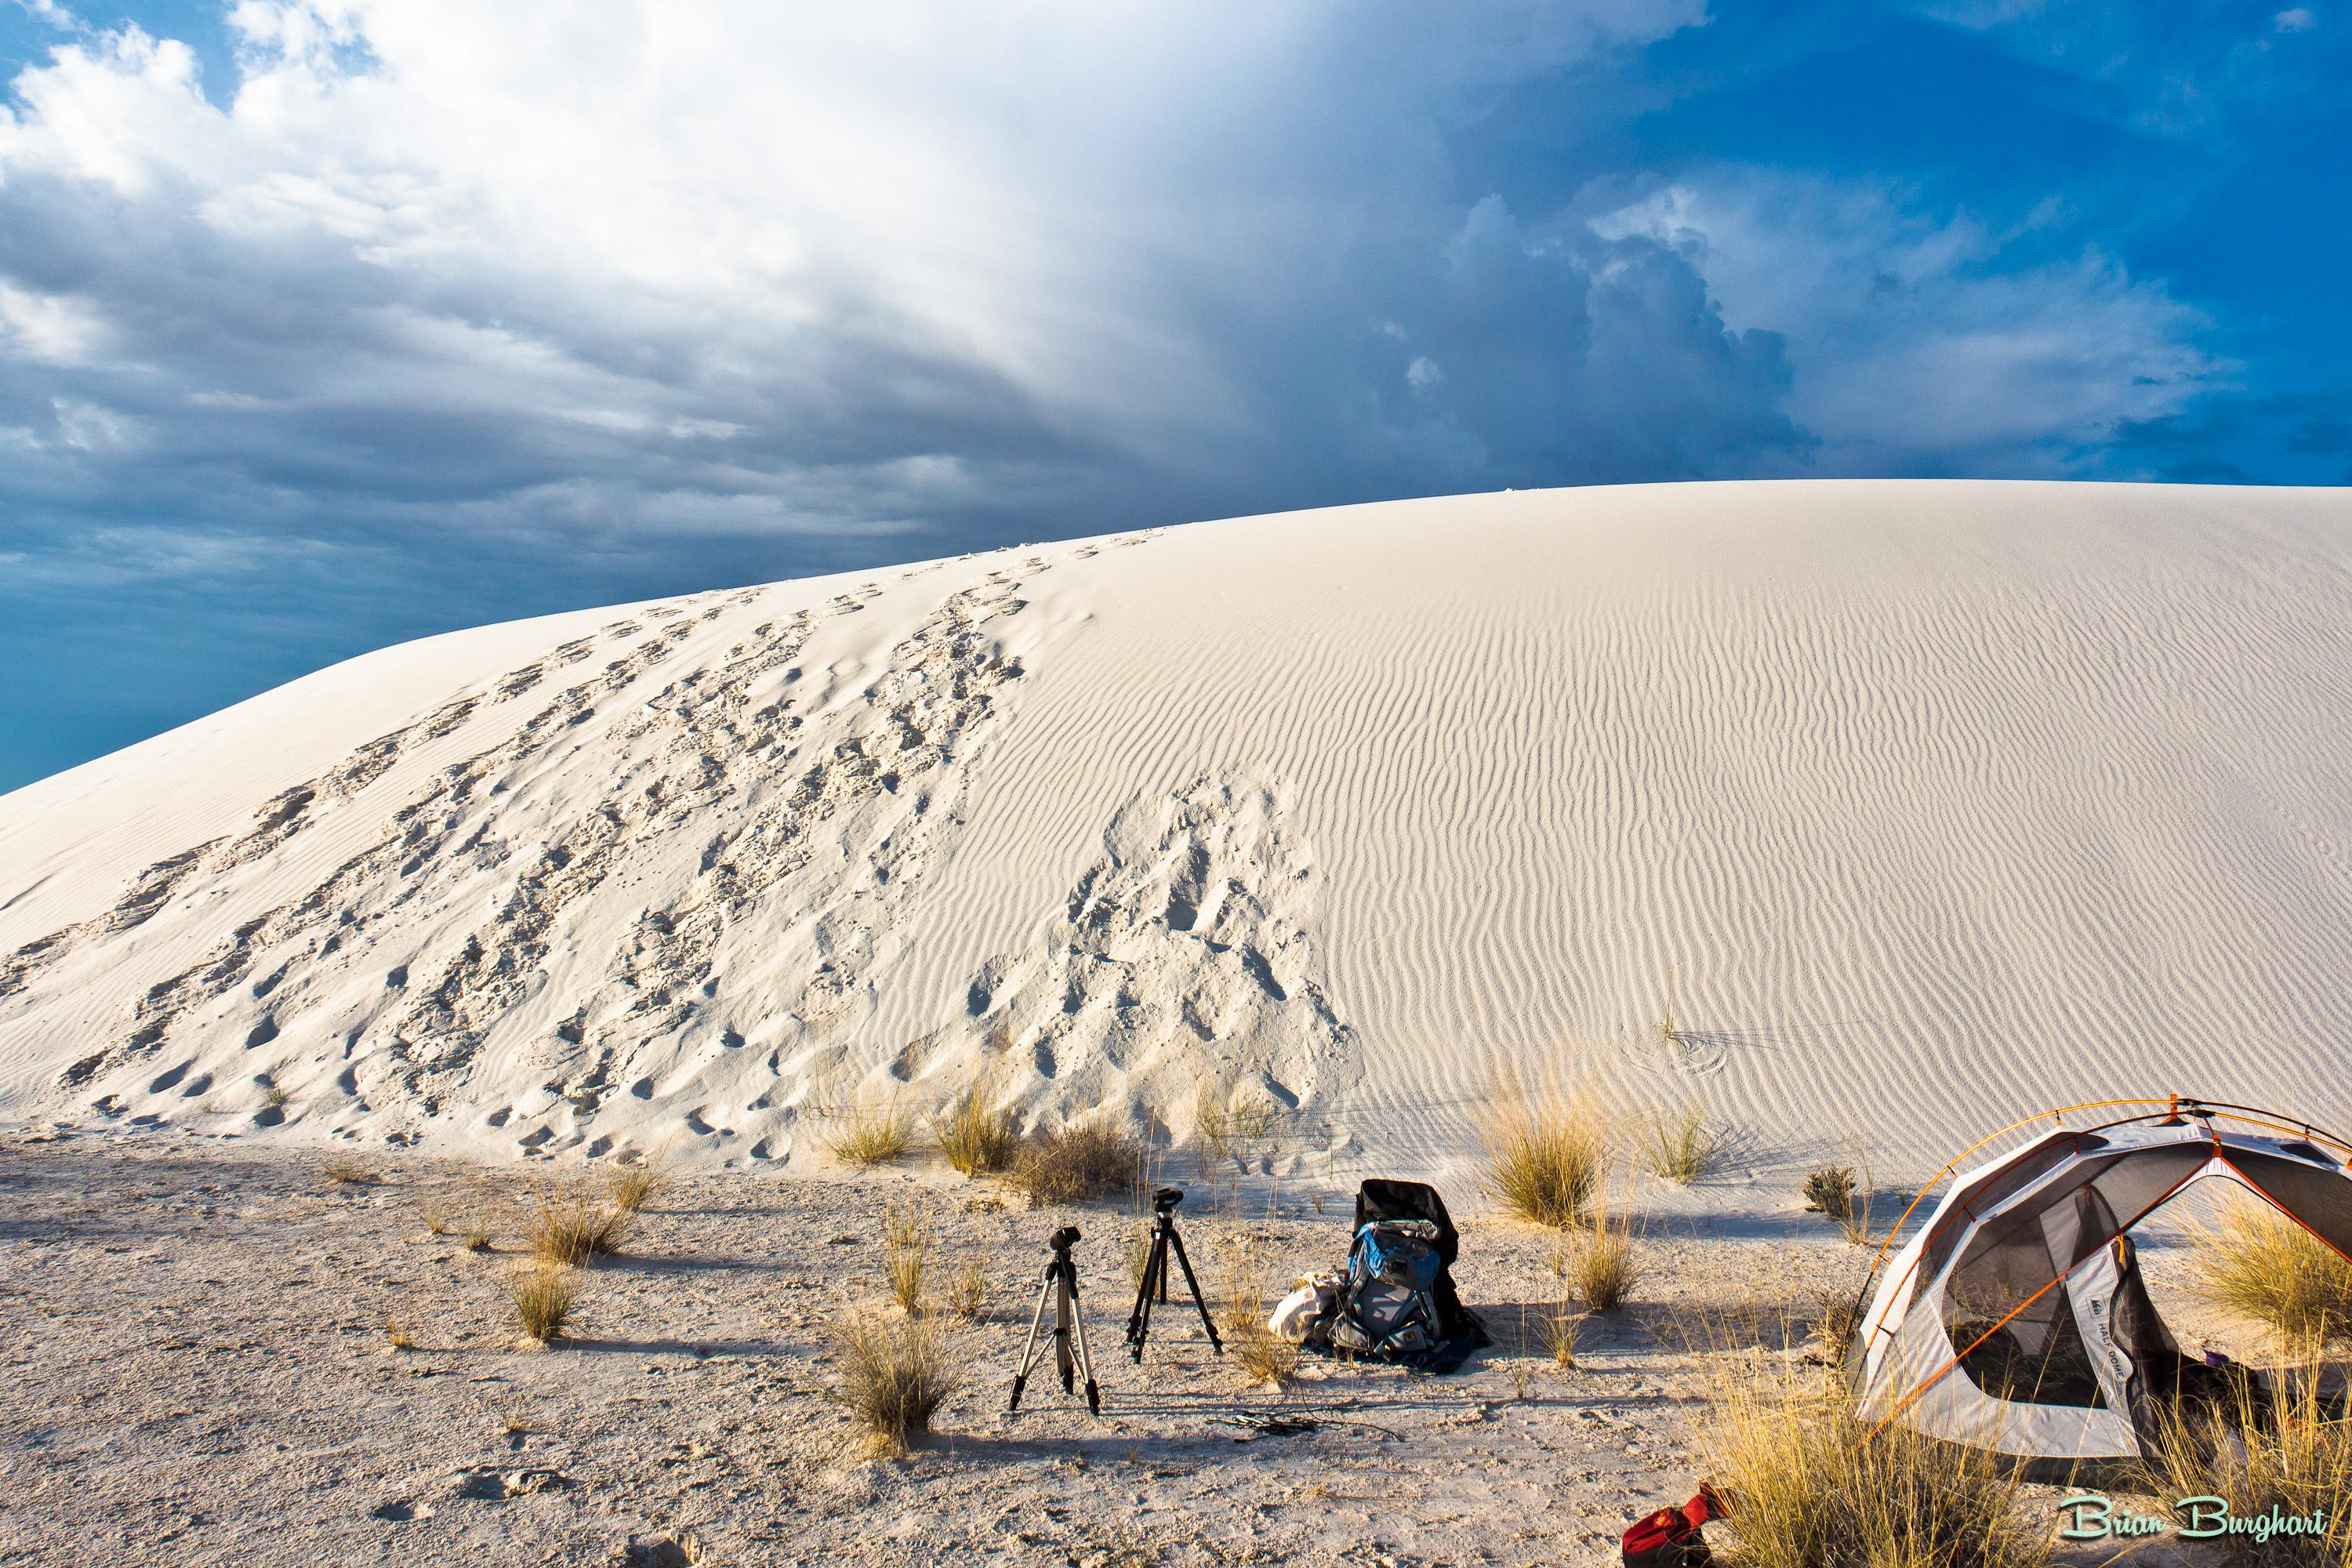
White Sands Backcountry Camping: Closed for 2026 — What to Know
As of 2026, backcountry camping at White Sands National Park is closed for site rehabilitation. What that means, and where to camp nearby instead.
Weather Guide
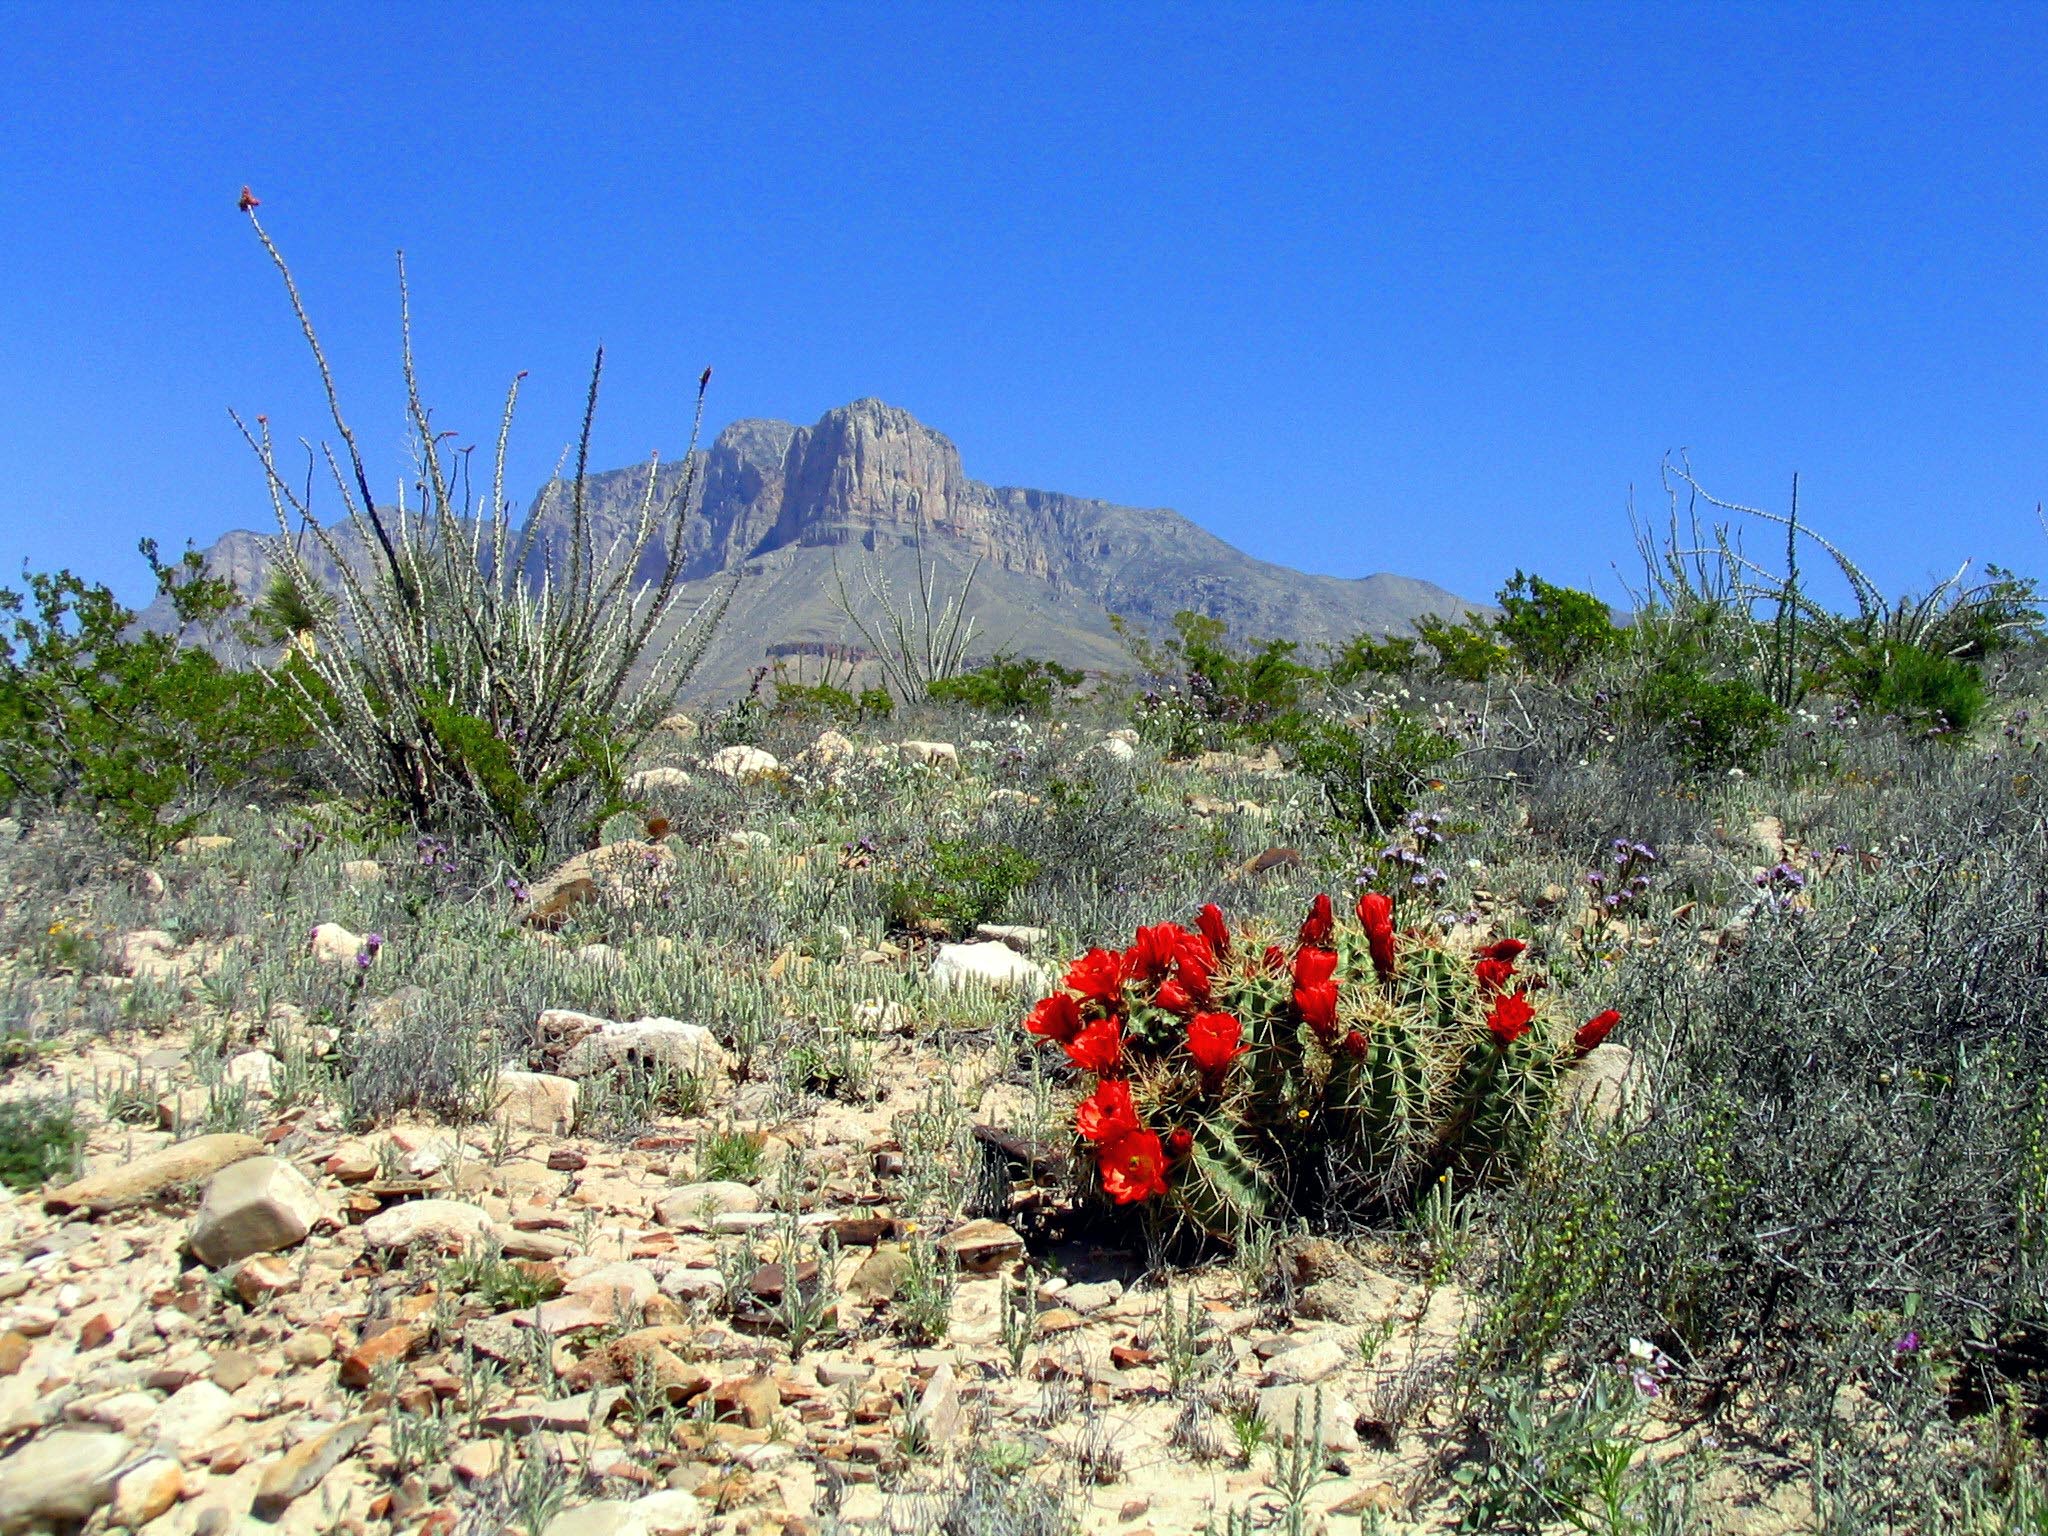
Guadalupe Mountains National Park Weather: Weather
Guadalupe Mountains National Park: weather guide guide updated 2026. Practical visitor information, reservations, and seasonal tips worth bookmarking before
Best Of
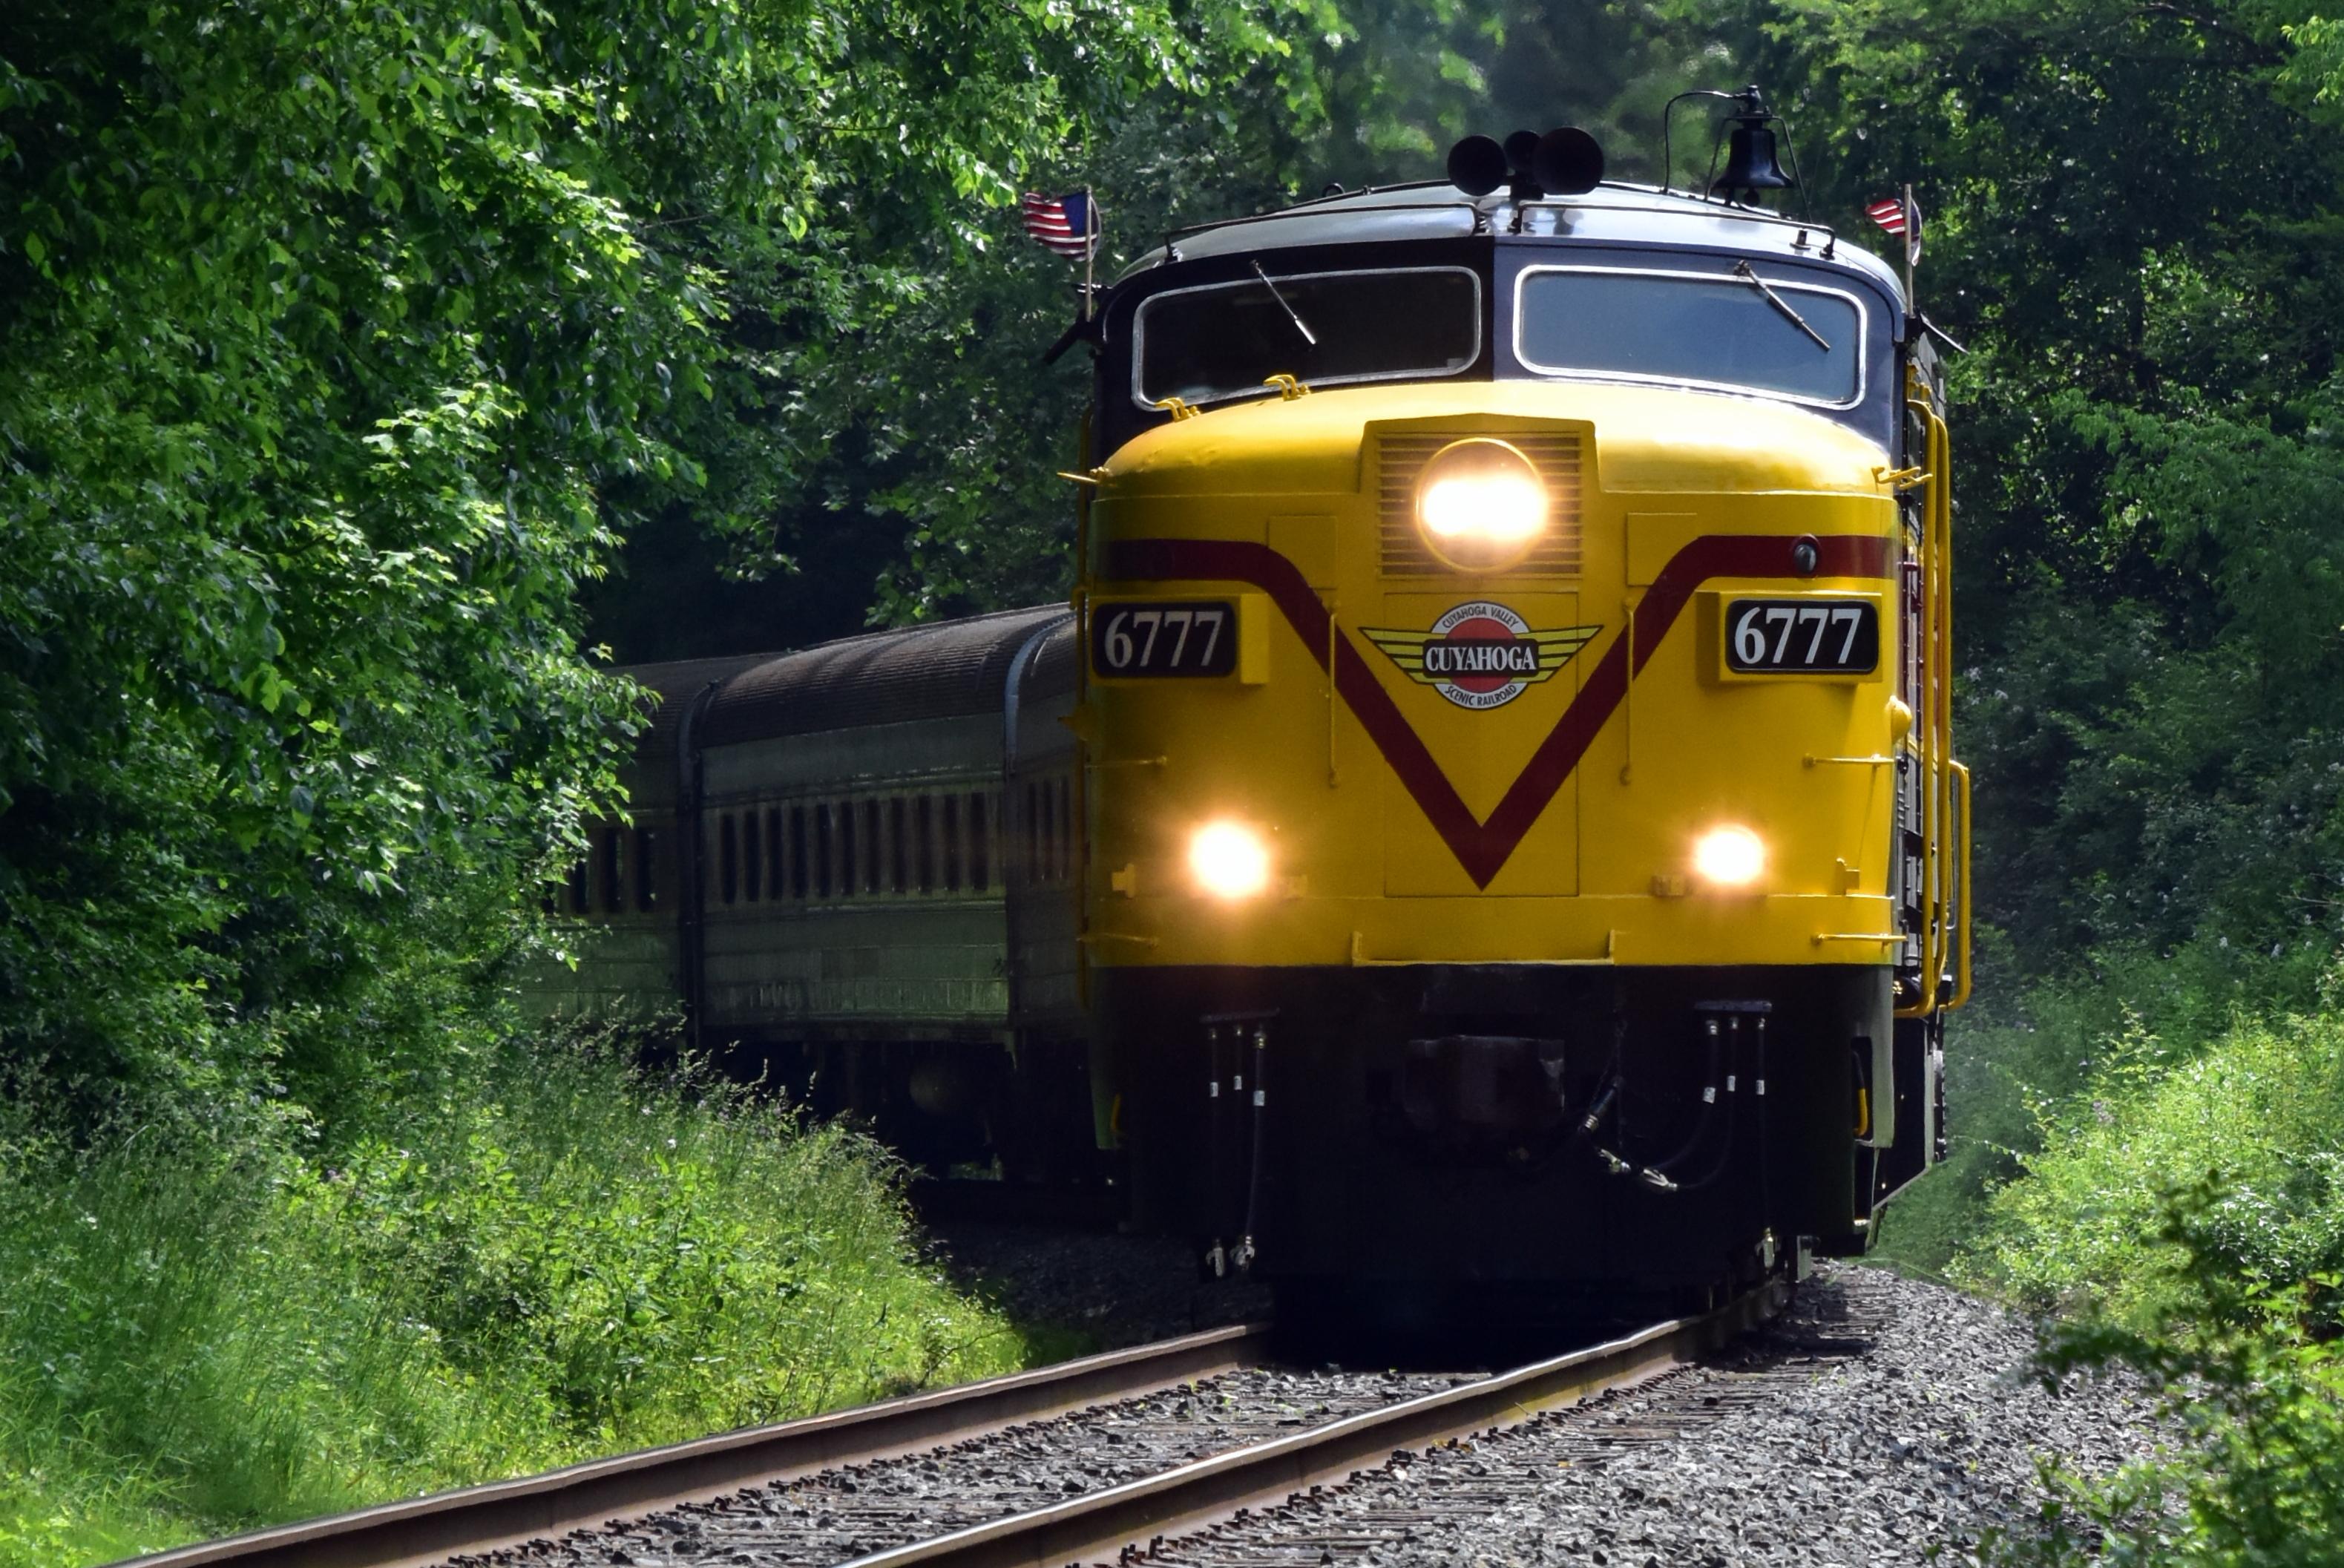
Best of Cuyahoga Valley National Park: Best Things to Do
Seeing a Cleveland Orchestra concert with the woods as your backdrop is a uniquely Cuyahoga Valley experience.
Sign in to join the conversation.
Sources & Attribution
Location data courtesy of the National Park Service (U.S. Department of the Interior). NPS data is public domain. Official NPS page.
Images: NPS; NPS; NPS; NPS; NPS.
Map data © OpenStreetMap contributors.
Park operations alerts: NPS.gov · Weather and weather hazards: National Weather Service · Live conditions.
Information may change. Always verify fees, hours, and conditions directly with the official source before visiting.
Did this guide help? Share it with a friend.