The first thing you notice is the quiet. It's not silent - a raven croaks somewhere, the wind hisses through a juniper - but it's a deep, textured quiet that makes the scale of the place feel real. You're standing on a mesa top with a thousand-foot drop a few steps away, looking into a maze of canyons so complex it defies a single glance. This is the best of Canyonlands National Park: a landscape that demands you slow down, look closer, and choose your adventure wisely because you can't see it all. The park is divided into three separate land districts by the Colorado and Green rivers, and trying to conquer them in one trip is the most common mistake. Your success hinges on picking one district and exploring it well.
NPS via NPS.gov (Public Domain)
Best of Canyonlands National Park
10 min read
Best Of
Complete guide to best of canyonlands national park. Everything you need to know, updated for 2026.
This article contains affiliate links — we may earn a small commission at no extra cost to you.
If your time is limited, prioritize sunset at Grand View Point in the Island in the Sky district. It's popular for good reason. In that last hour of light, the Needles and the Maze shift from pale outlines to a deep relief of shadow and glowing rock. You'll notice the day's warmth dissipating. This view offers the greatest reward for the least effort in the park. Every other experience here plays on that same theme of vast, complex terrain.
If You Only Have One Day
You have one day. Do not try to see multiple districts. The drive between Island in the Sky and The Needles is over two hours one way, not including park exploration. That's a recipe for a windshield tour. Commit to Island in the Sky. It has the most iconic, easily accessed views for the effort.
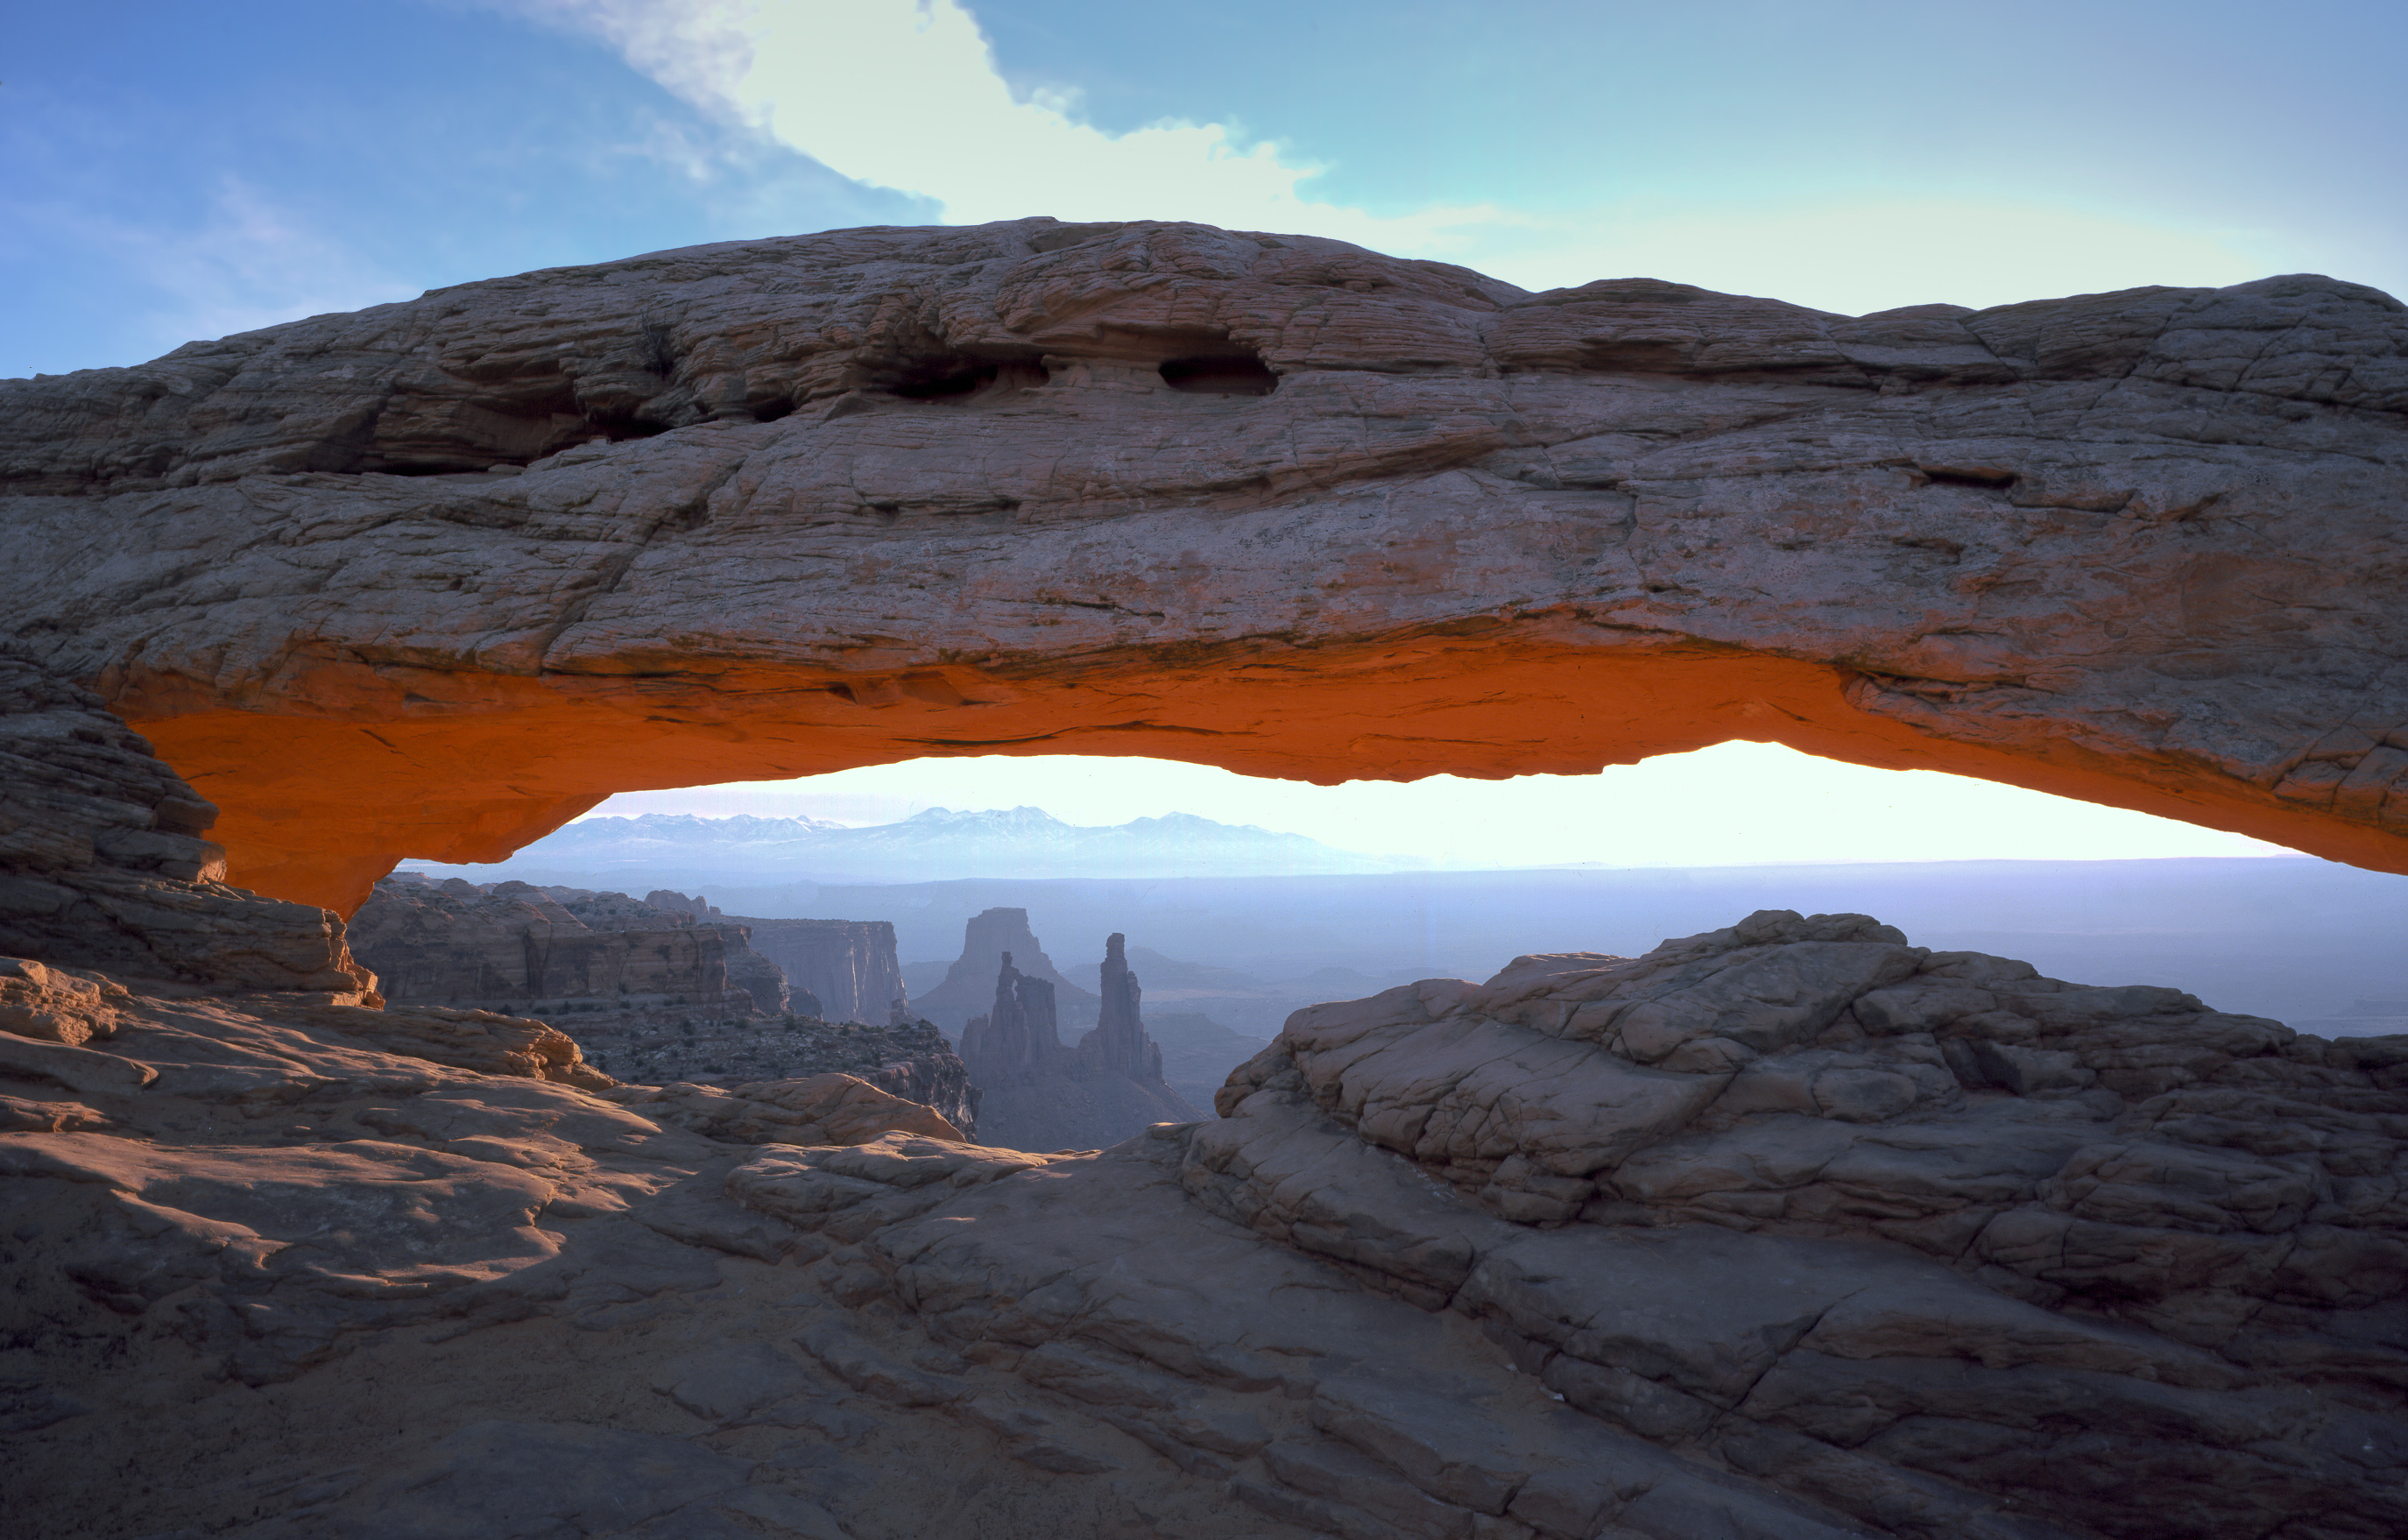
Arrive at the entrance station by 7:30 AM, especially from April through October. The line of cars starts building by 8. Your first stop is the visitor center to use the restroom (they're clean) and check the whiteboard for ranger talk times. Don't linger. Drive straight to Mesa Arch. The parking lot is small and fills fast. Get there early, not for the famous sunrise photographers (they'll have staked out spots hours before), but to have the arch to yourself for a few minutes in the calm morning light. The short, flat trail leads to an arch framing a dizzying view of the White Rim and distant mountains.
From there, drive the length of the park road to Grand View Point. Do this in the morning. Most visitors make the mistake of saving it for last and arrive when the overlook is crowded and the light is harsh. Walk the entire paved trail at the end. The view expands with every step. Have lunch back at your car - there are no services beyond the visitor center.
Your afternoon is for one hike. If you're fit and have water, the 2-mile round-trip hike to the Gooseberry Canyon overlook is the choice. It's a steep 500-foot descent (and ascent) on switchbacks that gives you a true sense of descending into the canyon layers. Your calves will have strong opinions on the way back up. If you want something less strenuous, the 1.8-mile round-trip White Rim Overlook trail is flat, quiet, and offers a different, more intimate perspective of the plateau.
End your day back at Grand View Point for sunset. Bring layers; the temperature can drop 20 degrees once the sun slips below the horizon. The parking lot will be full, but people come and go. Wait for a spot. It's worth it. After dark, if you're not rushing back to Moab, just pull over in any turnout, turn off your lights, and look up. The night sky here is a profound part of the experience.

The Top Experiences, Ranked
Here's how I'd rank the top experiences for a first visit, based on what you get for your time and effort.
#1 - Sunset at Grand View Point: The Essential Canyonlands Moment
This is the park's definitive view. The paved trail at the road's end follows the mesa's edge. On a clear day, you can spot the Needles district as pale spires about 40 miles southeast, the Maze's cliff face to the west, and the winding canyons below. It demands no hiking ability—just a drive of 12 miles from the visitor center and walk a half-mile on pavement. The single best tip is to go twice: once in the morning for the expansive, detailed view, and again for the color show at sunset. What most visitors do wrong is showing up ten minutes before sunset, finding no parking, and giving up. Get there at least an hour early.
#2 - Hiking the Chesler Park Loop (The Needles): The Trail That Defines a District
If you have a full day to dedicate to The Needles district, this 11-mile loop is the reason why. It's not a casual stroll - it requires planning, water, and stamina - but it delivers the district's essence. You'll hike through deep sand, scramble through narrow joint cracks, cross a grassy park surrounded by a fortress of sandstone needles, and feel genuinely remote. It requires a full day (6-8 hours), at least 3 liters of water per person, and sturdy hiking shoes. The best tip is to hike it counter-clockwise, tackling the steepest climb into Chesler Park first thing in the morning. Most visitors underestimate the soft sand and the navigational focus needed in the joint trails; pay close attention to the cairns (rock stacks). For detailed route info, consult the park's dedicated guide to hiking trails in Canyonlands.
#3 - Driving the White Rim Road (Permit Required): A Multi-Day Desert Expedition
This isn't a scenic drive you do in an afternoon. The 100-mile White Rim Road is a multi-day 4x4, mountain bike, or motorcycle adventure that loops below the Island in the Sky mesa. It's a commitment. You need a high-clearance 4WD vehicle, a permit secured months in advance, and all your supplies. The payoff is camping on the very edge of the world, with 360-degree views of canyon country and absolute quiet. It requires 2-3 days minimum, extensive vehicle preparation, and self-sufficiency. The best tip is to book your permit the moment reservations open (typically six months ahead) and plan your campsites first, then your itinerary. Most people get this backward. Check the park's camping options for the complex permit details.
#4 - Morning at Mesa Arch: The Famous Photo, Done Right
Yes, it's crowded at sunrise. The photographers with giant tripods will have lined up hours before dawn. But you can still have a meaningful experience here if you adjust your expectations. Go about an hour after official sunrise. The professional crowd has packed up, and the low-angle light still pours through the arch, setting the underside of the sandstone on fire against the blue sky. It requires a short, easy 0.7-mile round-trip walk. The best tip is to look through the arch, not just at it. Frame the La Sal Mountains in the distance. Most visitors snap a picture of the arch itself and leave, missing the point of the frame.
#5 - The Upheaval Dome Trail: A Geological Puzzle
This short hike leads to the edge of a bizarre, three-mile-wide crater. Geologists still debate whether it's a salt dome or an ancient meteorite impact site. The first overlook is a mere 0.8-mile round trip. The second overlook, another 0.75 miles further, is better. From there, you peer straight down into the jumbled, colorful core. It requires about an hour total and minimal effort for a huge conceptual reward. The best tip is to read the interpretive signs at the first overlook before you continue to the second. It primes you to spot the evidence in the rock layers. Most visitors stop at the first view and miss the more dramatic perspective.
#6 - Stargazing from Island in the Sky: The Park After Dark
Canyonlands is an International Dark Sky Park. The night sky is a designated natural resource. Once the last car leaves after sunset, the true show begins. You don't need a telescope. Just find a safe pullout, let your eyes adjust for 20 minutes, and watch the Milky Way materialize as a dusty band across the black. It requires no planning beyond staying up late and having warm clothes. The best tip is to avoid looking at your phone's bright screen; use a red-light setting if you need light. Most visitors drive back to Moab immediately after sunset and miss this, which is a shame.
#7 - The Slickrock Foot Trail (The Needles): A Beginner's Taste
If the Chesler Park loop is too much, this 2.4-mile round-trip trail is your perfect alternative. It's a sampler of what makes The Needles special: walking on bare sandstone ("slickrock" is a misnomer - it's grippy when dry), navigating by cairns, and ending at a panoramic view of the district's needle formations. It requires about 90 minutes and a moderate amount of water. The best tip is to wear shoes with good traction and pay attention to the cairns, especially on the bare rock sections. Most visitors rush it; take your time and enjoy the puzzle of the route.

What Most People Miss
The Cave Spring Trail (The Needles). This easy 0.6-mile loop does three things: it passes a historic cowboy line camp, involves climbing two wooden ladders, and leads to a shaded alcove with prehistoric pictographs. It's a perfect, short leg-stretcher with more variety than any other short trail in the park. The ladders are fun and photogenic.
The Aztec Butte Trail (Island in the Sky). Most people drive right past this 2-mile round-trip hike. It involves a short, steep climb to the top of a butte where you'll find ancestral Puebloan granaries tucked under rock overhangs. The view from the top is a unique 360-degree panorama of the mesa, and the granaries feel surprisingly intimate. You're literally walking into a thousand-year-old pantry.
Pothole Point (The Needles). Another short, easy loop (0.6 miles). The attraction here is the microcosm. The trail circles a sandstone dome dotted with "potholes" - natural depressions that collect rainwater and create tiny, temporary ecosystems for fairy shrimp and other resilient life. It's best in the morning or late afternoon when the low light makes the pools glow. Bring your macro lens or just kneel down and look.
The Colorado River Overlook (Island in the Sky). Everyone goes to Grand View Point, but few take the rough, 3-mile dirt road (passable by most cars when dry) to this overlook. From here, you get a direct, dizzying view straight down 1,400 feet to the Colorado River as it begins its journey into the heart of the park. You can hear the river when it's quiet. It feels more immediate and raw than the vast panoramas.

What's Overrated (and Better Alternatives)
The Shafer Canyon Overlook (at the visitor center). It's the first view most people see, and it's impressive. But it's also perpetually crowded with people just getting out of their cars. The view is essentially the same one you get while driving down the Shafer Trail road (if you have a suitable vehicle) or from multiple pullouts further into the park that have fewer people. Better Alternative: Stop here for five minutes to get your bearings, then drive to the Buck Canyon Overlook. It's just as dramatic, faces west for better afternoon light, and often has only a handful of people.
Trying to "Do" The Maze in a Day. The Maze is legendary for its remoteness and challenge. Promotional material can make it sound like the ultimate adventure. For 99% of visitors, attempting it as a day trip from Moab is a terrible idea. It's a 6+ hour drive one-way on brutally rough roads just to reach the ranger station. You'll spend 12 hours driving to see very little. Better Alternative: If you crave remote canyon solitude without the epic commitment, spend a full day in The Needles district hiking the Chesler Park loop or the longer Druid Arch trail. You'll get the feeling of wilderness without the extreme logistics.
The "Green River Overlook" at Midday. This overlook is beautiful, offering a vast view of the Green River's confluence canyons. But at noon, the light is flat and the view loses its depth. It becomes a hazy, washed-out postcard. Better Alternative: Visit this overlook at sunrise. The low eastern light paints the canyons below in sharp relief, with long shadows defining every crevice. You'll likely have it to yourself.

Practical Takeaways
- Pick One District. Island in the Sky for iconic views and easy access. The Needles for serious hiking and colorful rock formations. The Maze for true, multi-day 4x4 wilderness. Don't mix them on a short trip.
- Water is Non-Negotiable. Carry at least one gallon (4 liters) per person, per day. There is no drinking water available beyond the visitor centers. The desert air is deceptively dry.
- Arrive Early. Gates get busy. Trailhead parking lots are small and fill by 9 AM. An early start means solitude and cooler temperatures.
- Fuel and Food. There are no gas stations, restaurants, or stores in the park. Fill your tank and pack all food and snacks before you enter.
- Roads are Real. Paved roads lead to Island in the Sky and The Needles. After that, many roads require high-clearance 4WD. Do not attempt them in a standard sedan or minivan. Check at the visitor center for current road conditions, especially after rain.
- Your Entrance Fee is Good for 7 Days at all districts of Canyonlands. Keep your receipt.
- For deeper planning, use the park's complete visitor guide. For hike specifics, the hiking trails page is essential. To understand seasonal challenges, check the guide on the best time to visit.
The best of Canyonlands National Park isn't a checklist. It's the feeling of standing on the edge of something too big to comprehend, in a quiet so deep you can hear your own heartbeat. Plan for scale, bring water, and let the landscape dictate the pace. That's how you find it.
For more information, see our complete National Park Guide.
Recommended Gear
What experienced visitors bring to Best of Canyonlands National Park
Links may earn us a commission at no extra cost to you. We only recommend gear we believe in.
Hiking Essentials
Hydration Pack (3L)
Hands-free water for long trail days
Trekking Poles (Pair)
Save your knees on steep descents
Hiking Boots (Ankle Support)
Sturdy footwear for rocky, uneven trails
Sun & Heat Protection
Wide-Brim Sun Hat
Full coverage UPF 50+ protection at altitude
Insulated Water Bottle (32oz)
Keeps water cold in desert heat all day
Winter Gear
Microspikes / Traction Devices
Essential for icy rim trails in winter months
Packable Down Jacket
Lightweight warmth that stuffs into a pocket
Sources
- Official source: NPS — Canyonlands National Park nps.gov/cany/index.htm
Photo Gallery
More to Explore
Park Guide
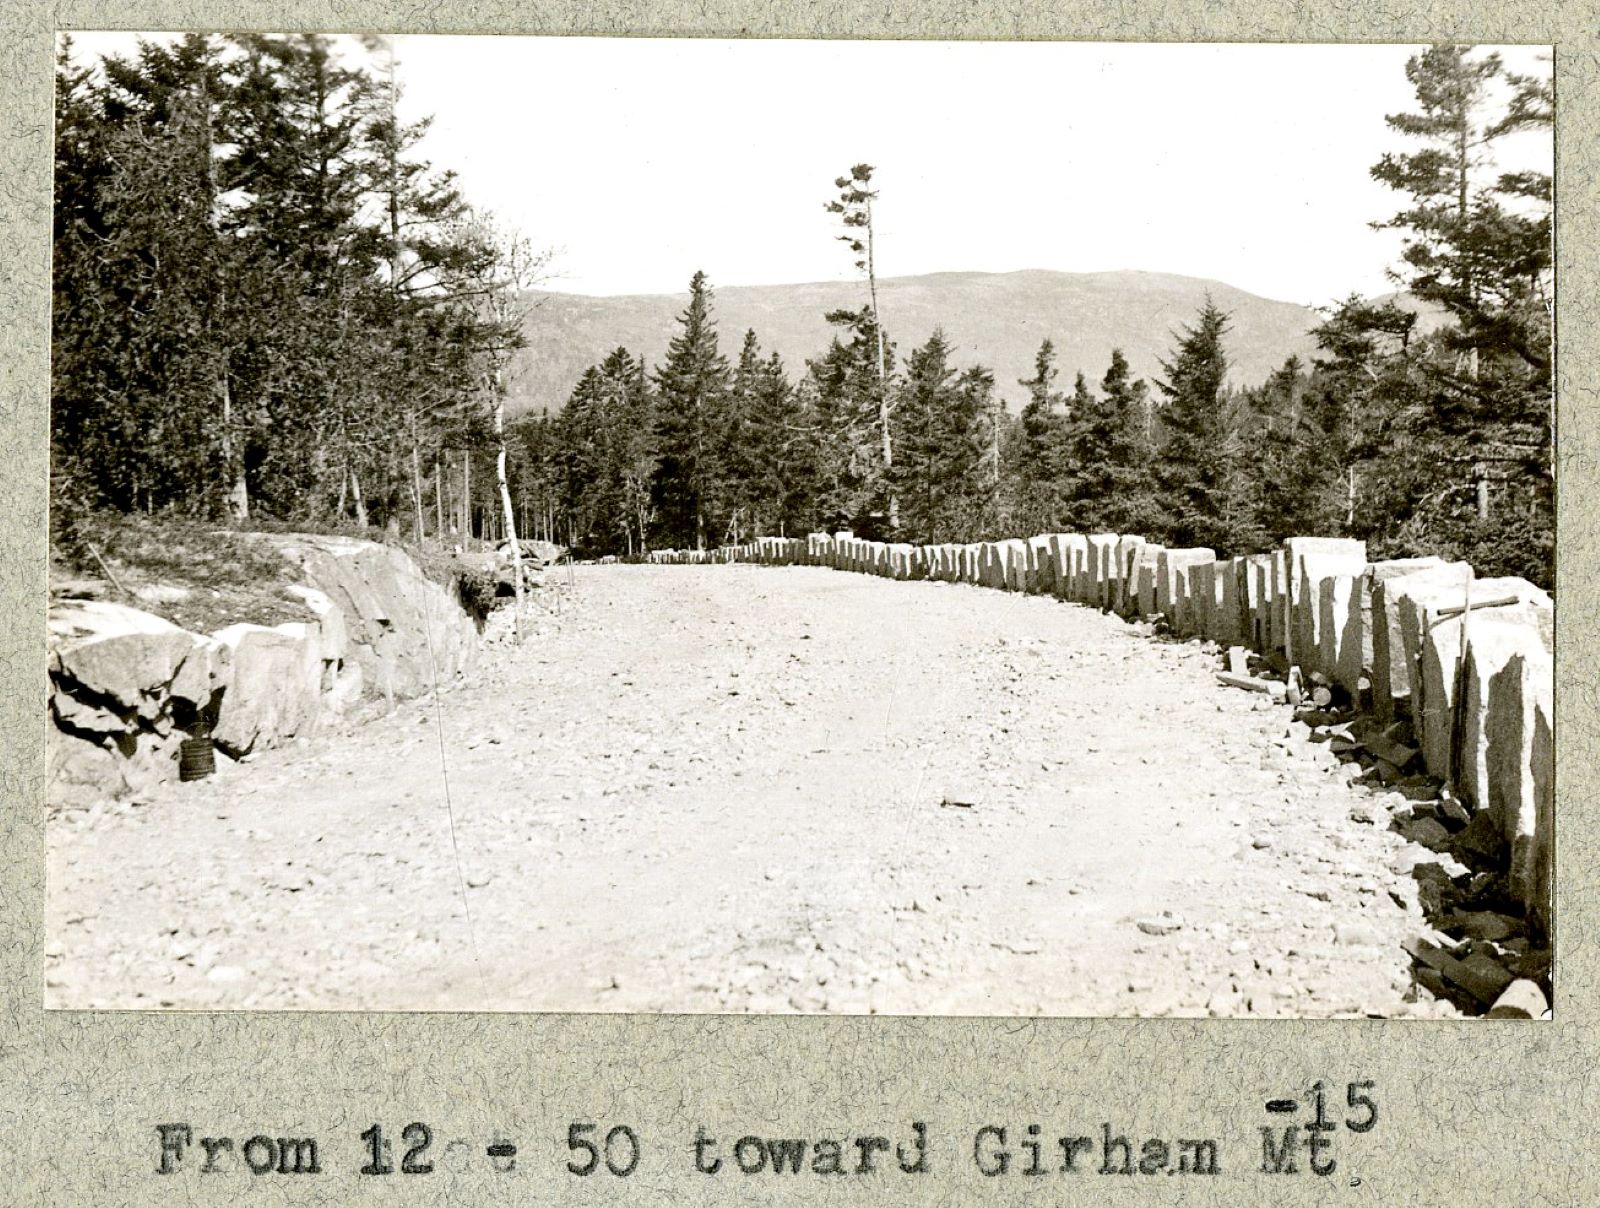
Acadia National Park: Carriage Roads, Cadillac Mountain & 2026 Guide
Discover carriage roads, Cadillac Mountain, and rugged Maine coast. Complete 2026 guide to Acadia National Park — trails, fees, lodging, permits, and what rangers recommend.
Hiking Guide
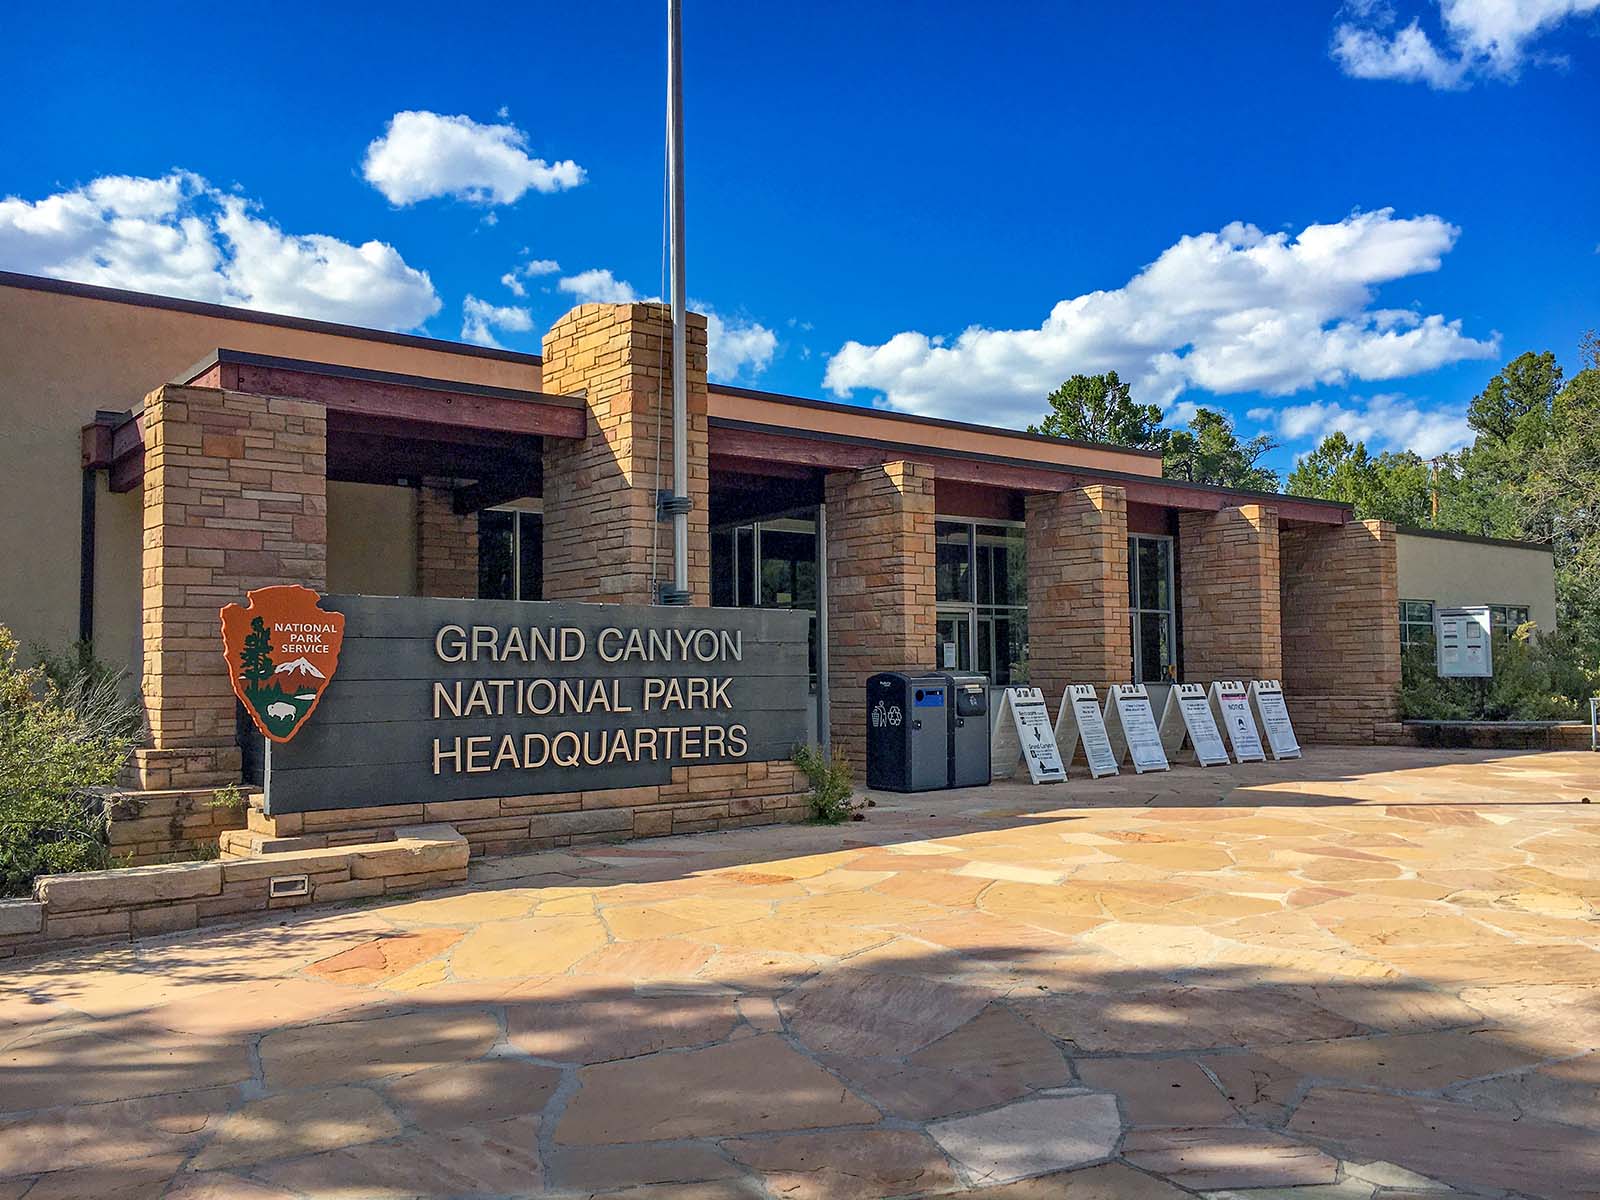
Grand Canyon Hiking Trails: Day Hikes, Water Sources & Rim to Rim
Compare Grand Canyon hiking trails: Bright Angel, South Kaibab, Hermit, Grandview, and rim to rim, with distances, elevation, water stops, and trailhead access for each.
Best Of
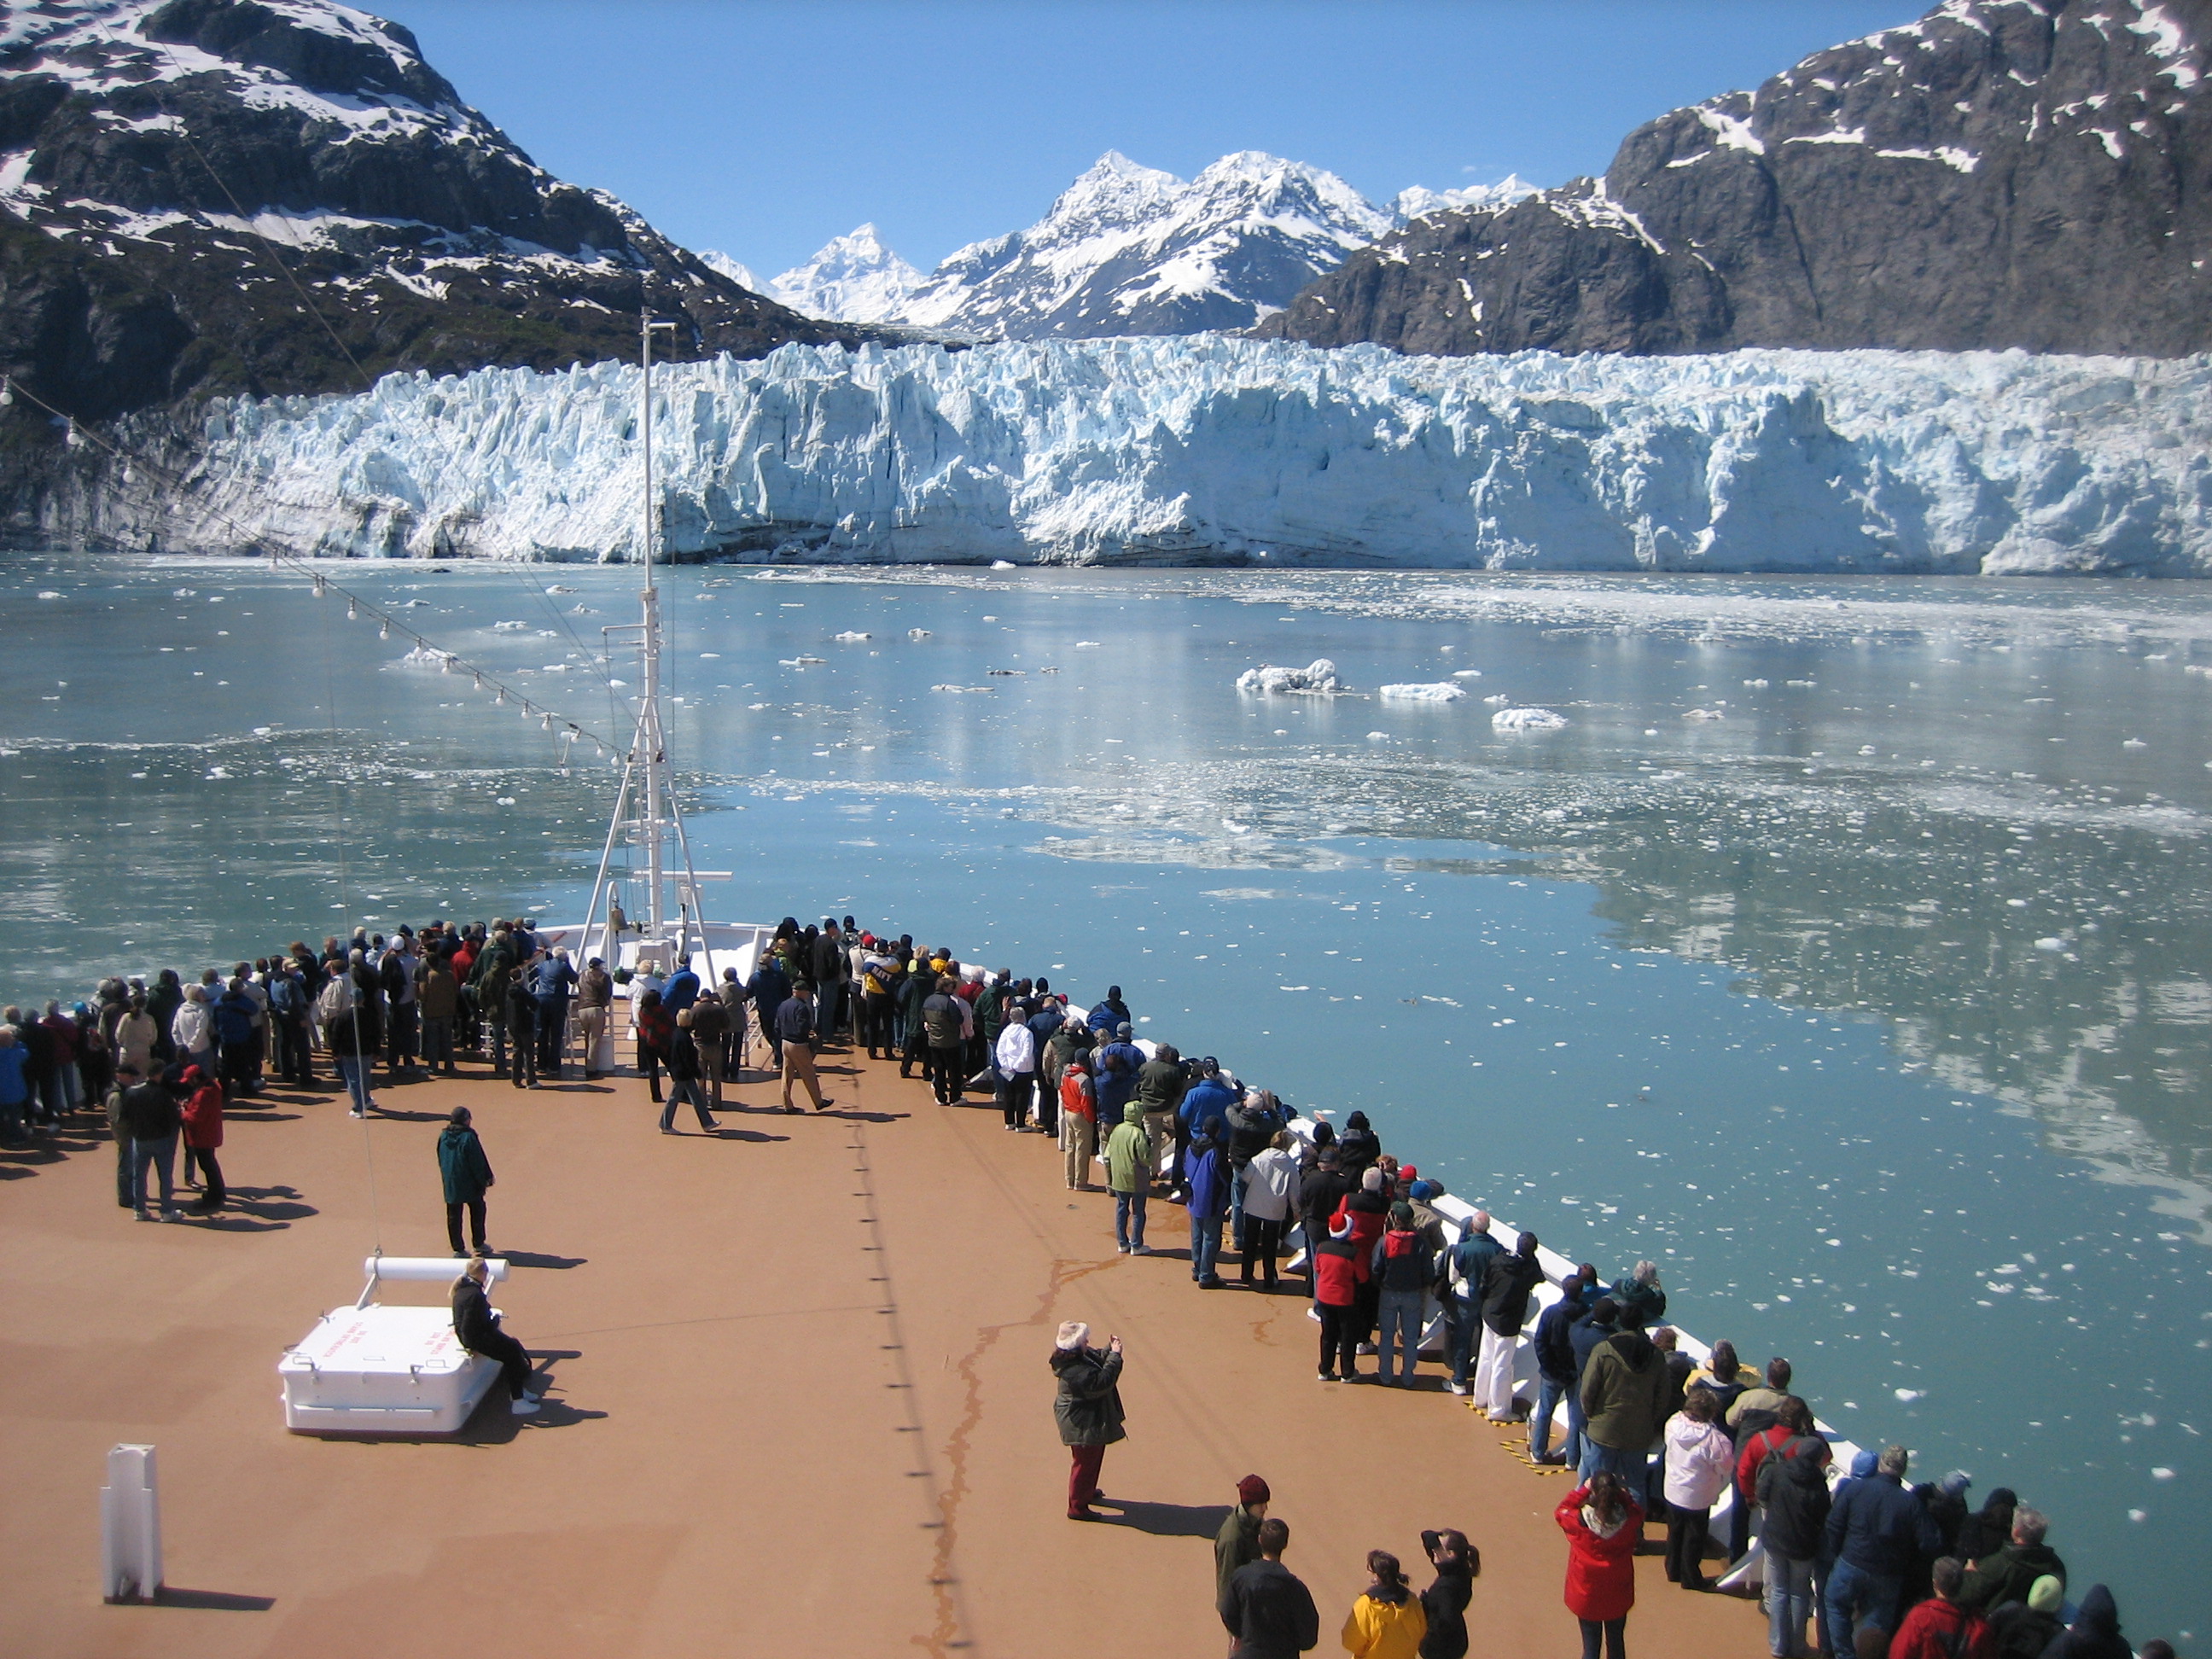
Best of Glacier Bay National Park
The best of Glacier Bay is reached by boat: ranger-led day tours up the bay to the tidewater glaciers. What's worth it, how to book, and when to go (2026).
Campsite Guide
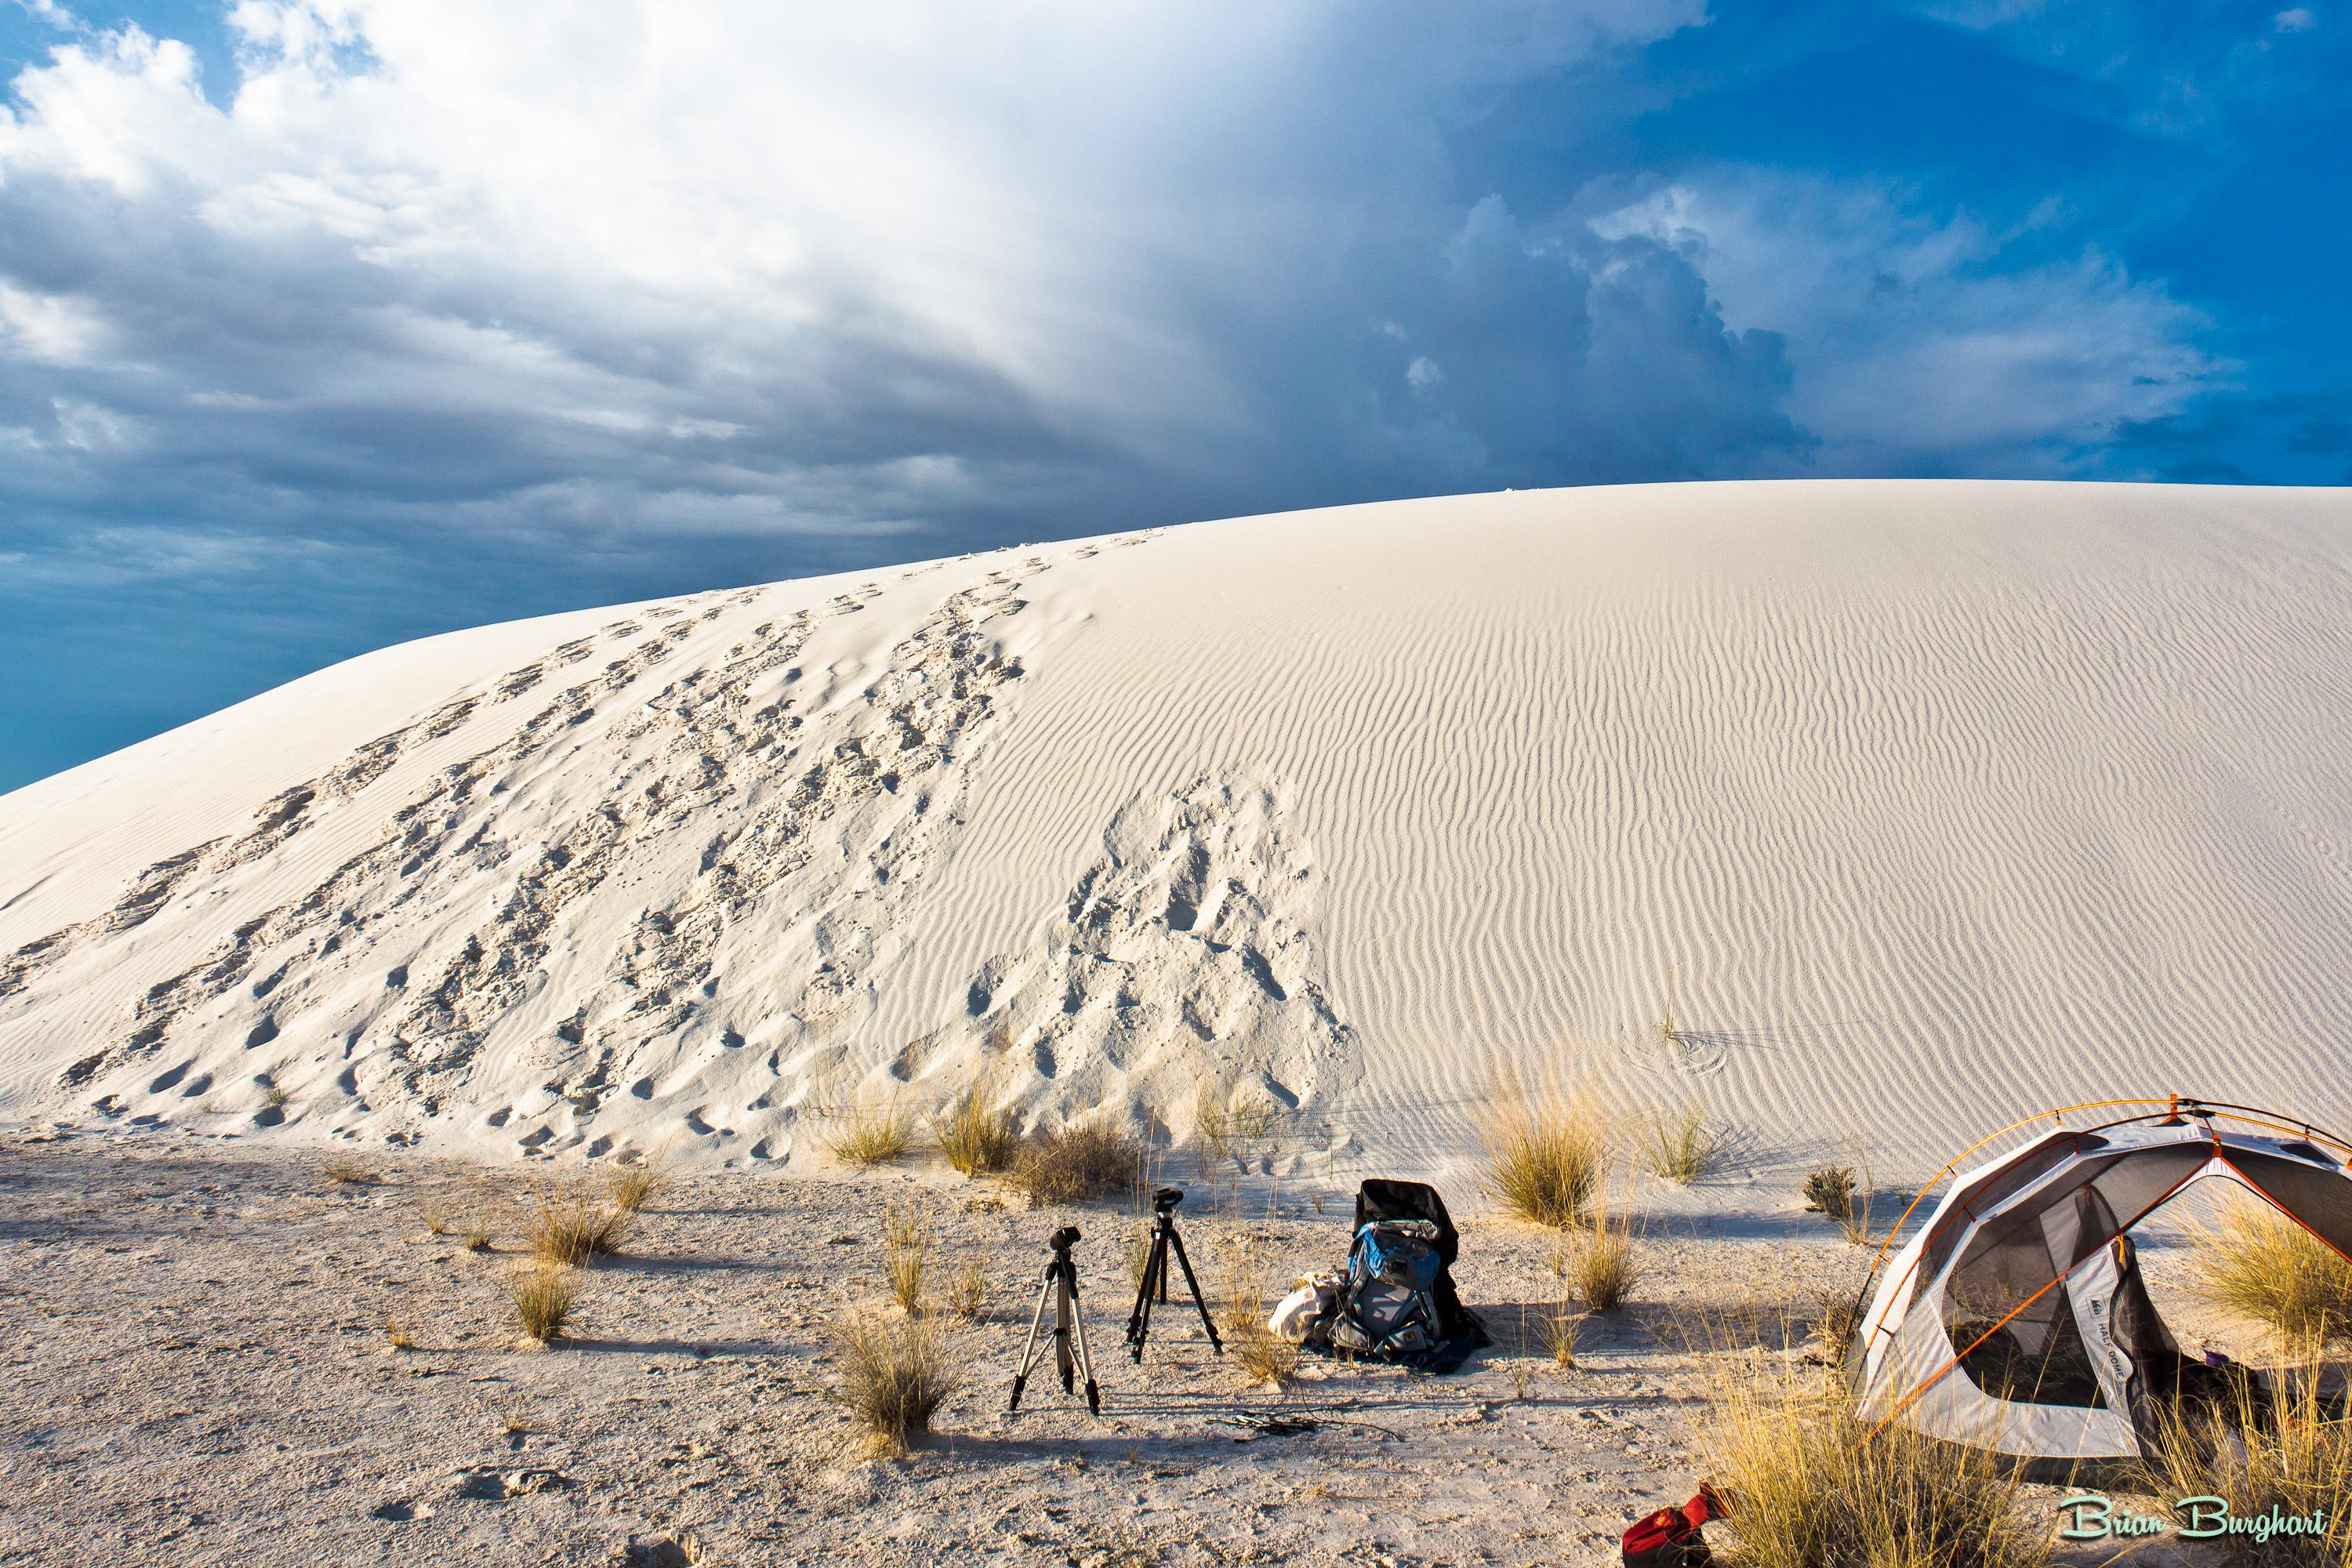
White Sands Backcountry Camping: Closed for 2026 — What to Know
As of 2026, backcountry camping at White Sands National Park is closed for site rehabilitation. What that means, and where to camp nearby instead.
Weather Guide
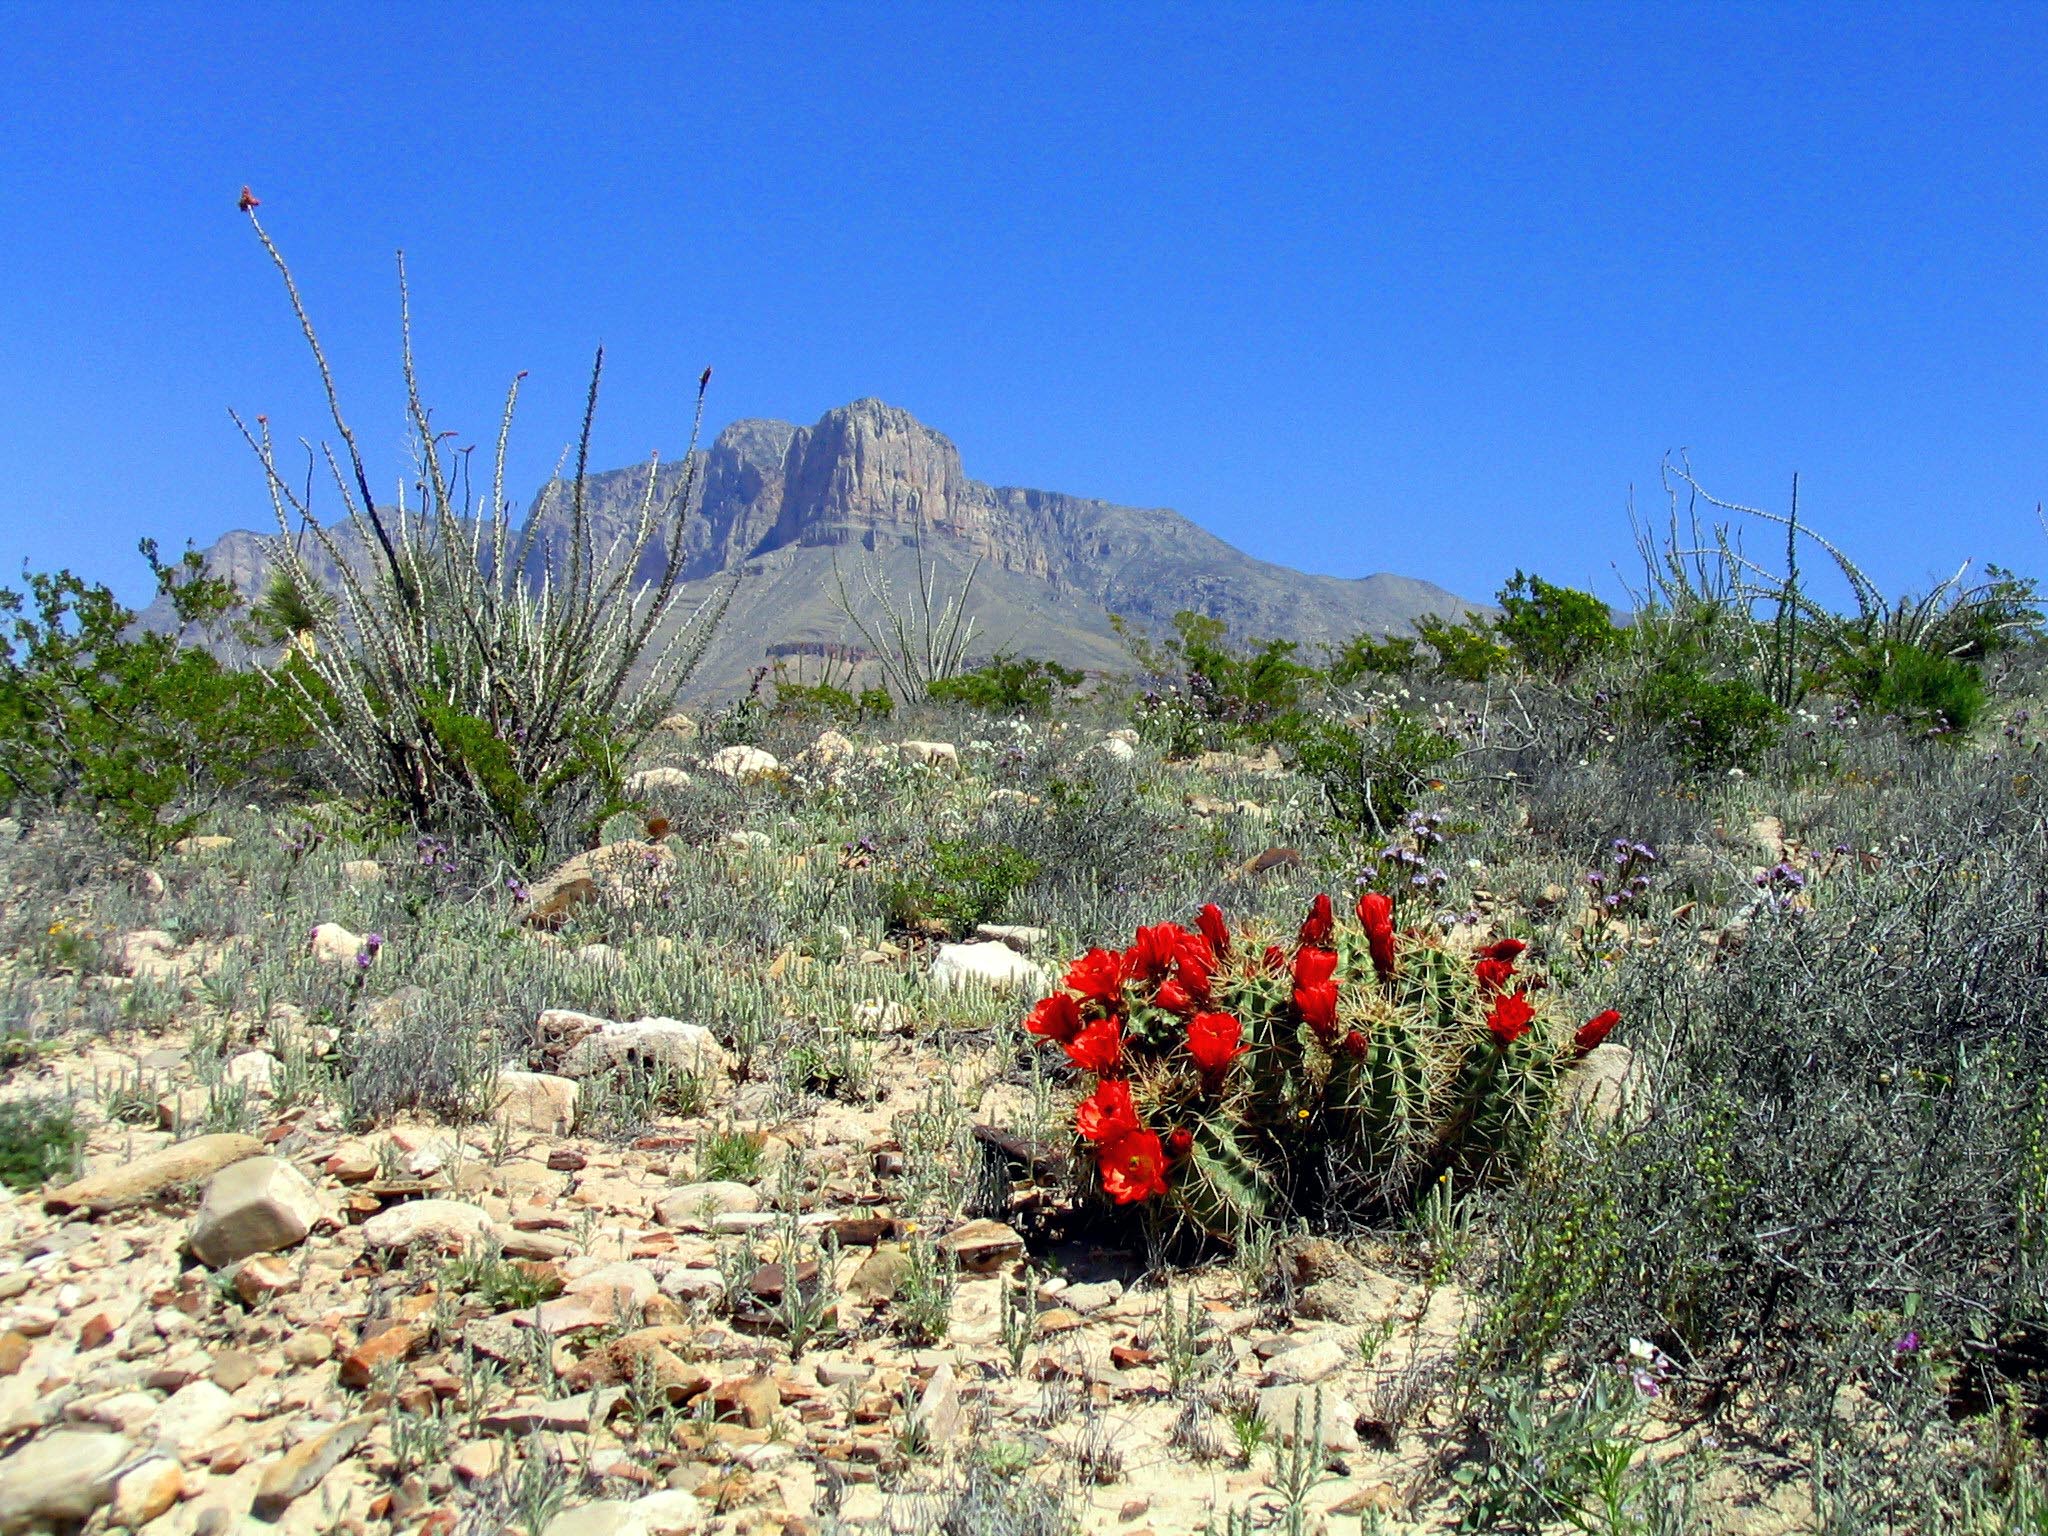
Guadalupe Mountains National Park Weather: Weather
Guadalupe Mountains National Park: weather guide guide updated 2026. Practical visitor information, reservations, and seasonal tips worth bookmarking before
Best Of
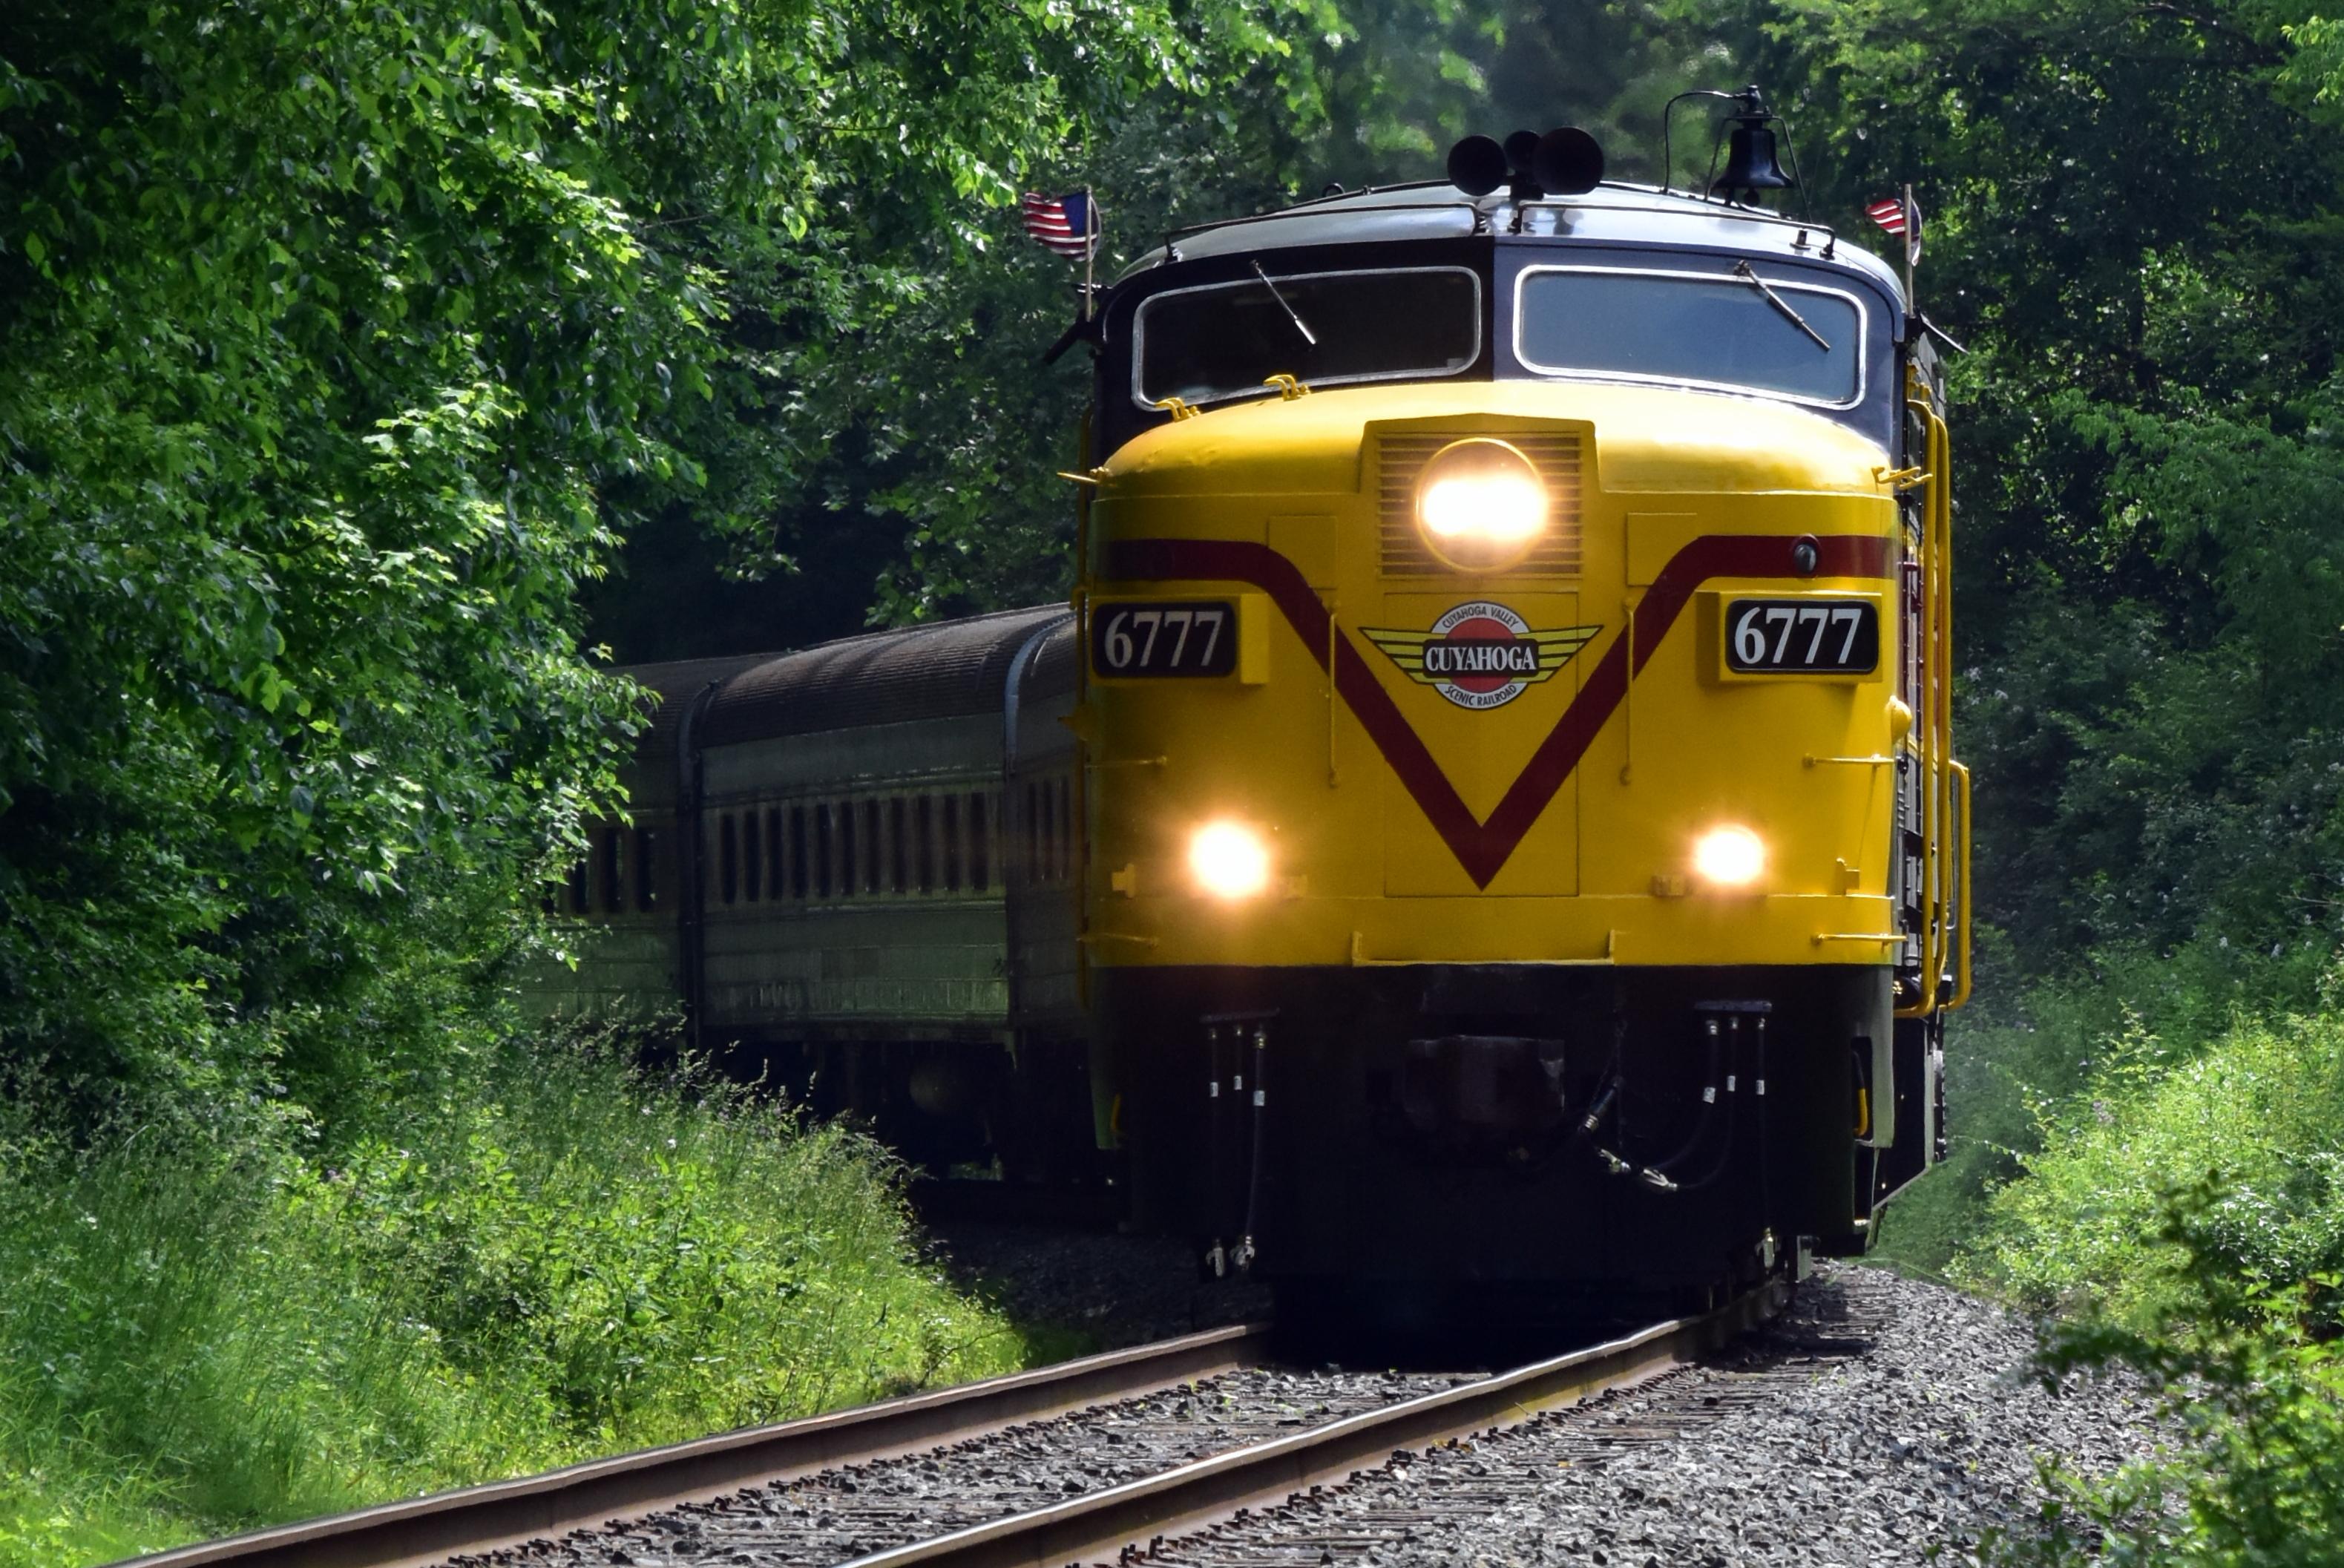
Best of Cuyahoga Valley National Park: Best Things to Do
Seeing a Cleveland Orchestra concert with the woods as your backdrop is a uniquely Cuyahoga Valley experience.
Sign in to join the conversation.
Sources & Attribution
Location data courtesy of the National Park Service (U.S. Department of the Interior). NPS data is public domain. Official NPS page.
Images: NPS; NPS; NPS; NPS; NPS.
Map data © OpenStreetMap contributors.
Park operations alerts: NPS.gov · Weather and weather hazards: National Weather Service · Live conditions.
Information may change. Always verify fees, hours, and conditions directly with the official source before visiting.
Did this guide help? Share it with a friend.